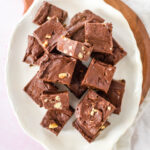
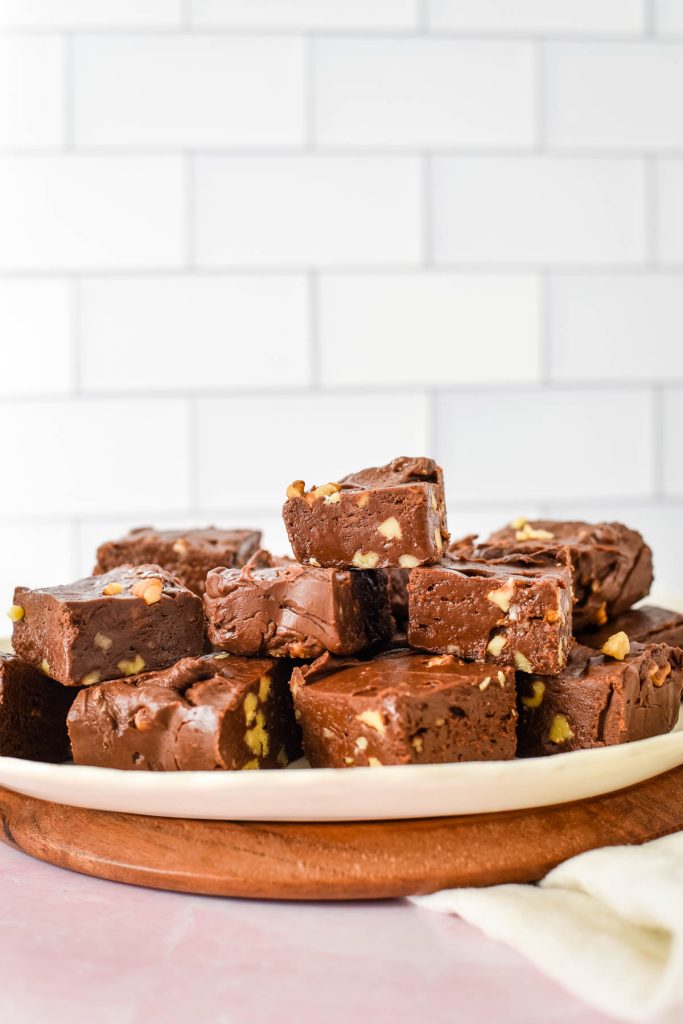
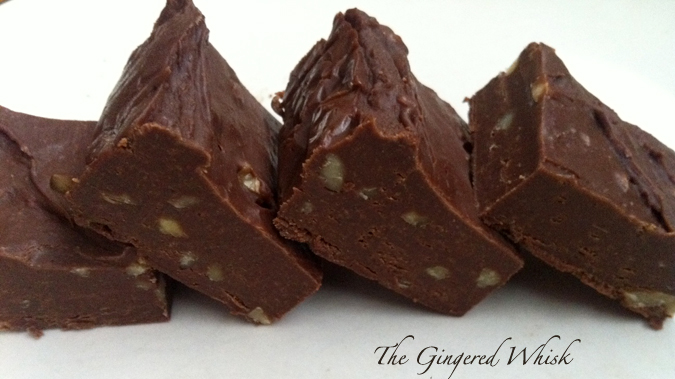
Easy Chocolate Walnut Fudge
This homemade fudge recipe is perfect every time of year! Creamy, chocolatey, and utterly delicious – this is the old fashioned fudge your grandma used to make! Perfect for holiday get togethers, and easy enough to make with children, creating lasting memories and delicious treats everyone will enjoy.
For me, chocolate Fudge is a food only to be consumed during the Holiday Season. I don’t know why, but its just the way it has always been.
My grandmother used to make this fudge and bring it to our Thanksgiving and Christmas dinners. And when I was old enough to help, my grandmother taught me to make this as well.
This milk chocolate fudge recipe is a simple fudge, and easy to make. I know there are more complicated recipes out there, ones that require the use of thermometers and a vast assortment of ingredients.
But with all the other hustle and bustle that goes on at this time of year, do you really need to add any more stress? That is why I like this recipe. It is simple, its quick, and it turns out perfectly every time.
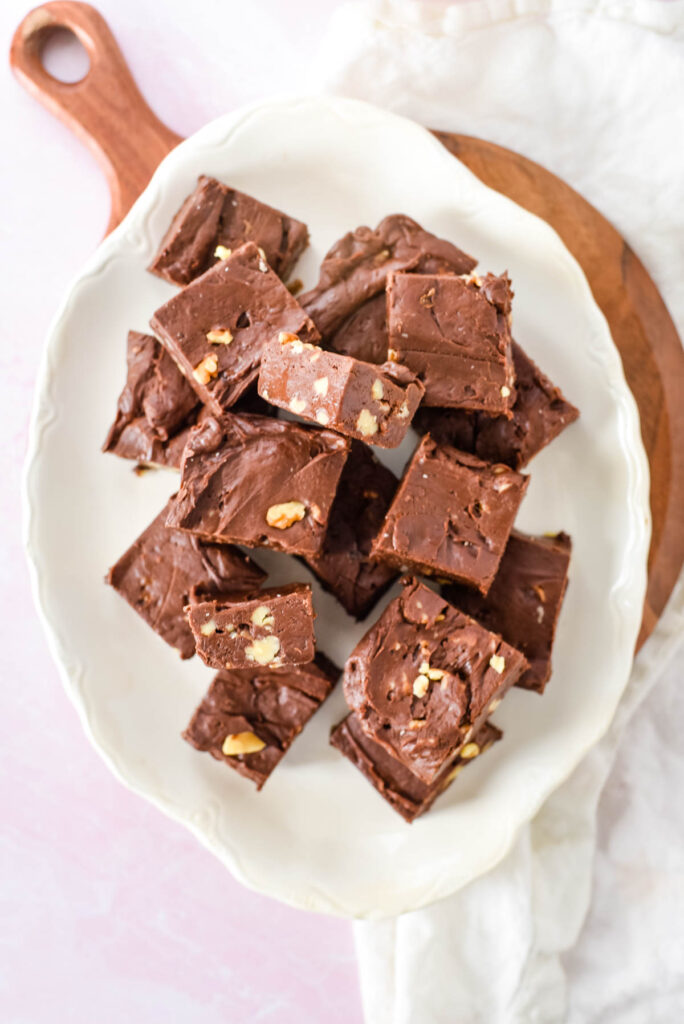
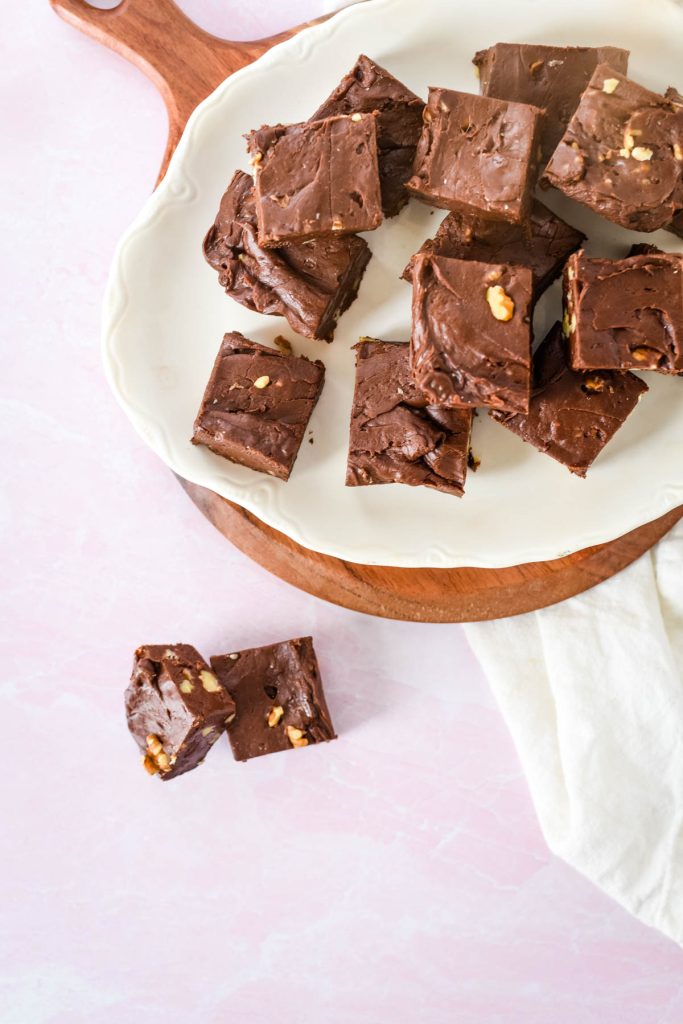
Homemade fudge made without a candy thermometer is a dream come true. With a mixture of semi sweet chocolate and milk chocolate, this sweetened condensed milk fudge is perfectly easy to make and stores like a dream. You officially don’t need any other fudge recipes – but you can try this maple walnut fudge or microwave peanut butter fudge if you want to make a second variety, too!
Ingredients needed:
You only need a five simple pantry staples to make this easy chocolate fudge:
- Sweetened condensed milk – This is what helps us create the dreamy texture without needing a candy thermometer. Don’t substitute it. Use the 15 ounce can.
- Chocolate chips – I like to use a combination of milk chocolate and semi-sweet chocolate for a well rounded flavor. You can use any combination of varieties of chocolate, but use a good quality chocolate.
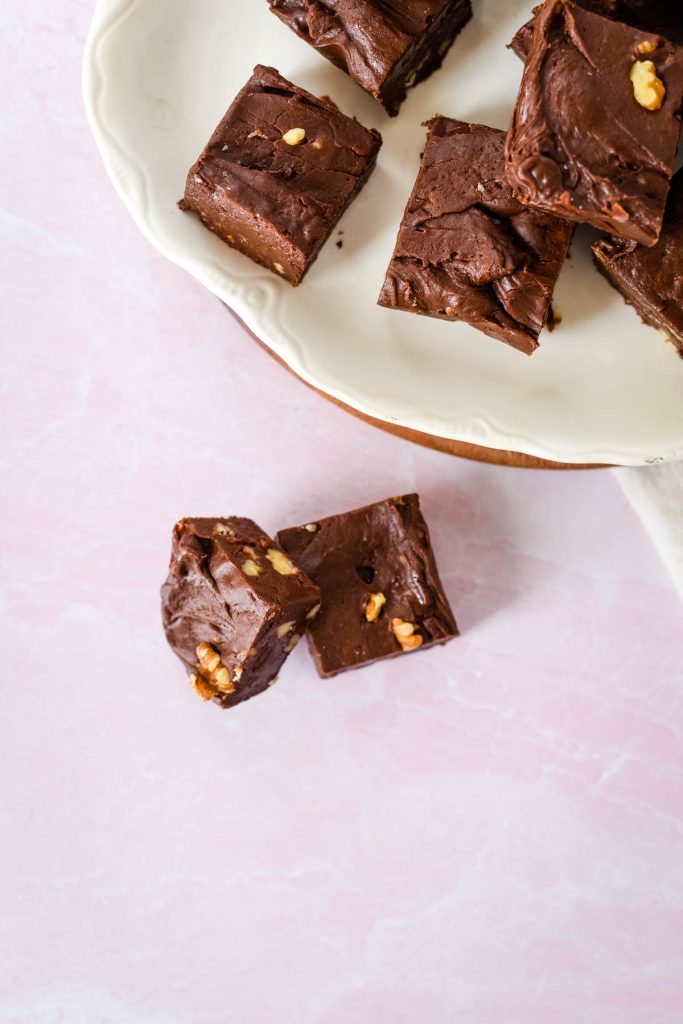
- Walnuts – I like to use walnut halves that have been toasted, and then rough chop them on a cutting board with a knife. I find that using a nut chopper tends to give too fine a piece of nut. You could substitute with pecans if desired.
- Vanilla extract – Helps to balance out the flavors and bring some depth. Use a good quality pure vanilla extract, not an imitation.
- Salt – salt helps to bring out the sweetness of the chocolate a little more and helps to balance the flavors. You only need a pinch! Don’t skip this, it really does help the flavor.
Equipment Needed:
Jenni Ward/The Gingered Whisk is a participant in the Amazon Services LLC Associates Program, an affiliate advertising program designed to provide a means for sites to earn advertising fees by advertising and linking to Amazon.com.
You don’t need many fancy tools to make this fudge.
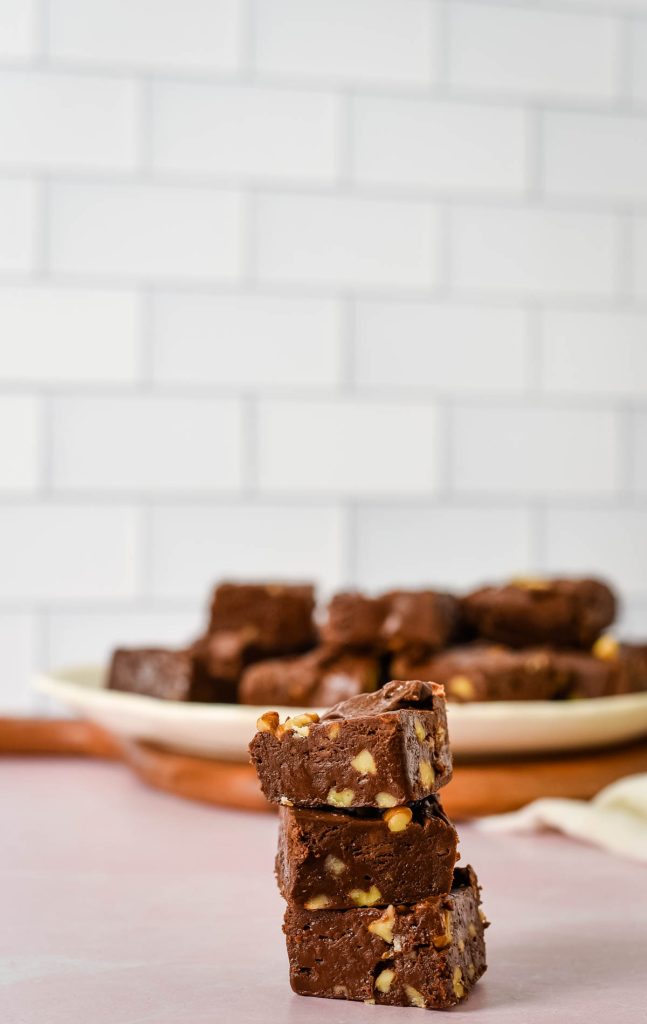
- 9×9 baking dish – This is the perfect size to use for this fudge as it gives a good thickness to each bite. Using a larger pan will result in thinner slices.
- Parchment paper – Lining the baking dish helps to easily remove the fudge from the dish when its time to serve. Leave a bit of an overhang on the sides, so you can easily lift the paper up and transfer the fudge to a cutting board for slicing and serving.
- Double broiler – this helps to melt the chocolate easily without burning it. It works like a bowl nestled over a pot of simmering water and uses the heat and steam created from the simmering water to slowly melt the chocolate.
- Rubber spatula – Use a rubber spatula to stir and combine the ingredients together and transfer the fudge to the pan. You could also use a wooden spoon and/or a whisk, but the rubber spatula is an all-in-one tool that helps to easily stir the melting chocolate and transfer to the baking dish.
How to Make Chocolate Fudge
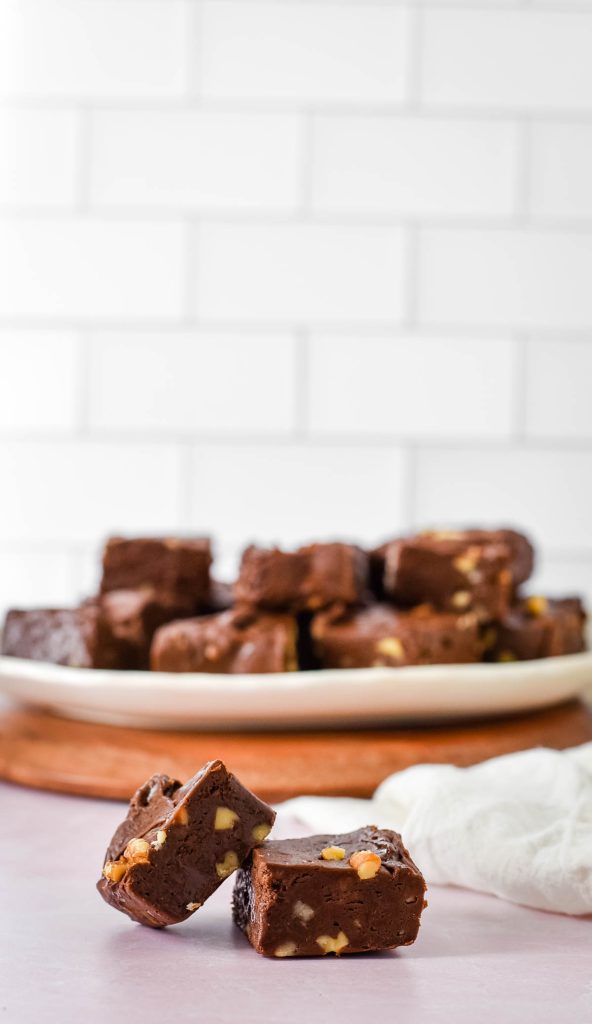
This chocolate fudge recipe is easy-peasy but tastes decadent and amazing! As a girl I would rather snack on this rich and melt-in your mouth treat than a cookie from the holiday plate! Its good that it is easy to make, so you can take it to every holiday get together you can!
You can make this with or without nuts! I use walnuts in this recipe, but you can also use pecans, or skip the nuts altogether.
- Line a 9×9 baking pan with parchment paper.
- Combine the chocolate chips and the sweetened condensed milk in a double broiler.
- Place the double broiler over a large pan filled halfway with simmering water. You don’t want the water to be boiling rapidly and touching the broiler, you just want the steam and heat to help melt the chocolate.
- Whisk constantly while the mixture melts together, until it is smooth. Do not overheat, take it just to where the chocolate is all melted and combined with the condensed milk.
- Remove the pan from the heat. Stir in the nuts, vanilla, and a pinch of salt.
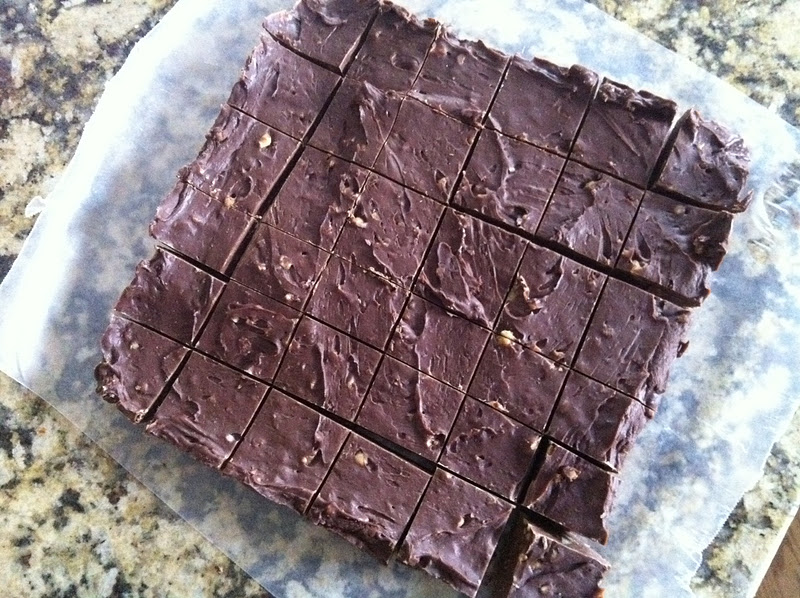
- Pour into the prepared pan and smooth out.
- Place in the fridge for 2 hours to set.
Trips and Tricks for Making Great Fudge:
- Line your pan with parchment paper that hangs over the sides. Then when it is time to serve, you can pull all the fudge out easily. Cut it on the parchment paper and transfer to a serving plate!
- Use a wooden spoon or silicone spatula when stirring, not a metal whisk or metal spoon.
- Make sure you use sweetened condensed milk, NOT evaporated milk! Sweetened condensed milk is a lot thicker than evaporated milk and you need the consistency to help this fudge set properly.
How do you store chocolate fudge?
The best way to store chocolate fudge is in an air-tight container. I remember my grandmother always storing it wrapped in plastic wrap, and then waxed paper, and then placing it in a glass container. You don’t have to go quite so gung-ho over it, but keeping it nice and air tight keep it from drying out.
You can choose if you want to store it in the fridge or at room temperature. At room temperature, this chocolate fudge recipe will last 7-14 days (if you don’t eat it all first, that is). In the refrigerator, this chocolate fudge recipe will last 2-3 weeks.
You can also freeze chocolate fudge! Wrap it well in plastic wrap and then freezer parchment paper before placing it in an airtight freezer container. It will last up to 3 months. Make sure you cut it into bite sized pieces, first!
Food tastes better when its shared! If you try this recipe, let me know! Leave a comment and rate below! Love and links are always appreciated! If you’d like to share this post, please link to this post directly for the recipe, please do not copy and paste or screenshot. Thanks so much for supporting me! xoxo

Easy Chocolate Fudge with Walnuts
Equipment
Ingredients
- 1 can sweetened condensed milk
- 3 cups chocolate chips this is almost 2 whole bags. I usually use half milk and half semi-sweet
- 1 ½ tsp vanilla
- ¾ cup chopped walnuts
- pinch salt
Instructions
- Line a 9×9 pan with waxed paper.
- In a double broiler or a saucepan, melt the chocolate chips and condensed milk together.
- Stir constantly so the chocolate does not burn!!
- As soon as the chocolate is melted and smooth, remove from the heat, and stir in the vanilla and nuts.
- Pour into the prepared pan and smooth the top down.
- Place in the refrigerator and allow to chill for at least two hours, until set.
- Remove the wax paper from the pan and place the fudge on the counter, where you can cut it into bite sized pieces.
- Store the fudge in the refrigerator, covered, until you have eaten it all! 🙂
- Enjoy!
Nutrition
This fudge is adorable!!!
My husband is from Michigan, and his older sister was a master fudge maker! He always talks about it, and I'd love to surprise him by making a batch myself
thanks for the recipe, I will give it a try and let you know how it goes
I agree – the holidays are the only time I have ever eaten fudge. This looks like a wonderful holiday treat!
Simple to make, yet appealing.
Same here! NO fudge unless it's December. I make Rocky Road too. Mmm….
The Bread Fairy sent me to discover you 🙂 Nice to meet you and I love your blog! So homey and cozy. Great name too!
Michael Ann
The Big Green Bowl
very wonderful blog thanks for posting.
Nothing like homemade fudge! What a great recipe that was extremely delicious. This will be a great homemade gift to give for the holidays!
I just made some Fudge using this recipe…I alway make a few batches and give as gifts….to my favorite nurses, cashiers etc
Happy Holidays
Everyone