How to dry sourdough starter
Drying your sourdough starter for long term storage is a simple and easy way to ensure you always have starter on hand.
It is always a good idea to have some backup sourdough starter on hand. Accidents happen, and you never know when your starter might accidentally get moldy, the container dropped, dumped in the trash, you name it! Having a dried sourdough starter on hand is like your insurance policy!
So many things can happen and having dried starter on hand means you can quickly and easily replenish your sourdough starter without starting from scratch.
When I happen to have a large amount of discard on hand and I don’t want to make any sourdough discard recipes, I always make sure that I dry some starter to keep.
Why dry your starter?
Drying your starter is also a great way to keep your starter on hold in an active form.
- Always have a backup starter on hand in case something happens
- You need to transport your starter when you move or travel
- Makes it easy to mail some to a friend
- It is also great for when you go on an extended vacation
- If you need to take a break due to illness, having a baby, etc
How to dry your starter
Here is a general overview of how to dry your starter. For the complete set of directions, please scroll down to the recipe card below.
You can dry as much or as little starter as you want. The amount is not as important as the method. You also want to make sure you use a strong, mature starter. Drying a brand new starter, or one that is weak, will not help you.
- Start by feeding your starter. For best results, you want to use a starter that has been fed and is active (meaning it is bubbly and has doubled in size without falling back down) and not discard straight from the fridge. This will ensure that the yeast is strong and healthy when you dry it, and then when you revive the starter it will be easier. You CAN use discard, but it will take longer and more feedings to revive.
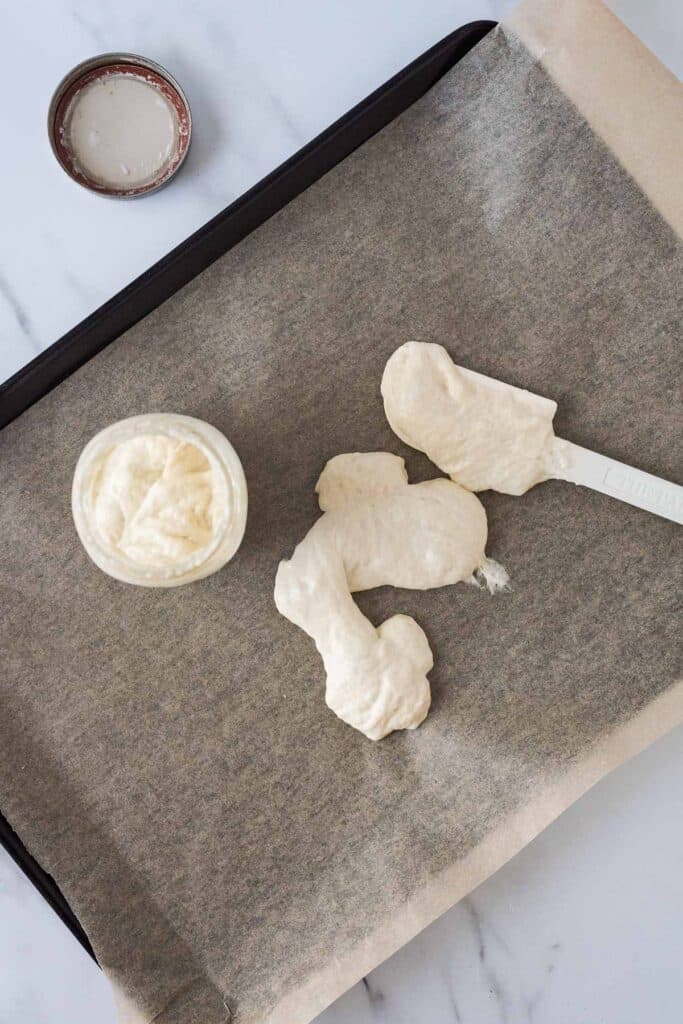
- Take a large baking sheet and line it with a silicone baking mat or with parchment paper.
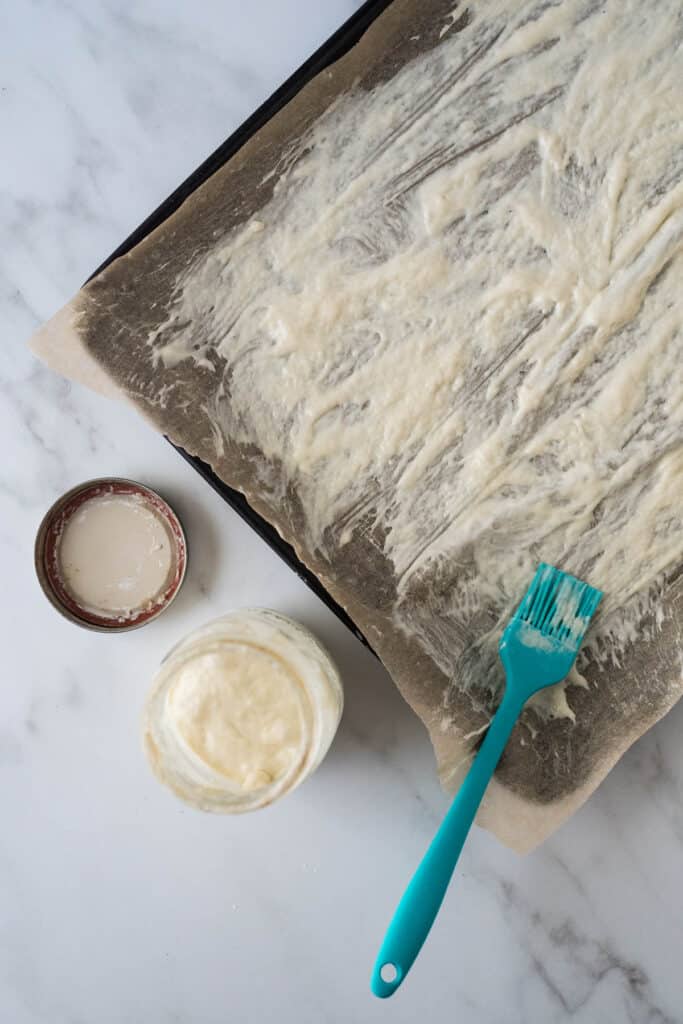
- Use a silicone spatula or pastry brush to spread out the starter as evenly and thinly as you can. The thinner you get it, the faster it will dry.
- Place the pan in a turned off oven and crack the door with a wooden spoon. This will allow a safe space for it to dry that is slightly warm but still has air flow so it can dry.
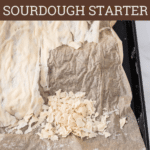
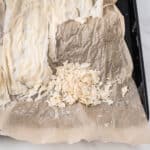
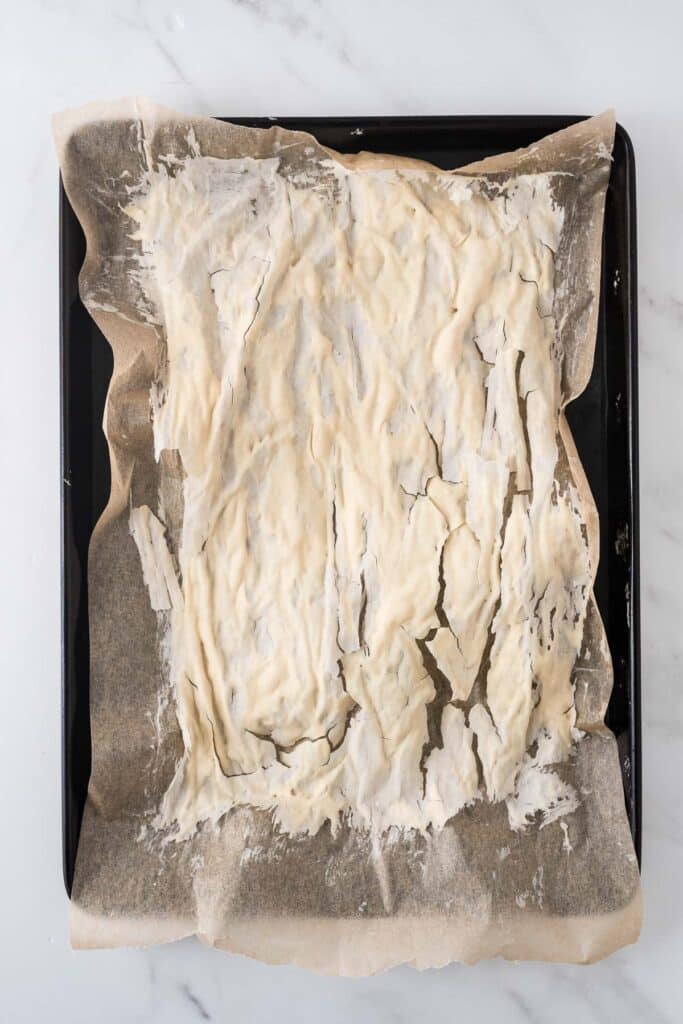
- Allow it to sit until completely dry. It needs to be utterly, absolutely, bone dry.
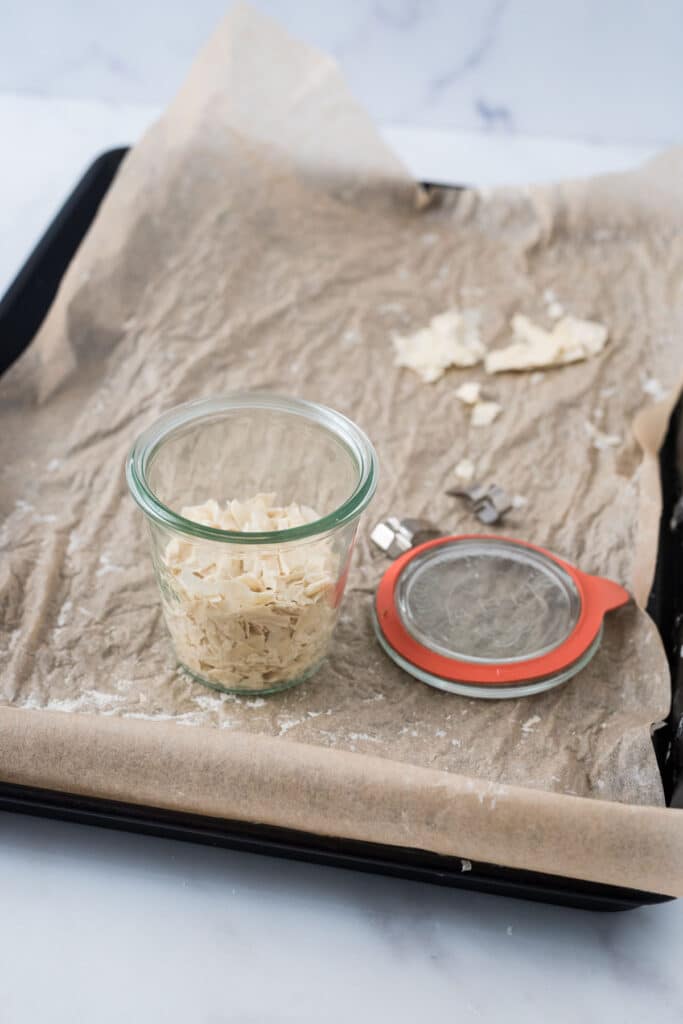
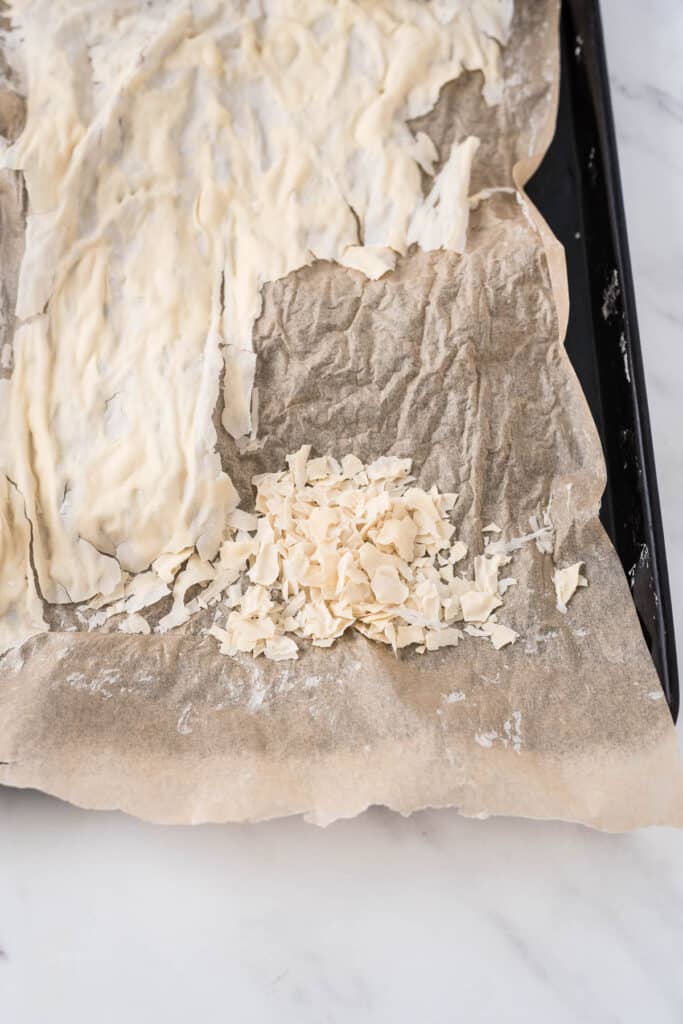
- Break the dried starter into pieces and place in a clean container with an airtight lid. If desired you can place the flakes in a clean food processor and grind into more of a powder.
IMPORTANT TIP: You MUST put a note on the oven to remind everyone in your household that your starter is in there! If you turn your oven on to preheat with the starter in there, it will bake the yeast and it will not be active anymore.
Do I have to place it in the oven?
No, you don’t! You can keep it in an out of the way space you want, you just have to make sure that its in a safe space where it won’t get pet hair, bugs, food contamination, etc in it while it dries.
You can use a food dehydrator as well. Cut strips of parchment paper to fit and dry it on the lowest setting possible (about 95 degrees) so it dries without harming the yeast. You want to make sure it stays below 105 degrees, as this will cook your starter.
I do not recommend using a freeze dryer as it produces inconsistent results.
How long will this take?
How long this will take depends on a few things: How thin you spread your starter, and the temperature and humidity level of your house.
- If your starter is spread thicker, it will take longer than if the starter is spread thin.
- If it is the middle of summer and your house is hot and humid, it will take longer than a cooler, dryer day.
It usually takes me about 24 hours, but it could take up to 2-3 days depending on the above circumstances.
How to store dried starter
Place your dried starter in an airtight container. It does best in a cool, dark storage place like the back of your pantry. Make sure you label your storage container so you know what it is!
You do not need to place it in the fridge or the freezer. The high humidity levels of a fridge can cause any part of the starter that wasn’t completely dry to mold. And a freezer can actually damage the viability of your starter, too.
How long will the dried starter last?
Dried starter, if kept in proper storage conditions, will last indefinitely! I have saved dried starter for several years and then revived and used it just fine.
Did you see that they recently revived a 5,000 year old starter and actually baked bread with it?! How cool is that!
How to revive a dried starter
When you are ready to revive your dried starter, it will only require a few days. Here are the steps:
Day One:
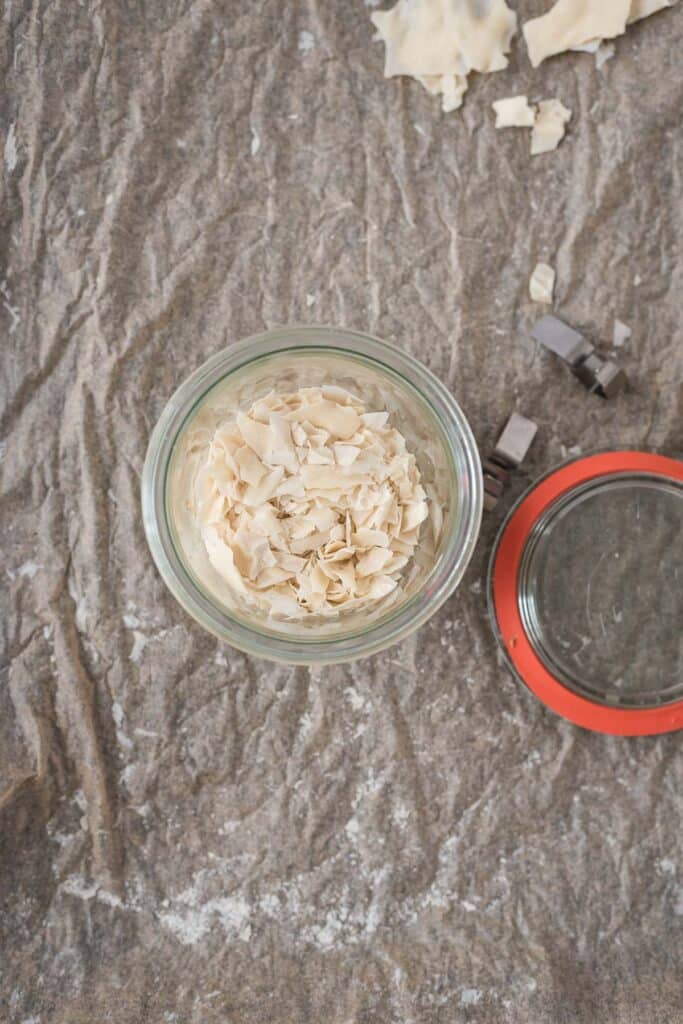
- Measure out 1 ounce (or about ¼ to ⅓ cup) of dried starter flakes and place in a glass jar with a loose lid.
- Add 2 ounces (or about ¼ cup) of lukewarm water to the starter flakes and stir to break up and dissolve the chips. You might need to let it sit and soak for a bit.
- When the mixture is fairly smooth and the chips have mostly dissolved, add in about 1 ounce (or about ¼ cup) of unbleached all purpose flour.
- Cover loosely and allow to sit at room temperature for 24 hours.
Day Two:
- Feed the starter with 1 ounce (about ¼ cup) of unbleached all purpose flour and 1 ounce (⅛ cup) of water and stir until well combined. Do not discard anything, just feed it. It should have the consistency of thick pancake batter. Cover loosely and allow to sit for 24 hours.
Day Three:
- Repeat the steps from day 2. Cover loosely and allow to sit for 24 hours.
Day Four:
- Feed the starter with 1 ounce (¼ cup) of all purpose flour and 1 ounce (⅛ cup) of water. Stir until well combined. Cover loosely and allow to sit for 24 hours.
Day Five:
You should have a lot of activity now. The starter should be doubling size.
- Feed the starter with 1 ounce (¼ cup) of flour and 1 ounce (1/8 cup) of water. Mix well, loosely cover, and allow to sit for 24 hours.
Your starter should now be well revived and ready to use! You can now start discarding and feeding on a regular schedule.

Love and links are always appreciated! If you’d like to share this post, please link to this post directly for the recipe, please do not copy and paste or screenshot. Thanks so much for supporting me! xoxo


How to dry sourdough starter
Ingredients
Equipment
Method
- Start by feeding your starter and wait for it to be bubbly and has doubled in size without falling back down.
- Take a large baking sheet and line it with a silicone baking mat or with parchment paper.
- Use a silicone spatula or pastry brush to spread out the starter as evenly and thinly as you can. The thinner you get it, the faster it will dry.
- Place the pan in a turned off oven and crack the door with a wooden spoon. This will allow a safe space for it to dry that is slightly warm but still has air flow so it can dry. Remember to place a note on the oven so no one turns it on!
- Allow it to sit until it is completely dry all the way through.
- Break the dried starter into pieces and place in a clean container with an airtight lid. If desired you can place the flakes in a clean food processor and grind into more of a powder.
- Label the container so you know what it is. Store in a cool, dark place until needed.
Nutrition
Nutrition information is provided as a general estimate and may vary based on ingredients, brands, and substitutions. For specific dietary needs, we recommend calculating nutrition using your preferred tool.