Biscoff Blondies
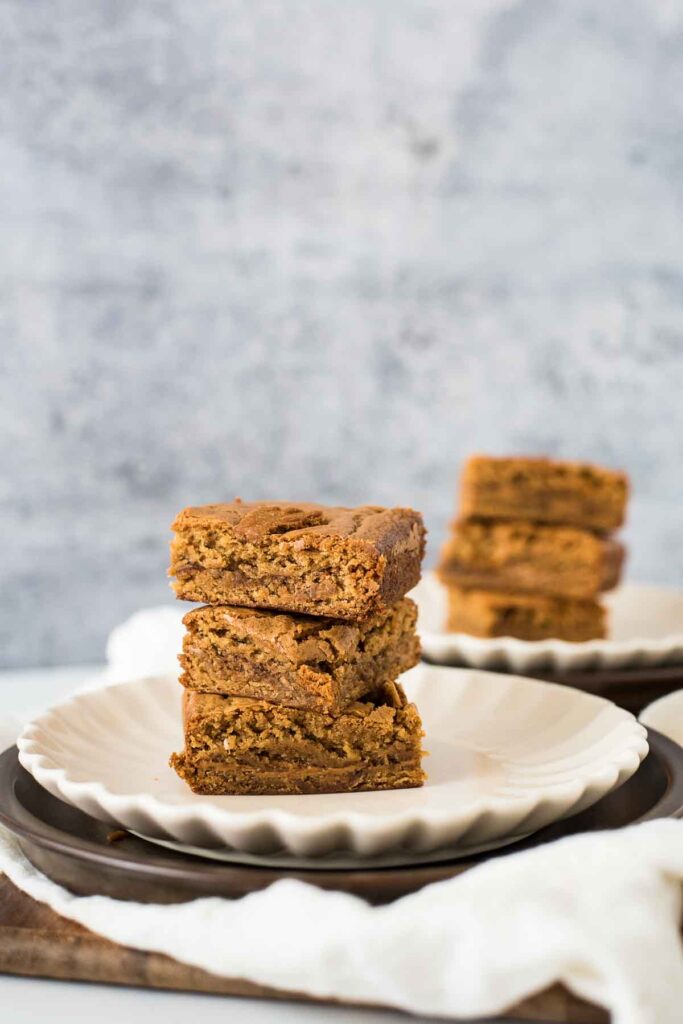
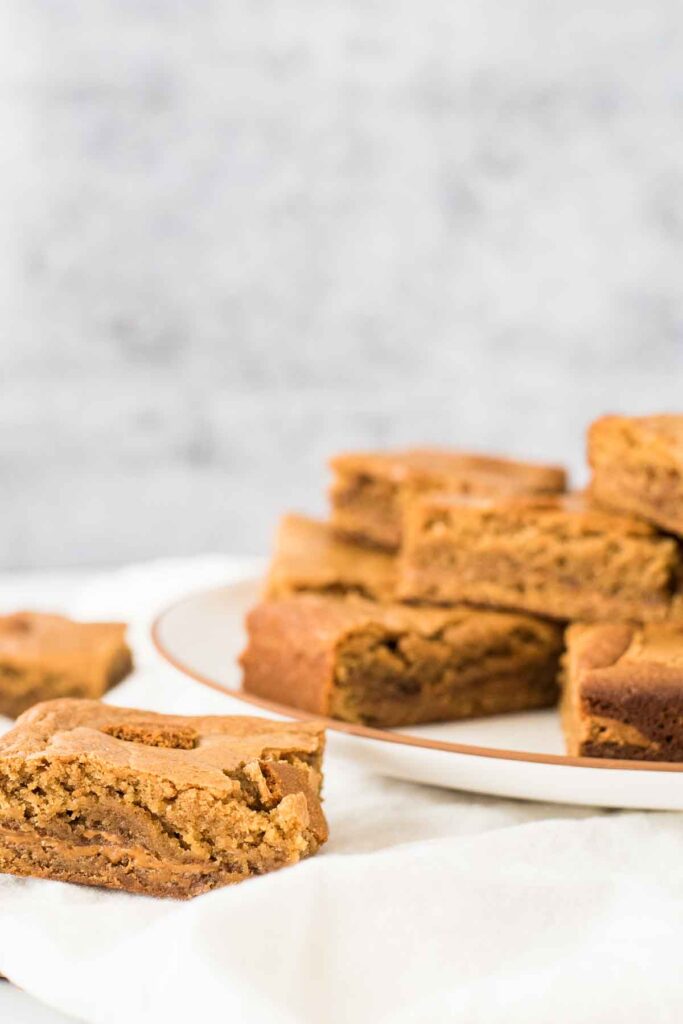
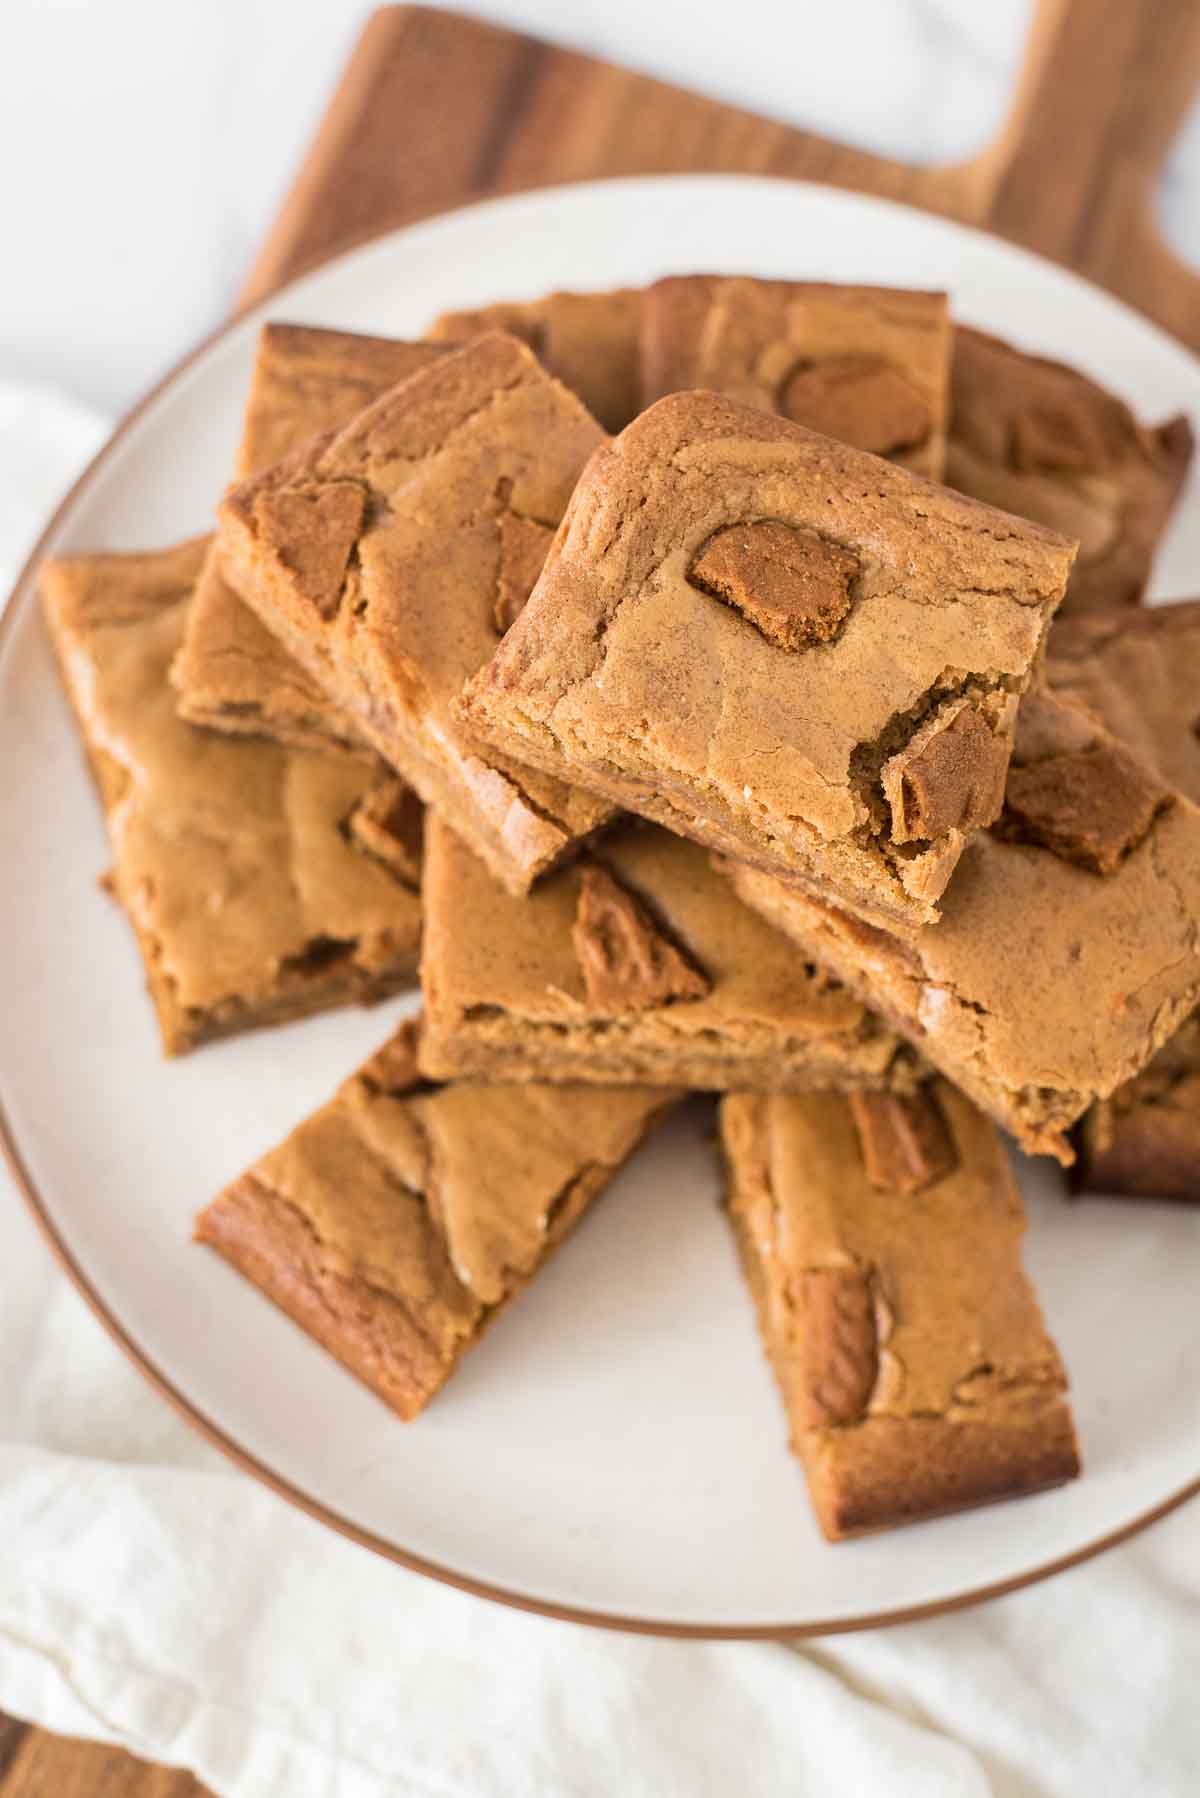
Biscoff blondies are rich and flavorful dessert bars that are easy to make. These chewy brown butter blondie bars are stuffed with a layer of gooey Biscoff butter and topped with crushed Biscoff cookies.
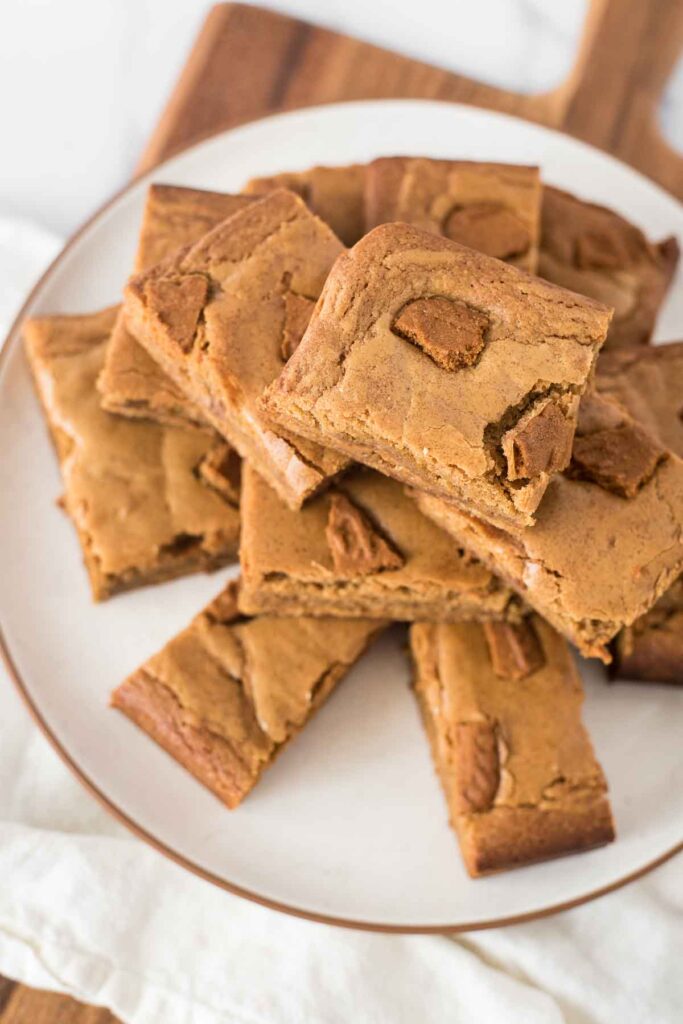
These cookie butter blondies are amazingly rich and flavorful. Made with browned butter, a gooey cookie butter filling in the center, and topped with crunchy pieces of cookie on top,
Other great dessert bar recipes:
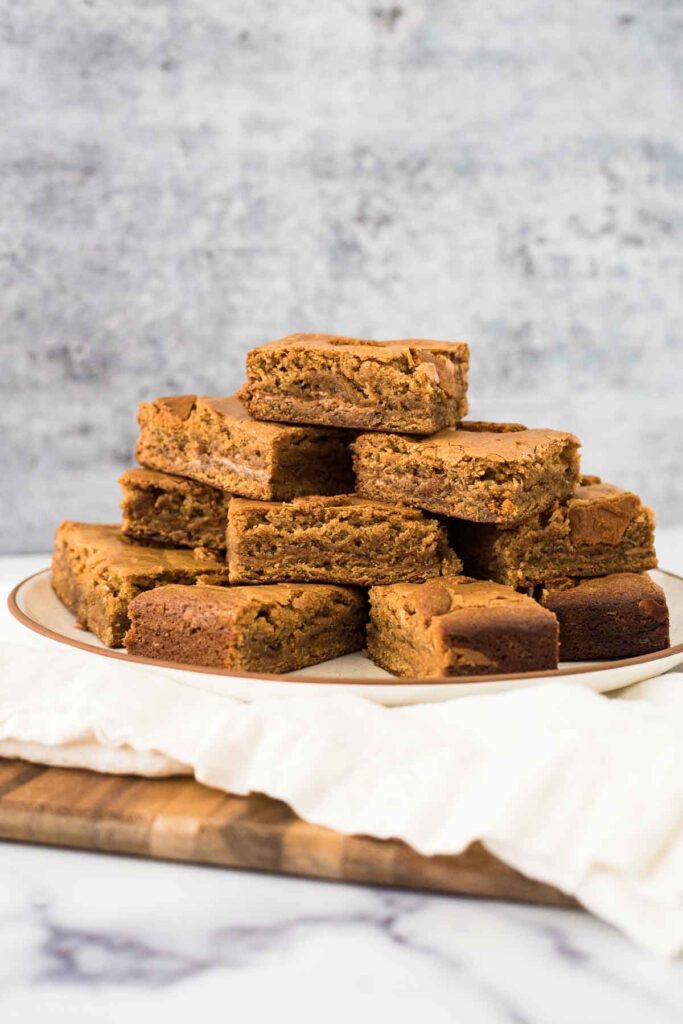
If you have never had it, cookie butter is a delightful rich dessert spread made from Biscoff cookies and sugar. Biscoff cookies are a delicate shortbread that are flavored with spices like cinnamon, nutmeg, ginger, allspice, and cloves. They are delicately crunchy and have a lovely caramelized spice flavor.
Note: You don’t have to use Biscoff brand cookie butter, you can use any brand of cookie butter spread. The Trader Joe’s brand is good, too! And feel free to use either the creamy or crunchy spreads.
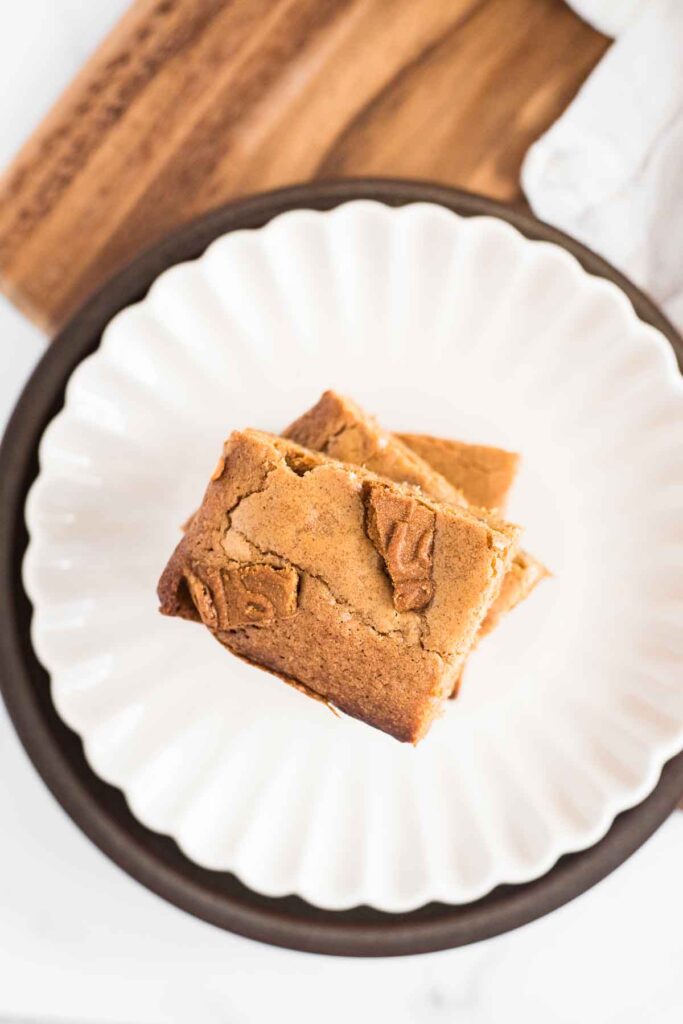
How to make these blondies
This recipe is very simple to make! Here is a brief overview of the recipe to give you an idea of how it works. For the full set of directions and measurements, please make sure you scroll down to the recipe card below!
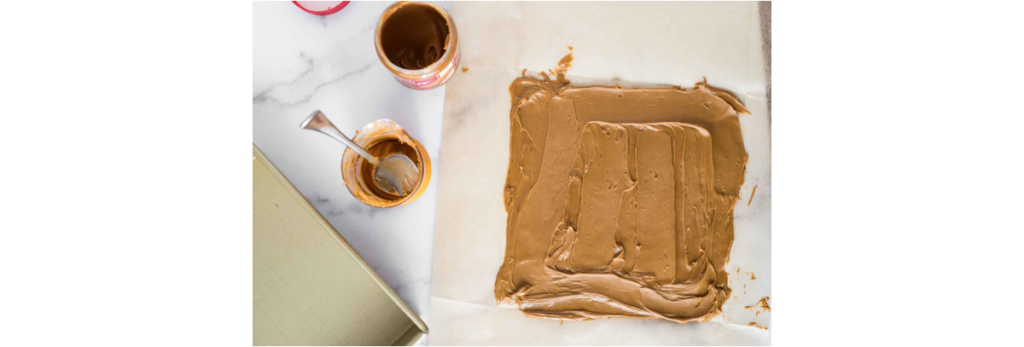
Prep the biscoff butter
- Fold a piece of parchment paper so that it fits into the bottom of your baking pan with some overhang.
- Spread the cookie butter onto the parchment paper evenly.
- Place this in the freezer for at least an hour to freeze.
Brown the butter
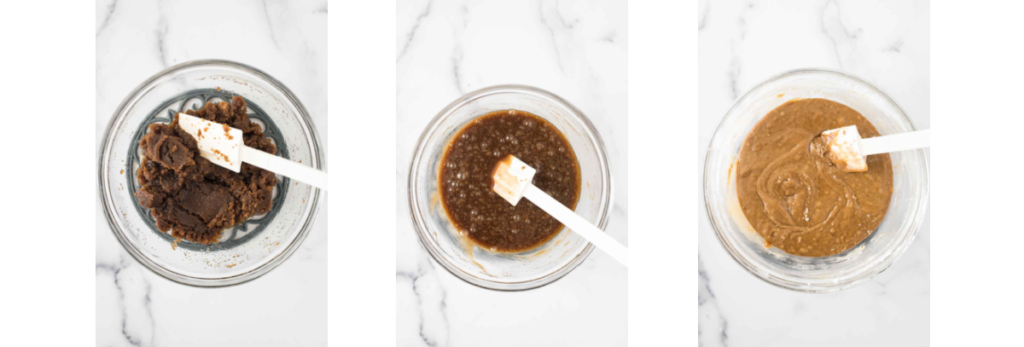
- Place the butter in a small skillet and place on the stovetop over medium heat.
- Allow the butter to melt and slowly start to bubble, about 2-3 minutes.
- The butter will then start to turn a little foamy. At this point, stir the butter frequently so that it cooks evenly and doesn’t burn. Continue until the butter starts to turn a golden brown color.
- Transfer the browned butter (and any brown bits from the bottom of the pan) to a medium sized mixing bowl and allow to cool for 5-10 minutes.

Make the batter
- To the browned butter, add in the brown sugar and mix until well combined.
- Whisk in the eggs and vanilla extract and mix until well combined.
- In a small bowl, whisk together the flour, baking powder, and salt.
- Stir the flour mixture into the butter/sugar mixture, until just combined.
Assemble the blondies
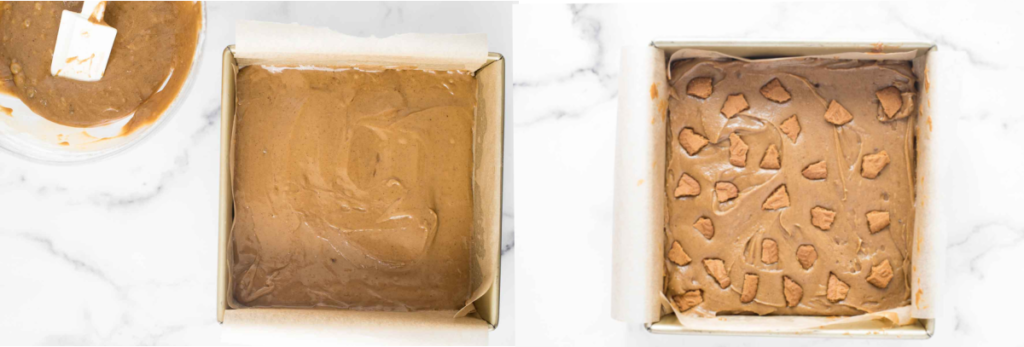
- Prepare an 8×8” baking pan by spraying with baking spray and fit a piece of parchment paper.
- Press half of the batter into the bottom of the prepared baking dish.
- Take the cookie butter spread out of the freezer and carefully put it upside down on the top of the batter in the pan. Carefully peel back the parchment paper.
- Add the remaining batter on top and smooth out evenly.
- Sprinkle some cut up cookies on top of the bars (this step is optional but so good).
Bake
- Bake in a preheated oven for 35-40 minutes, or until the top is golden and a little crinkly looking and a toothpick inserted in the center comes out with just a few wet crumbs. You don’t want to over bake these, you want them a little gooey and the cookie layer to be nice and gooey.
- Allow to cool before slicing into them.
Storage Information
Store these blondie bars in an airtight container for 3-4 days.
You can also store individually cut bars in freezer bags for up to 3 months. Allow them to defrost on the counter overnight before enjoying.
Kids in the kitchen: How your kids can help you cook
These blondies are a fun recipe to have kids help bake. With few steps that are easy, and no special equipment required, this is a great recipe for kids to help with.
- Kids aged 1-3 can help you break the cookies and measure the ingredients.
- Kids aged 4-6 can do everything above plus mix batter and spread the cookie butter.
- Kids aged 7-10+ can help you do everything above, plus help you brown the butter and assemble the bars.
*Please note that these recommendations are generalized, and to please use your personal discretion with your child’s skill level. And always, always supervise! Read more about how to have your children help you in the kitchen.
Love and links are always appreciated! If you’d like to share this post, please link to this post directly for the recipe, please do not copy and paste or screenshot. Thanks so much for supporting me! xoxo
Biscoff Blondie Recipe
Ingredients
- ¾ cup Biscoff cookie butter spread
- ¾ cup unsalted butter
- 1 ½ cups brown sugar
- 2 large eggs
- 1 teaspoon vanilla extract
- 1 ½ cups all purpose flour
- ¾ teaspoon salt
- ½ teaspoon baking powder
- 4-5 Biscoff cookies chopped (optional)
Instructions
- Fold a piece of parchment paper so that it fits into the bottom of your baking pan with some overhang.
- Spread the cookie butter onto the parchment paper evenly. Place this in the freezer for at least an hour to freeze.
- Place the butter in a small skillet and place on the stovetop over medium heat.
- Allow the butter to melt and slowly start to bubble, about 2-3 minutes. The butter will then start to turn a little foamy. At this point, stir the butter frequently so that it cooks evenly and doesn’t burn. Continue until the butter starts to turn a golden brown color.
- Transfer the browned butter (and any brown bits from the bottom of the pan) to a medium sized mixing bowl and allow to cool for 5-10 minutes.
- To the browned butter, add in the brown sugar and whisk until well combined.
- Whisk in the eggs and vanilla extract and mix until well combined.
- In a small bowl, whisk together the flour, baking powder, and salt.
- Stir the flour mixture into the butter/sugar mixture, until just combined.
- Prepare an 8×8” baking pan by spraying with baking spray and fit a piece of parchment paper.
- Press half of the batter into the bottom of the prepared baking dish.
- Take the cookie butter spread out of the freezer and carefully put it upside down on the top of the batter in the pan. Carefully peel back the parchment paper.
- Add the remaining batter on top and smooth out evenly.
- Sprinkle some cut up cookies on top of the bars (this step is optional).
- Bake in a preheated oven for 35-40 minutes, or until the top is golden and a little crinkly looking and a toothpick inserted in the center comes out with just a few wet crumbs. Do not overbake.
- Allow to cool before slicing into them.

Oh wow, this looks so delicious. My family is going to devour it!