Italian Sourdough Chocolate Bread (Pane al Cioccolato)
This Chocolate Sourdough Bread is an is a lovely bread to make – with a slight sourdough tang, a subtle chocolate flavor and a beautiful, open crumb. It is perfect for snacking, making french toast, or sweet sandwiches. Also known as Pane al Cioccolato, this Italian Chocolate Bread is going to be your favorite loaf!
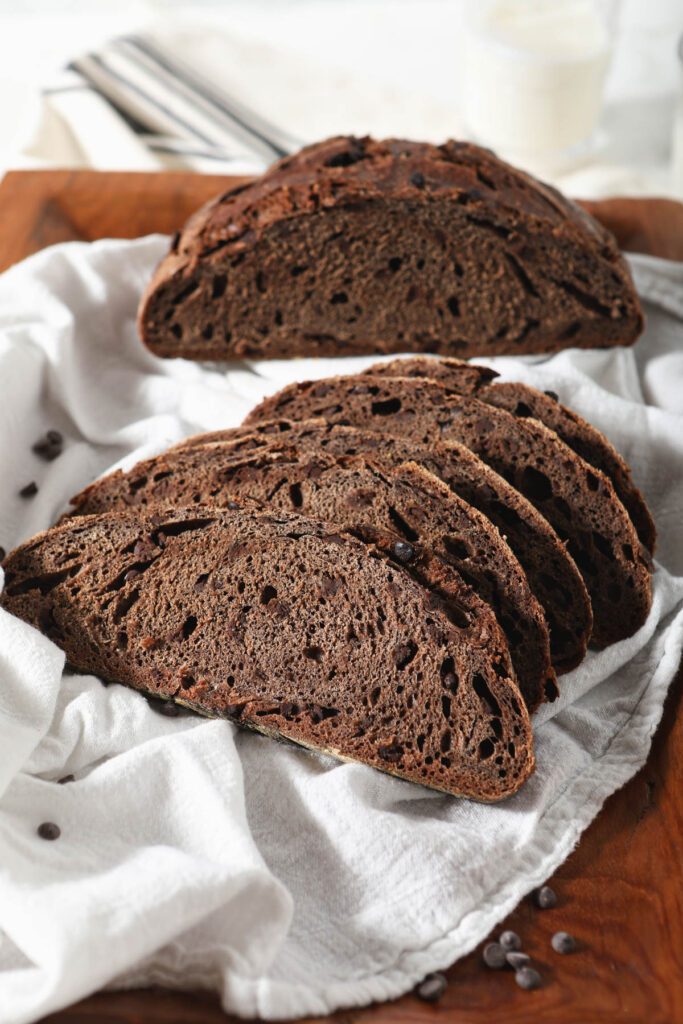
If you like chocolate, you will love this sourdough bread! With great flavor, slight sweetness, a soft and springy crumb, and crispy outside crust, this bread is quickly going to become your favorite. This is not an almost cake like quick “bread” recipe – this is an actual loaf of bread flavored with a perfect amount of cocoa.
Creating this sourdough bread isn’t much different than creating any other sourdough bread recipe. There are some slight differences – the cocoa and chocolate, obviously, and the fact that this recipe is made with a special kind of starter called a biga natural.
Other great sourdough bread recipes to try:
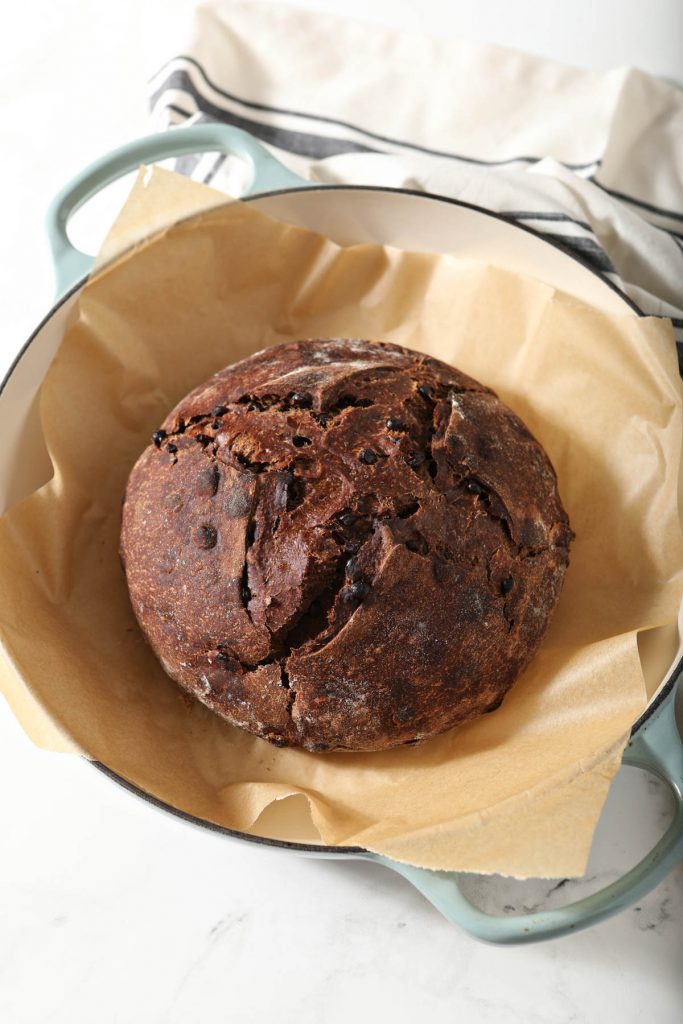
What does Pane Al Cioccolato taste like?
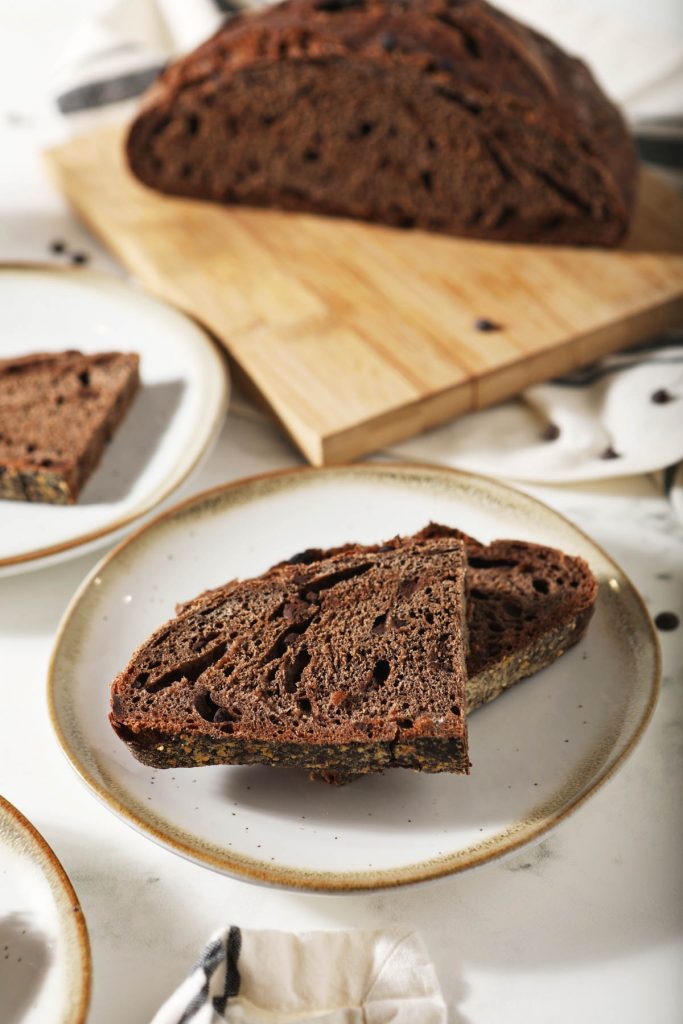
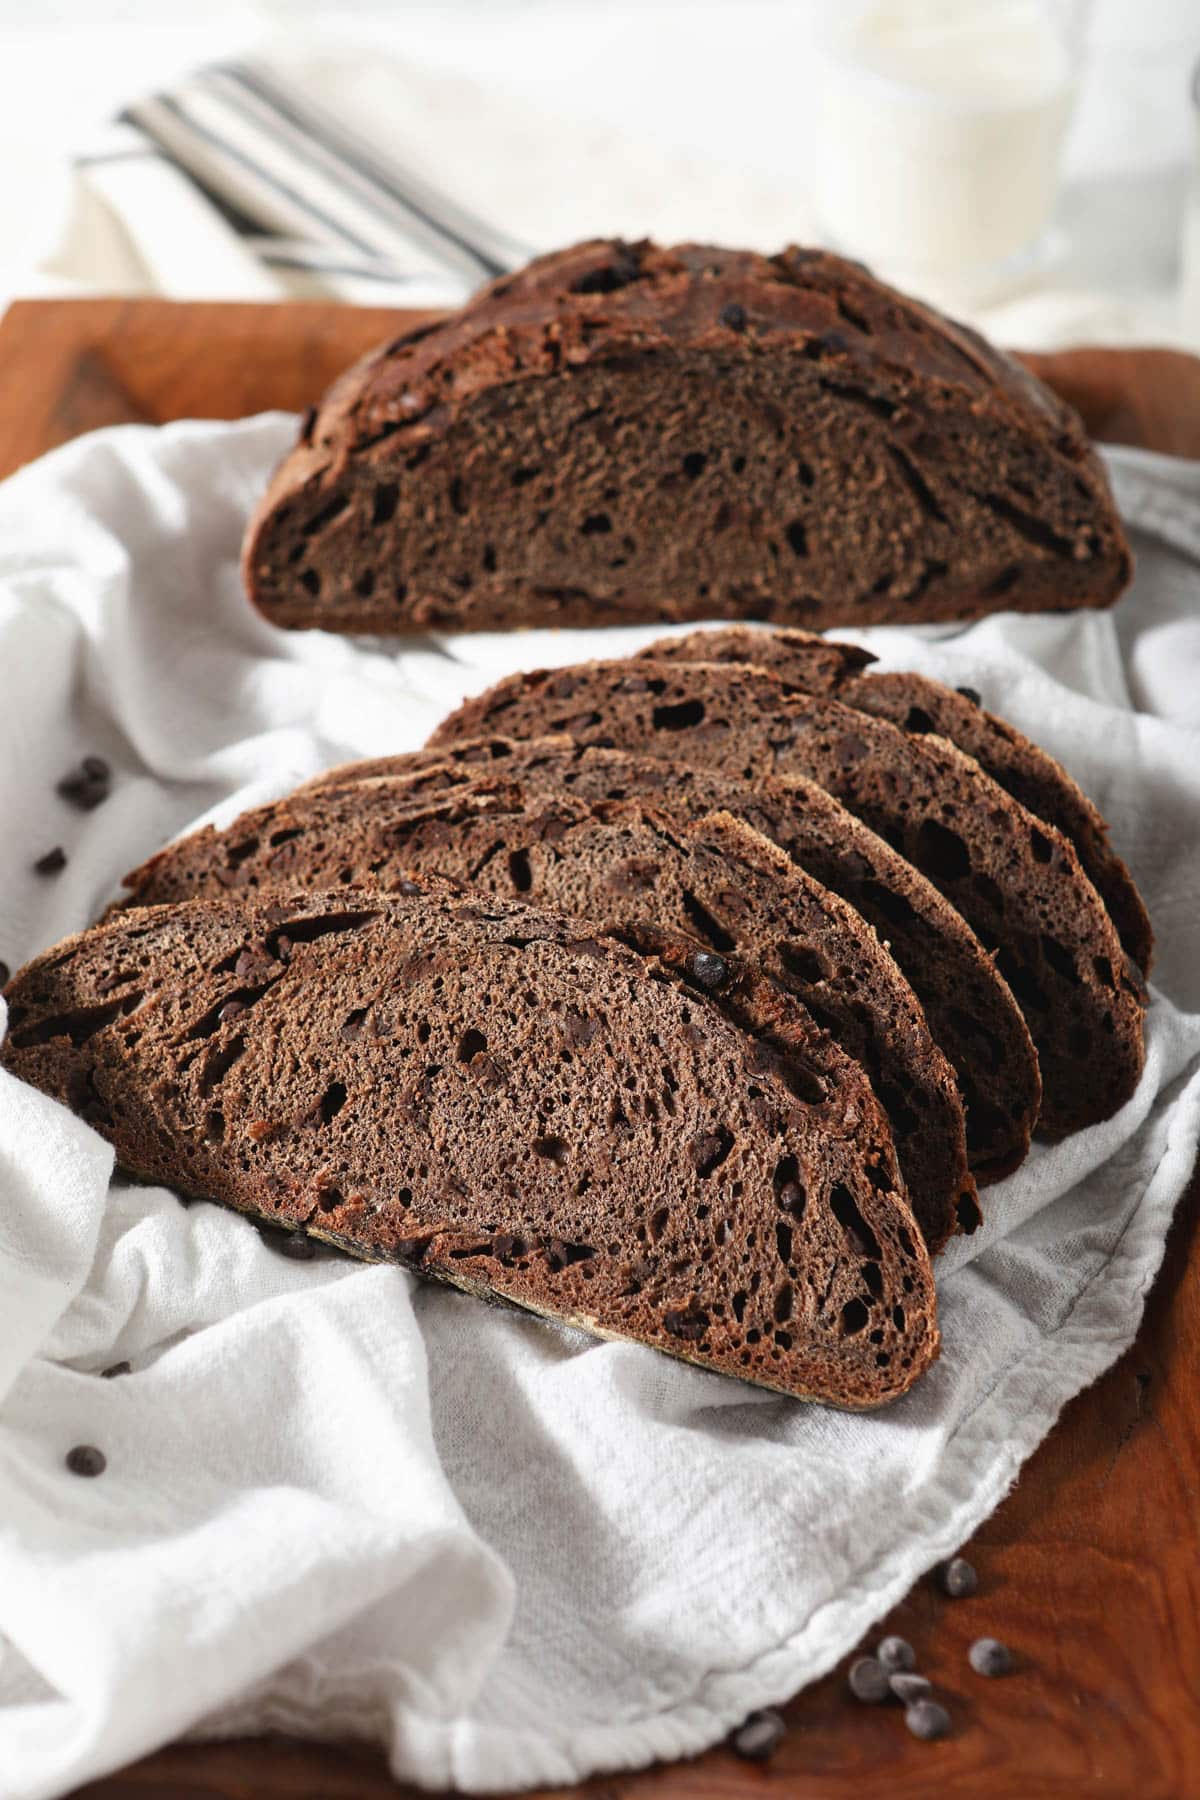
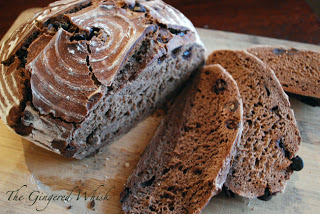
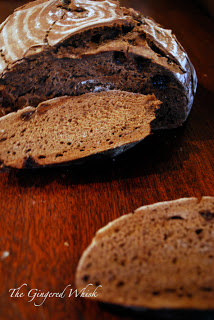
I was really surprised when I cut into this loaf, it has a nice crumb, and it was really soft!
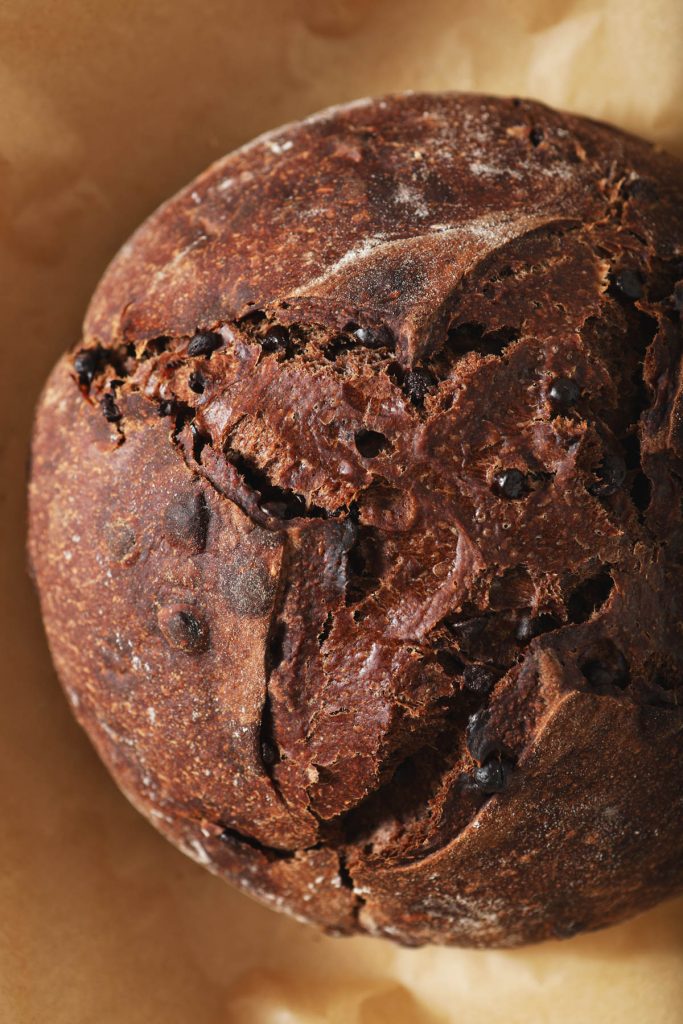
This loaf of Italian chocolate bread turns out rather surprising – it has a soft, nice crumb, the crust is not too crunchy, and the flavor of sourdough and chocolate compliment the subtle nutty flavor of the biga so well. Not any one part of this bread is overpowering or “too much”, but its just right!
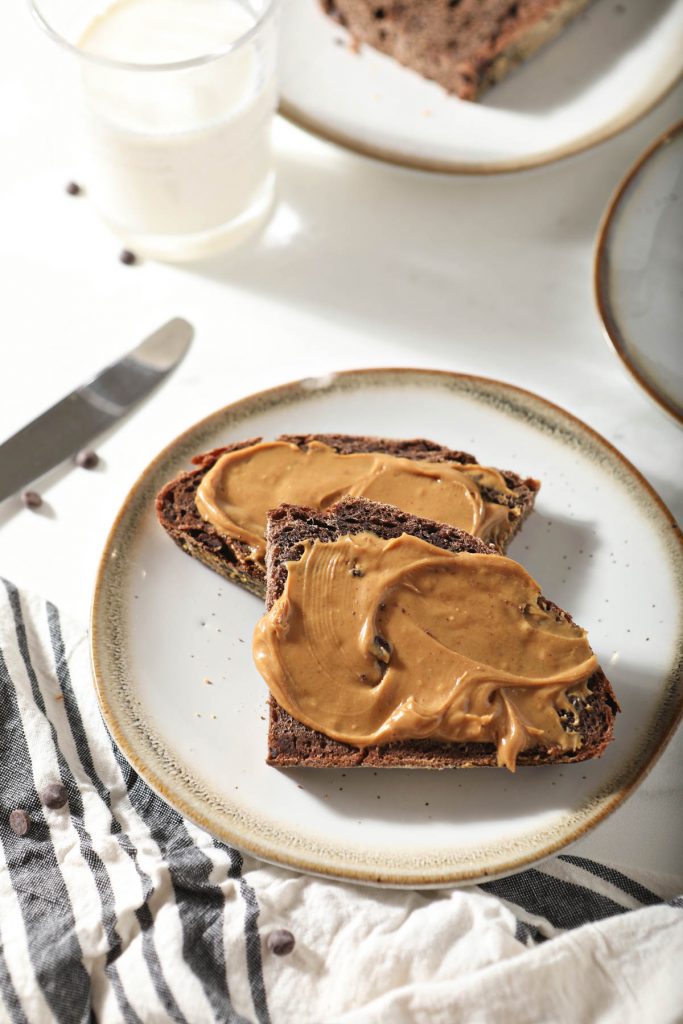
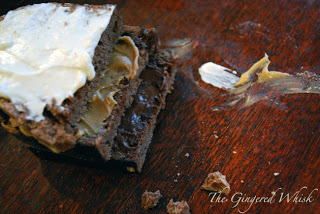
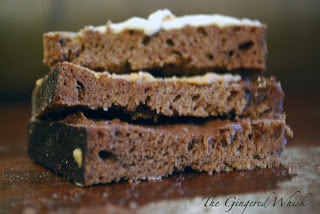
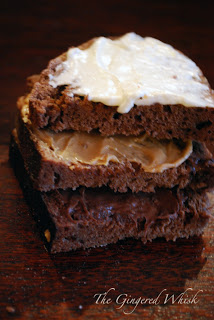
But slathered with a nice layer of nutella, peanut butter, or cream cheese, this bread is heaven on a plate. Or a napkin. Or standing in the corner of the kitchen hoping the toddler doesn’t see you because you don’t feel like sharing.
How to make chocolate sourdough bread
This chocolate sourdough bread recipe is a great sourdough bread to make and isn’t complicated! For the full recipe, make sure you scroll down to the recipe card below, but here is a brief overview of how to make it:
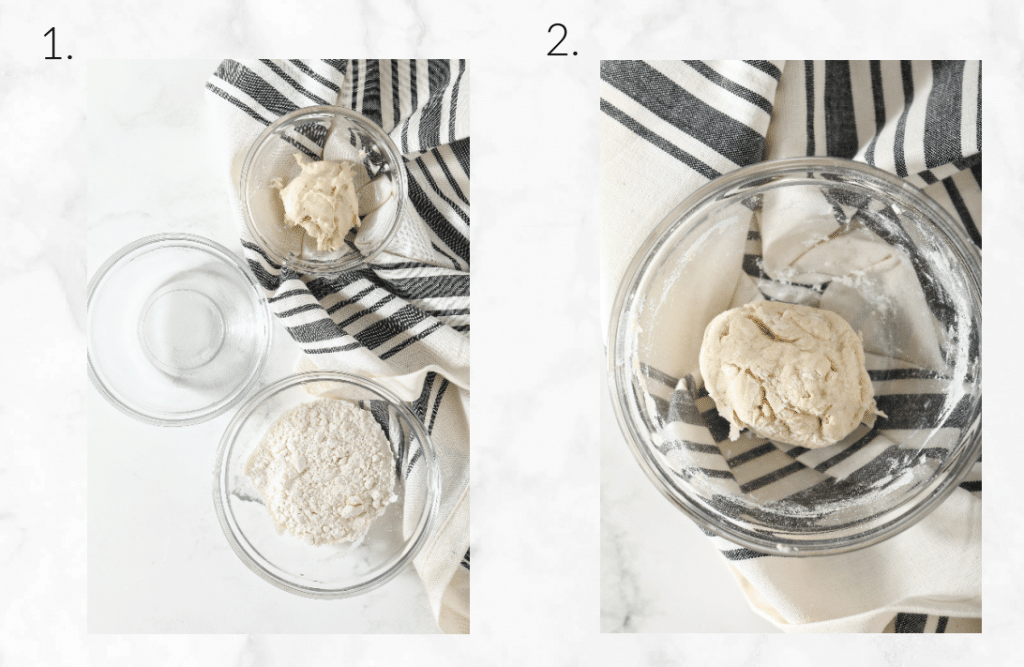
Mix the biga naturale
- Mix the ingredients for the biga naturale together in a bowl until everything is evenly distributed.
- Cover with plastic wrap and a towel and allow to sit at room temperature for 8 hours.
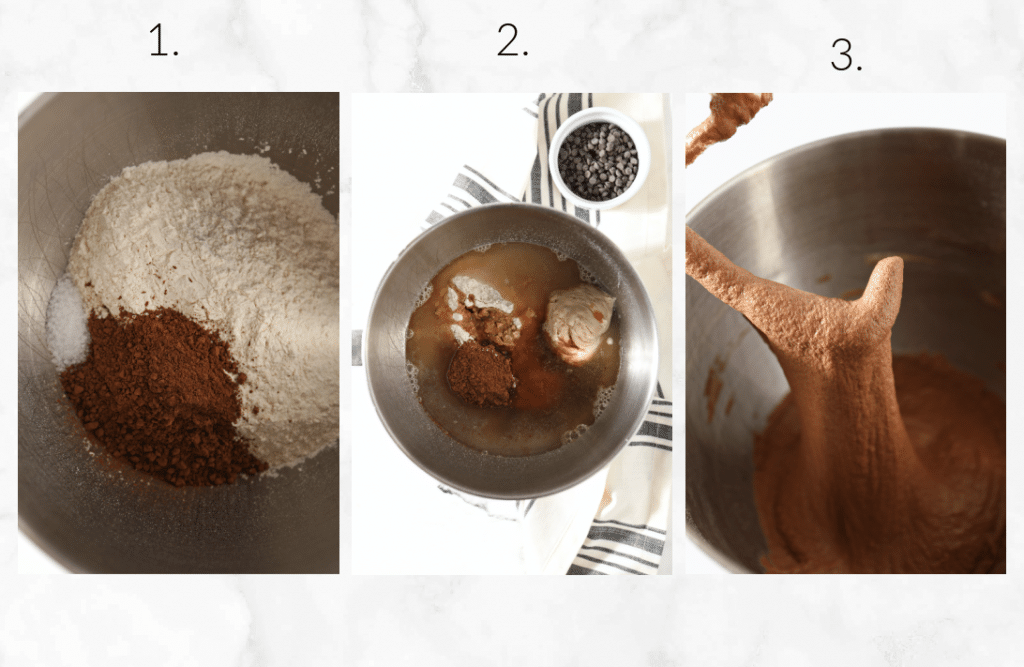
Mix the dough
- In the bowl of your electric mixer, mix together all the ingredients for the final dough, except for the chocolate chips!
- Knead by machine for 8-10 minutes until you reach a medium level of gluten development. The dough should be smooth, stretchy, and silky.
- Allow the dough to rest for 5 minutes.
- Dump the dough out onto a lightly floured counter and knead in the chocolate chips by hand, until well incorporated.
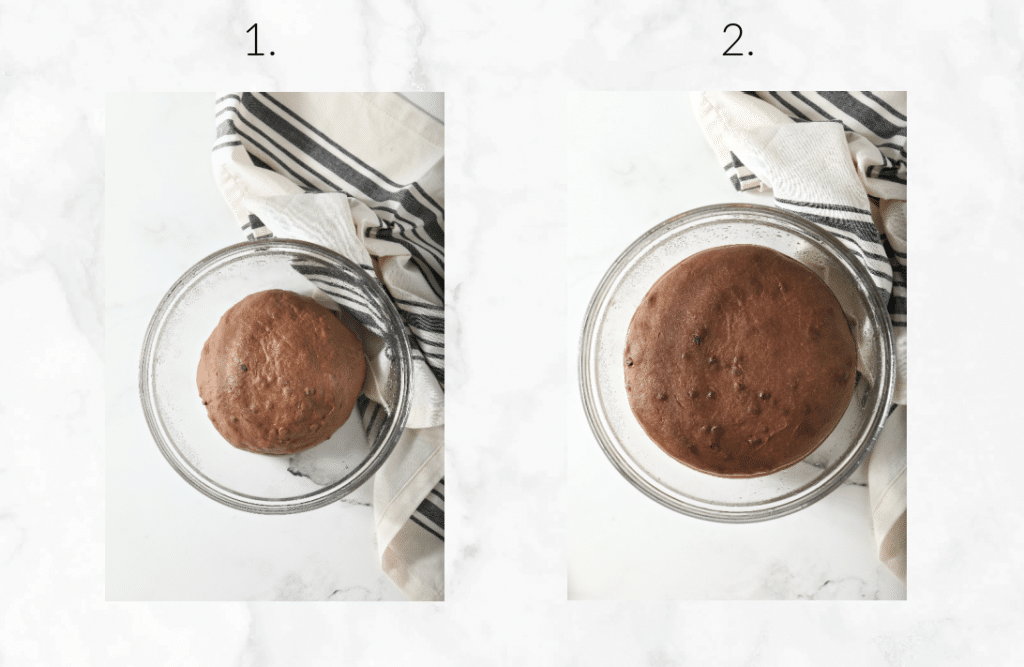
Bulk Proof
- Place the dough in a lightly oiled bowl, cover, and allow to sit at room temperature until doubled, anywhere from 2 to 12 hours. (Note that the timing here depends on how active and mature your starter is and the temperature of your house. This could take longer in the winter or shorter in the summer, so watch the dough, not your clock).
- When done proofing, your dough will look lighter, puffier, have some bubbles, and be almost doubled in size.
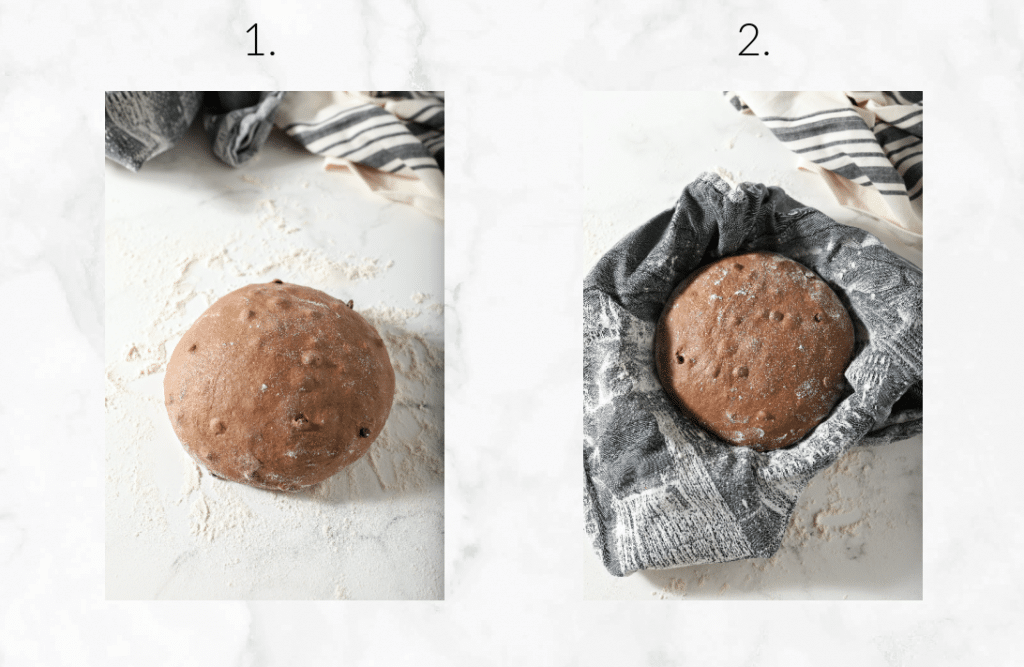
Shaping
- Remove the dough from the bowl and place onto a lightly floured surface. Be gentle to not deflate the air from the dough.
- Gather the dough, one side at a time, and fold it into the center.
- Flip the dough over and place it seam side down.
- Gently cup the sides of the dough and rotate it using quarter turns in a circular motion. Repeat until you are happy with its appearance.
- Place the dough in a cloth lined 8” bowl or floured/lined proofing basket.
- Allow to rise for about 45 minutes to 1 hour. It is ready when the dough is slightly puffy.
Baking
- Preheat your oven and a dutch oven to 400 F.
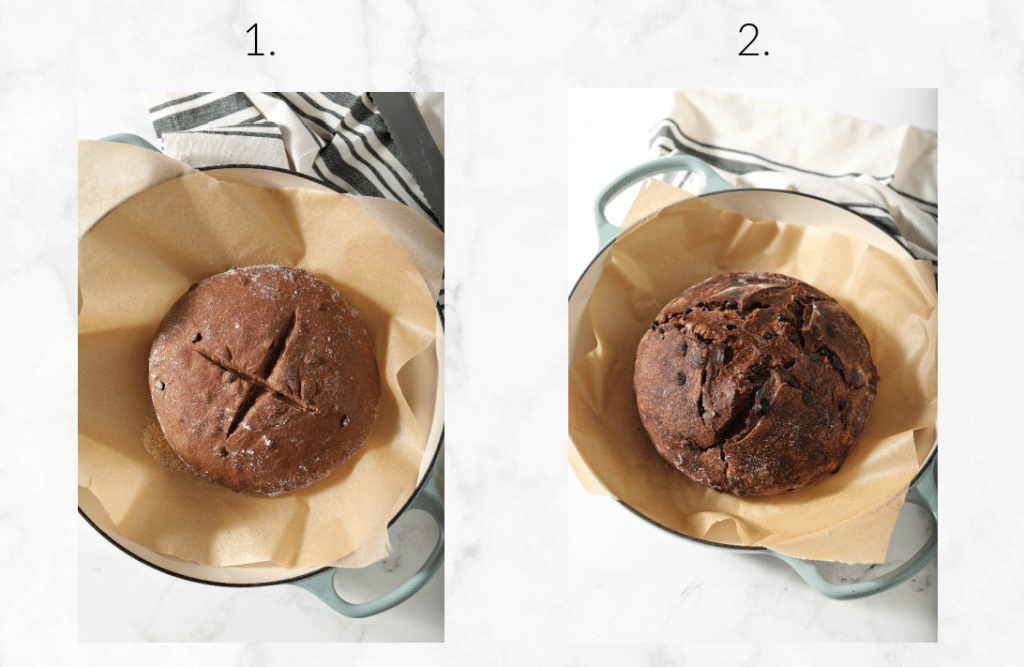
- Sprinkle some cornmeal in the center of a piece of parchment paper and gently turn your bread out onto a piece of parchment paper.
- Score your bread with a few slashes in whatever pattern you like.
- Carefully transfer the parchment paper to the preheated dutch oven.
- Bake the bread for 20 minutes with the lid on, rotate the loaf, and bake another 20 – 30 minutes uncovered. The bread is done when it has an internal temperature of 205 F.
- Optional: During the last 10 minutes of baking, crack the oven door to allow any excess moisture to escape and help create a crisp crust. Or skip this step for a softer crust.
- When done, remove bread to a cooling rack and allow to cool for at least 1 hour.
Frequently Asked Questions
Got questions? I’ve got answers! Don’t see the answer to your question? No problem! Leave a comment below!
What kind of starter do I need for this recipe?
This recipe uses a 50% hydration sourdough starter. That means a starter that is fed twice as much flour as water. You then use that low hydration starter to create a biga natural. These two steps are necessary to create the correct hydration of dough with the best taste.
New to sourdough? Read my Ultimate Guide to Sourdough for Beginners to answer all the questions you have!
How to change 100% hydration starter to 50% hydration starter
- Measure out 25 grams of your 100% hydration starter.
- To it, add 50 grams of flour and 25 grams of water.
- Mix until combined. This is a stiff starter, so it will take some work to get all the flour mixed in. Do not add extra water. Just don’t. You might need to do a little kneading to get it to all mix in. If all the flour won’t mix in, it’s ok, just get as much as you can.
- Cover the bowl with a lid or plastic wrap and allow it to sit on the counter overnight 8-12 hours.
- Divide in half (discard) and feed again, the same proportions.
- You will want to give it 2-4 good feedings before baking with it.
What is a biga natural?
A biga is an Italian yeasted pre-ferment that is usually very firm (around 50-60% hydration). It usually made with commercial yeast as a way to add a bit of a nutty flavor to the breads that are made with it. It was created after the invention of commercial yeast, when bakeries started moving away from using sourdough starters, as a way to add back some of complexity in flavor that was lost when using only commercial yeast. It also helps to create a light texture with open holes. A biga natural is a biga that is made with sourdough starter instead of active dry yeast, which is usually created fresh every day. Another bread that is made with biga natural is sourdough ciabatta.
Chocolate Sourdough Bread Add Ins
You can also easily change this bread up by adding in chopped nuts like walnuts, pecans or almonds. Adding dried fruit like dried cherries, cranberries or candied orange peel, or nuts and seeds is also fun! Add these ingredients in when you add in the chocolate chips.
Food tastes better when its shared! If you try this recipe, let me know! Leave a comment and rate below! Love and links are always appreciated! If you’d like to share this post, please link to this post directly for the recipe, please do not copy and paste or screenshot. Thanks so much for supporting me! xoxo
Sourdough Chocolate Bread
Ingredients
Biga Naturale (or starter):
- 28 grams of 50% hydration starter fed and active
- 32 grams 1/4 cup bread flour
- 18 grams water at room temperature
Final Dough:
- All of the biga naturale
- 393 grams 3 cups bread flour
- 248 grams 1 1/8 cups water
- 71 grams 4 TBSP honey
- 1 TBSP vanilla extract
- 25 grams 4 TBSP cocoa powder
- 10 grams 1 TBSP kosher salt
- 78 grams chocolate chips
Instructions
- Mix the biga naturale
- Mix the ingredients for the biga naturale together in a bowl until everything is evenly distributed.
- Cover with plastic wrap and a towel and allow to sit at room temperature for 8 hours.
- Mix the dough
- In the bowl of your electric mixer, mix together all the ingredients for the final dough, except for the chocolate chips!
- Knead by machine for 8-10 minutes until you reach a medium level of gluten development. The dough should be smooth, stretchy, and silky.
- Allow the dough to rest for 5 minutes.
- Dump the dough out onto a lightly floured counter and knead in the chocolate chips by hand, until well incorporated.
- Bulk Proof
- Place the dough in a lightly oiled bowl, cover, and allow to sit at room temperature until doubled, anywhere from 2 to 12 hours. (Note that the timing here depends on how active and mature your starter is and the temperature of your house. This could take longer in the winter or shorter in the summer, so watch the dough, not your clock).
- When done proofing, your dough will look lighter, puffier, have some bubbles, and be almost doubled in size.
- Shaping
- Remove the dough from the bowl and place onto a lightly floured surface. Be gentle to not deflate the air from the dough.
- Gather the dough, one side at a time, and fold it into the center.
Flip the dough over and place it seam side down. - Gently cup the sides of the dough and rotate it using quarter turns in a circular motion. Repeat until you are happy with its appearance.
- Place the dough in a cloth lined 8” bowl or floured/lined proofing basket.
- Allow to rise for about 45 minutes to 1 hour. It is ready when the dough is slightly puffy.
- Baking
- Preheat your oven and dutch oven to 400 F.
- Sprinkle some cornmeal in the center of a piece of parchment paper.
- Gently turn your bread out onto a piece of parchment paper.
- Score your bread with a few slashes in whatever pattern you like. Use a bread lame (affiliate link), sharp pairing knife or serrated knife.
- Carefully transfer the parchment paper to the preheated dutch oven.
- Bake the bread for 20 minutes with the lid on, rotate the loaf, and bake another 20 – 30 minutes uncovered. The bread is done when it has an internal temperature of 205 F.
- Optional: During the last 10 minutes of baking, crack the oven door to allow any excess moisture to escape and help create a crisp crust. Or skip this step for a softer crust.
- When done, remove bread to a cooling rack and allow to cool for at least 1 hour.
Notes
Take 25 grams of your 100% hydration starter. To it, add 50 grams of flour and 25 grams of water.
Mix until combined. This is a stiff starter, so it will take some work to get all the flour mixed in. Do not add extra water. You might need to do a little kneading to get it to all mix in. If all the flour won’t mix in, it’s ok, just get as much as you can.
Cover the bowl with a lid or plastic wrap and allow it to sit on the counter overnight 8-12 hours.
Divide in half (discard) and feed again, the same proportions. You will want to give it 2-4 good feedings before baking with it.
Nutrition
Adapted from Pane Al Cioccolato (Apple Pie, Patis, and Pate)


Beautiful photos. Beautiful bread. This looks like a great treat!
Those pictures look AWESOME. And the bread? YUM!!! I wish I had a slice right about now for an after-breakfast chocolate-y treat!!!
Sounds awesome. Isn't everything smothered with Nutella heaven????
HI!
The first two times I tried this recipe I had the same experience you did – no rising, but a fantastic tasting bread. This week I read that 50% hydration starters take much longer to rise, so I let the bulk fermentation extend to 5 hours and the shaped loaf proofed for nearly 4. During both cycles, to my surprise, it would up doubling! And, the best part was that it had fantastic oven spring once baked.