Sourdough Danish Cream Cheese Pastries

These sourdough cream cheese danish pastry recipe is a fun sourdough recipe. Tender, Flakey pastry dough is filled with cream cheese pastry filling and baked to golden perfection.


These Danish pastries are a dream come true! The layers are flakey with buttery perfection and the sourdough starter adds a depth of flavor that is just amazing here.
Adding sourdough to all the baked things is one of my favorite ways to use it (I mean, bread is cool, but it can do so many others things!). Sourdough is never wasted here! Whether I am baking sourdough discard cookies, sourdough banana bread, or something fun and unexpected like sourdough peach cobbler, you can find me sneaking sourdough into just about everything I bake!

Feel free to add whatever fresh fruit you want on top of the cream cheese filling – another berry like strawberry, raspberry or blackberry would be amazing. You could also do something like apple or pear, but you will want to sautéed them in some butter first to soften them or they will be too crisp when you eat them.
While these danish’s have what seems like to be a ton of steps, they are actually very easy to make. And while it seems like they also take forever to make, the majority of the time is actually down time, so they aren’t too bad at all! Do NOT be intimidated by the number of steps, I promise you that you can make these!
How to make sourdough laminated dough
This is just a general overview for informational purposes. For the full recipe, including ingredient amounts and detailed instructions, please make sure to scroll down to the recipe card below.
Make the dough.
- Mix the levain and let it sit overnight.
- In the morning mix all the ingredients (except for the roll in butter) in the bowl of a stand mixer until combined, then knead until the dough is not sticky.
- Pat the dough flat, wrap in plastic wrap and place in the fridge for 2 hours to overnight.
- Prepare the butter square and place it back in the fridge.

Create the layers.
- Roll the dough out until it is an 11″x11″ square.
- Place the butter in the center of the dough square in a diamond shape.
- Fold the dough into thirds and seal the edges.

- Roll the dough out into an 8″x24″ rectangle and fold into thirds again.
- Wrap in saran wrap and place in the fridge for 1 hour.
- Take out the dough, roll it into a rectangle and then fold into thirds.
- Wrap it back in saran wrap, and place in the fridge for another hour.
- Take the dough out, roll it into a rectangle, and then fold into thirds.
- Place the dough in the fridge for 90 minutes.

Make the cream cheese filling.
- Make the cream cheese filling by beating together the cream cheese and butter, and then adding in the sugar, flour, egg, and vanilla. Place in the fridge to chill until needed.


Assemble and bake the pastry.
- Take the dough out of the fridge roll the dough out into a rectangle 8×24 inches. ** If at any time during the next steps if it seems that the butter is getting too warm or the dough is getting elasticy, stop what you are doing and let it sit in the fridge for an hour!
- Using a pizza cutter, cut the dough into squares.
- Place the cream cheese filling into the center of each square and decorate with fresh fruit or a spoonful of jam if desired. Then fold the corners into the center and press to seal.
- Place the squares on a baking sheet lined with parchment paper and allow to rise in the fridge for about an hour.
- Mix the remaining egg from the cream cheese mixture with 1 tsp of water and give all the pastries an egg wash.
- Bake at 425 for 10 minutes, and then lower the temperature to 375 and bake for an additional 15 minutes.
- Allow to cool on a wire rack. Thin any remaining cream cheese with a tablespoon of water and drizzle that over the top of the pastries, if desired.

Storage Information
Store these pastries in a sealed container in the fridge for up to 3 days.


Food tastes better when its shared! If you try this recipe, let me know! Leave a comment and rate below!
Love and links are always appreciated! If you’d like to share this post, please link to this post directly for the recipe, please do not copy and paste or screenshot. Thanks so much for supporting me! xoxo

Sourdough Danish Cream Cheese Pastry
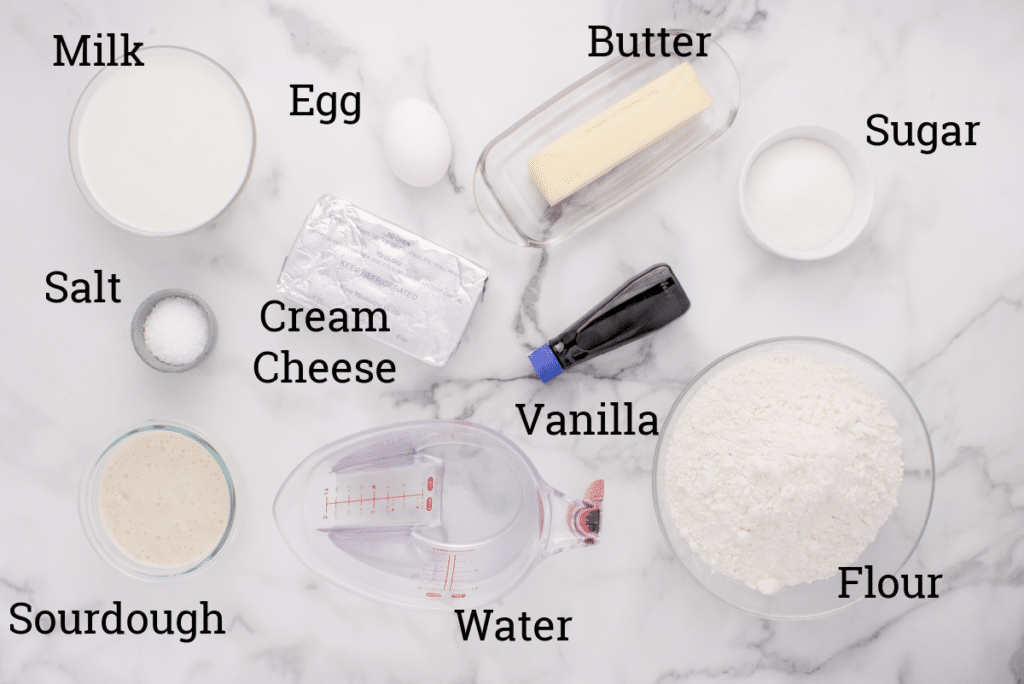
Ingredients
Method
- Mix the levain and allow to sit at room temperature, covered, for 12 hours.
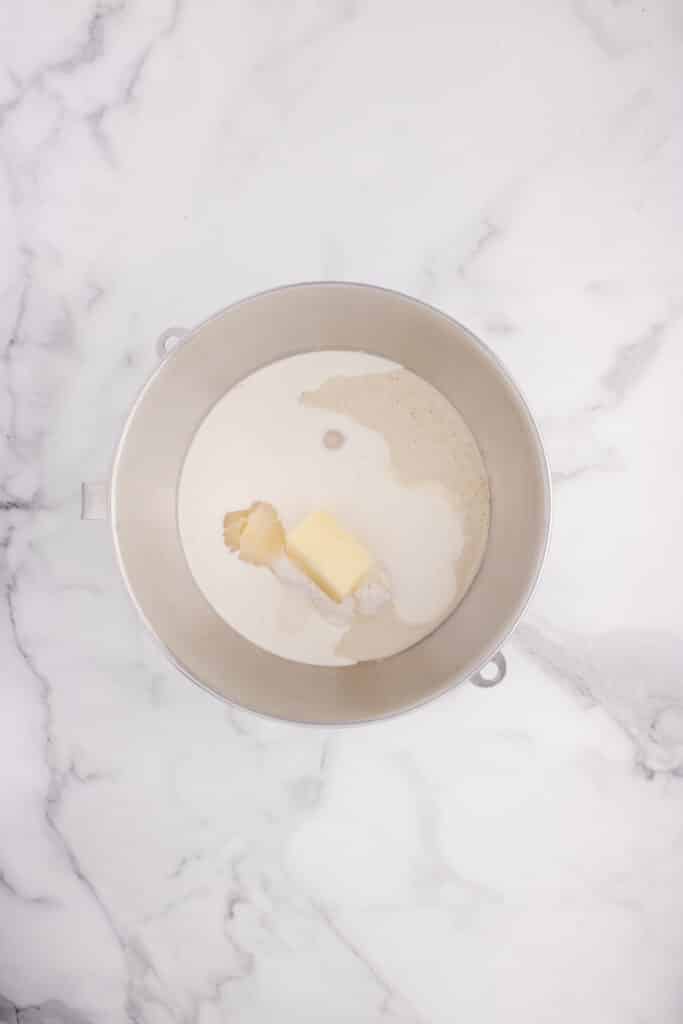
- In the morning mix all the ingredients (except for the roll in butter) in the bowl of a stand mixer until combined.
- Switch to the dough hook and knead for 3 minutes at the low speed and then 3 minutes at medium speed, until the dough is not sticky but not completely smooth, either.
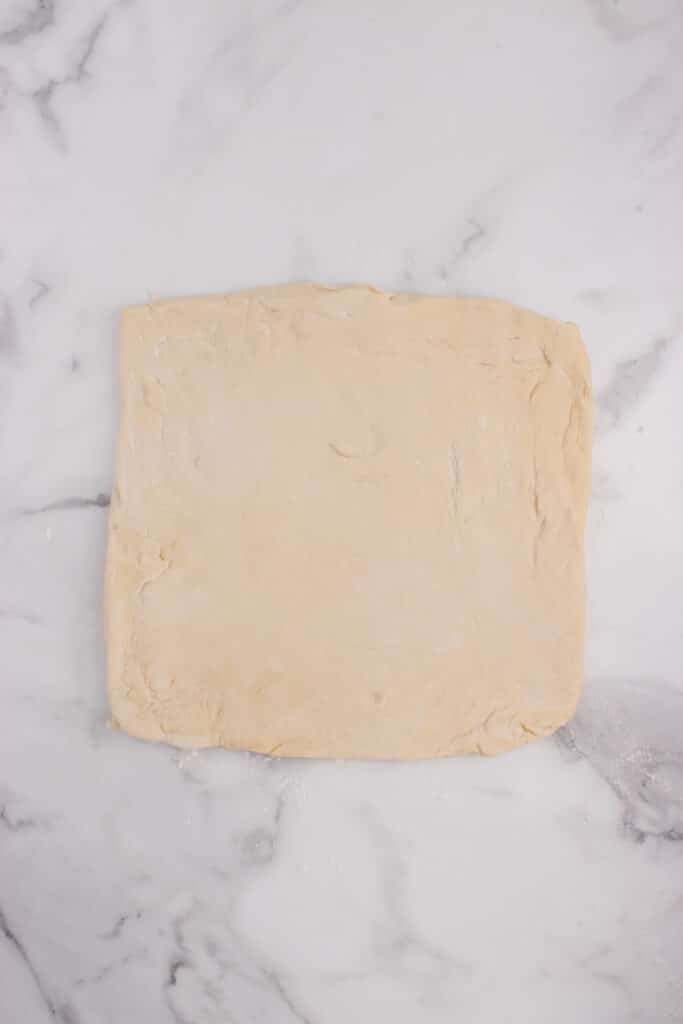
- Pat the dough flat, wrap in plastic wrap and place in the fridge for 2 hours to overnight.
- Prepare the butter to roll in by placing the butter in the microwave for 5 second intervals until you can just squeeze the butter without it being too “room temperature”.
- Cut the butter into pieces and place on a sheet of waxed paper.
- Cover the butter with a second sheet of waxed paper and smoosh the butter together a little bit.
- Use your rolling pin to roll the butter out into a 7.5″x7.5″ square.
- Place the butter in the fridge until needed.
- On a lightly floured surface, roll the dough out until it is an 11"x11" square.
- Remove the butter from the fridge, and take off the top waxed paper layer.
- Turn the butter out onto the dough square, so that the butter forms a diamond shape on the dough.
- Lightly run your hands over the bottom layer of waxed paper to attach the butter to the dough, and remove the waxed paper.
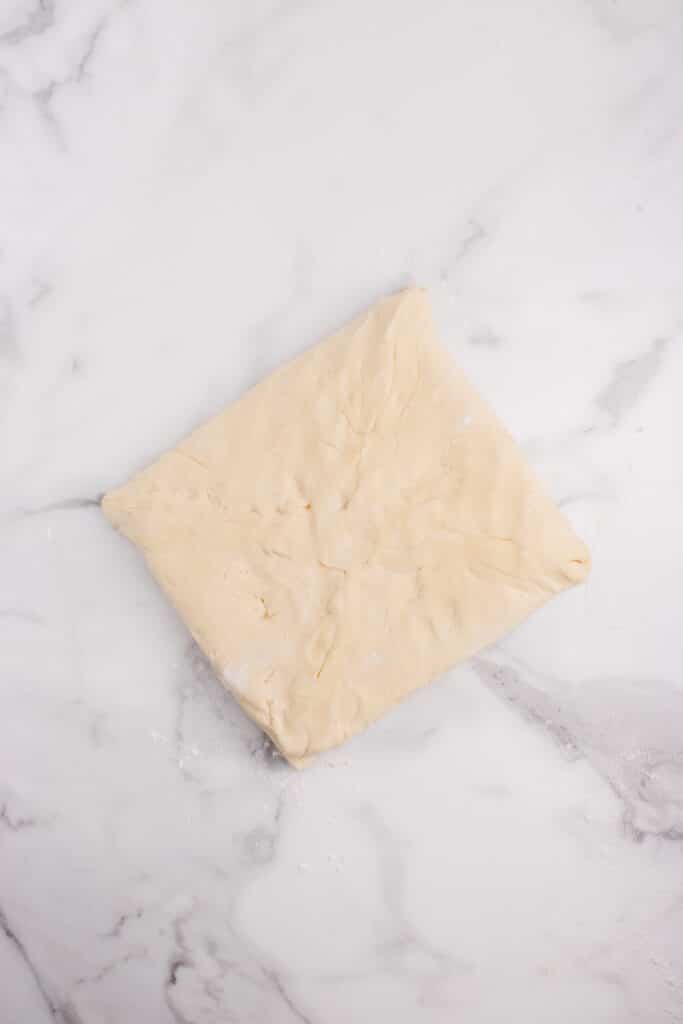
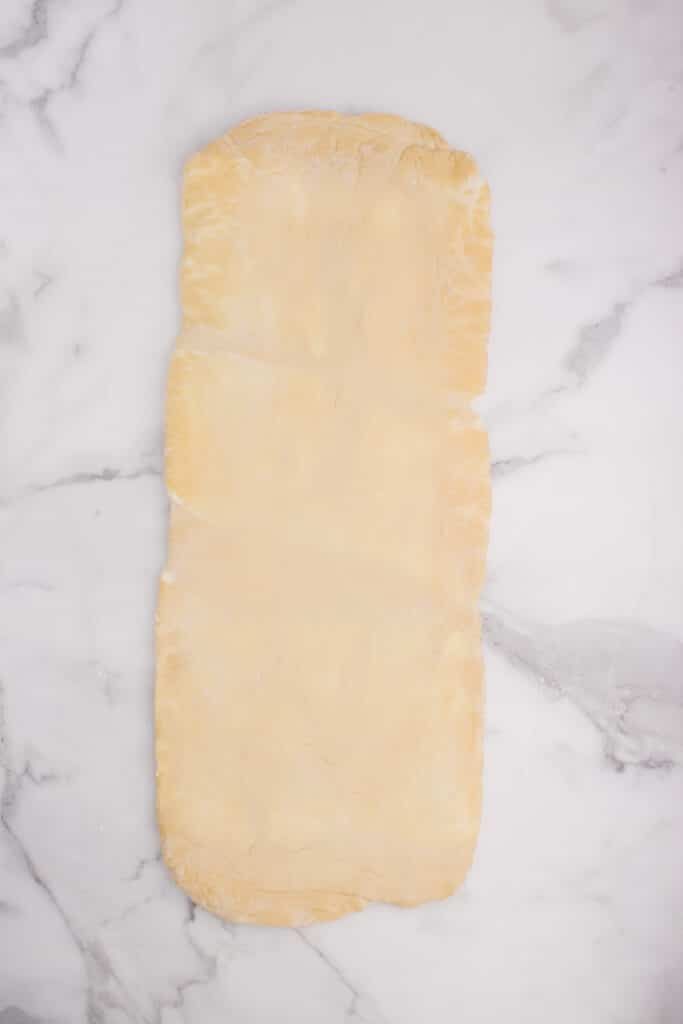
- Fold the dough into thirds and seal the edges.
- Roll the dough out into an 8"x24" rectangle and fold into thirds again.
- Wrap in saran wrap and place in the fridge for 1 hour.
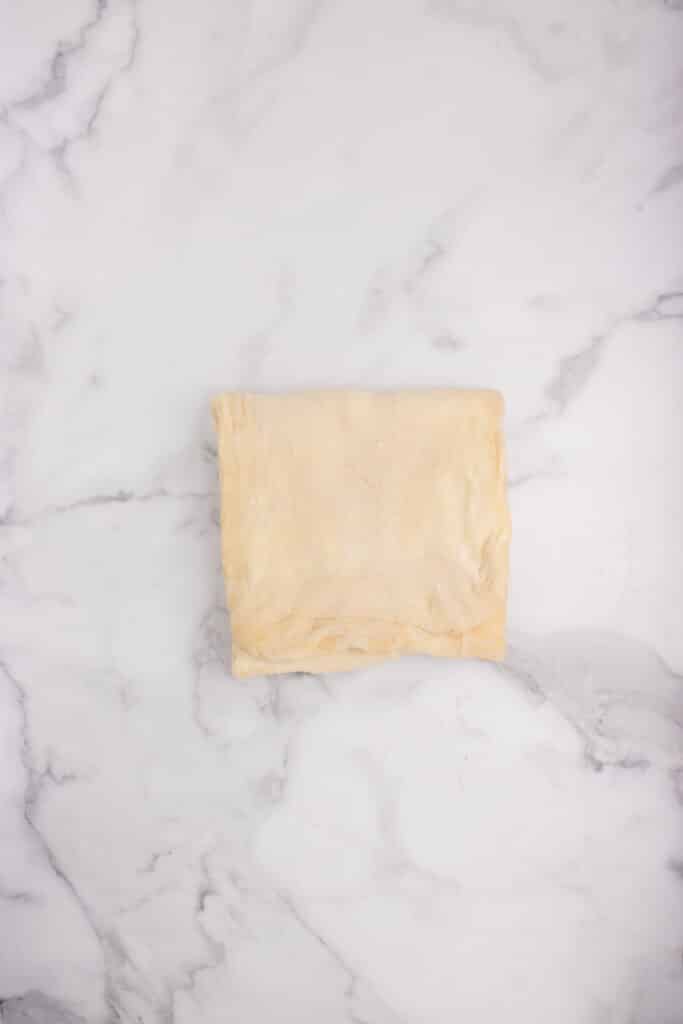
- Take out the dough, roll it into an 8"x24" rectangle and then fold into thirds.
- Wrap it back in saran wrap, and place in the fridge for 1 hour.
- Take the dough out, roll it into an 8"x24" rectangle, and then fold into thirds.
- Place the dough in the fridge for 90 minutes.
- Using a hand mixer, beat together the soft cream cheese and butter until incorporated.
- Add the sugar and flour in three portions, mixing well after each addition.
- Beat in the egg, then the vanilla.
- Place in the fridge until needed, but bring to warm temperature before using.
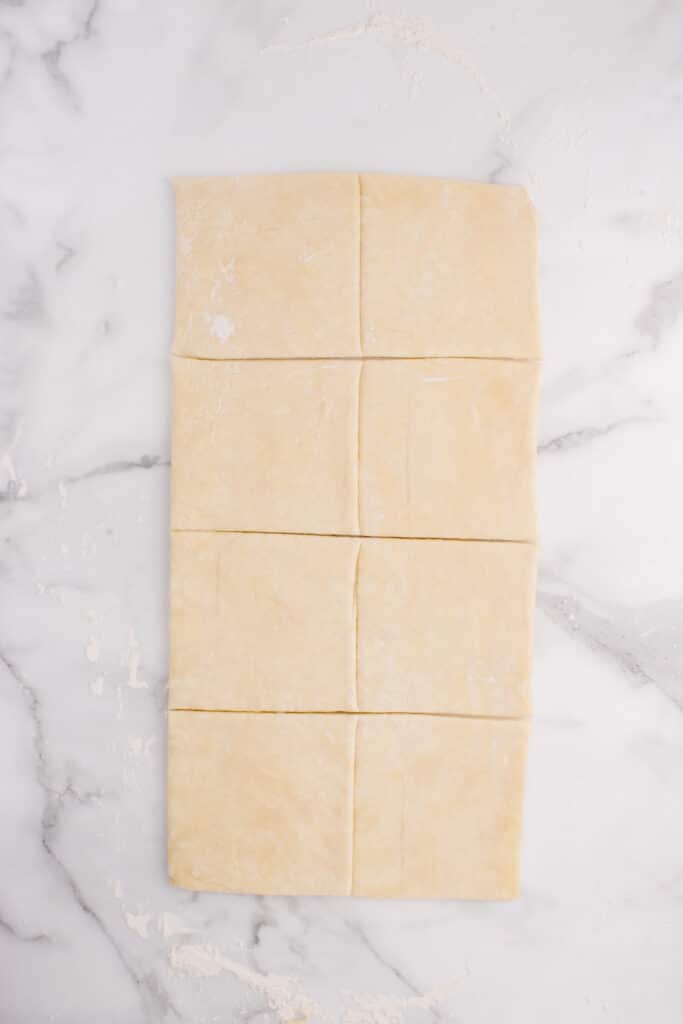
- Take the dough out of the fridge roll the dough out into 8×24 inches. ** If at any time during the next steps if it seems that the butter is getting too warm or the dough is getting elasticy, stop what you are doing and let it sit in the fridge for an hour!
- Using a pizza cutter type tool, cut the dough into 4.5"x4.5" squares.
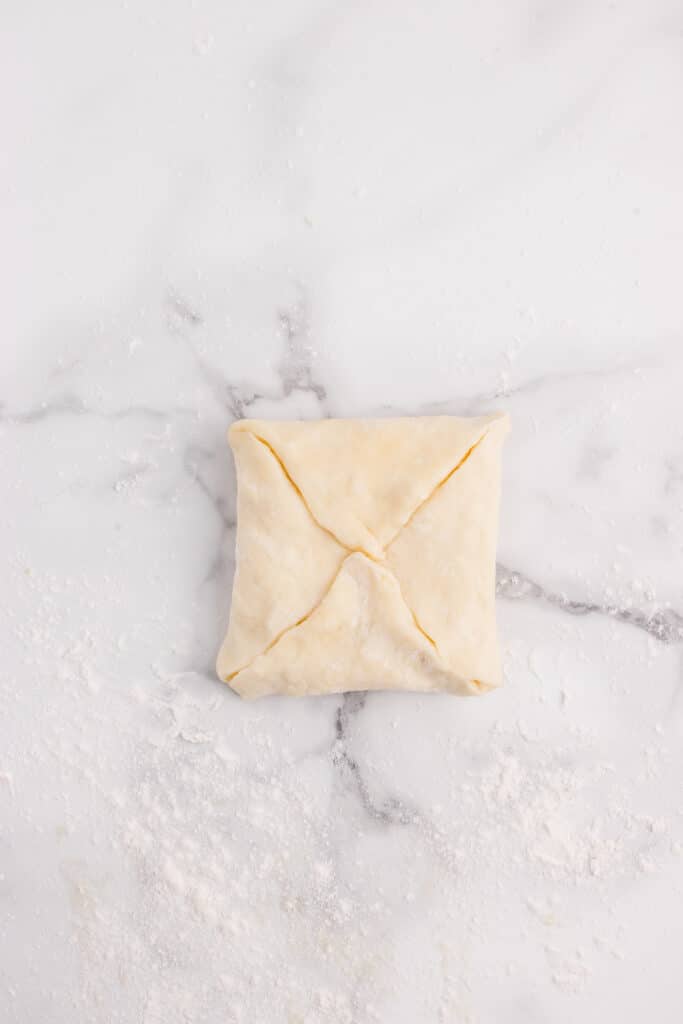
- Add a dollop of the cream cheese filling into the center of each square and decorate with fresh fruit of your choice.
- Fold all four corners into the center and press to seal. Place the pastries on a baking tray lined with parchment paper and allow to proof in the fridge for an hour.
- Preheat your oven to 425.
- Mix the remaining egg from the cream cheese mixture with 1 tsp of water and give all the pastries an egg wash.
- Bake at 425 for 10 minutes, and then lower the temperature to 375 and bake for an additional 15 minutes more.
- Allow the pastries to cool completely on a wire cooling rack. Take any remaining cream cheese filling and add about 1 Tablespoon of water to the mixture to make a thin glaze you can drizzle on top of the pastries.
Nutrition
Nutrition information is provided as a general estimate and may vary based on ingredients, brands, and substitutions. For specific dietary needs, we recommend calculating nutrition using your preferred tool.
Tried this recipe?
Let us know how it was!

This was a wonderful recipe! I did everything as instructed, except for the last stage where I treated the last proof once the toppings were on it, as if it were croissants.. I proofed in the oven with a pan of boiling water in it to create steam and have it puff up.. I wish I would have done each pan differently, one you way and one this way to see the difference but it was incredible the way I ended up making it. So light and flaky like the croissants I make by Claire Saffitz. Thank you so much!
Can I leave out the yeast in the recipe? Any adaptation I could make to leave it out?
Tysm
Hi! Was really pumped to try out this wonderful recipe with my new sourdough starter, then I realised all the measurements were in grams. Please give us eager, but not so precise, amateurs the equivalents in regular measurements, as I do not have a scale.
Thank you so much
Hi! I understand your frustration! I do include cup measurements for the easier discard recipes, but this recipe is more technically challenging and it needs to be precise! Using cups can give such varying results depending on how you measure them, which could change the results you get when you make this pastry dough. In order to help the most people be successful with this recipe, it is written in grams. I hope you get a scale soon and come back to try this recipe!
It’s $13 at Walmart and the most used tool in baking. Invest and it’ll be so worth it!
Yeah, I was surprised by how easy going the recipe was. I fitted the stages around my day(s), so I didn't realise how long it took until I sat down and totted up the hours. As far as hands-on works goes, tis a doddle. 🙂
Your pastries are so beautiful! What a fantastic way to christen a kitchen.
I love what you guys are doing with sourdough. I didn't carry on with mine after the daring bakers challenge but I think I should start up again
Thanks, Sawsan! We are having so much fun playing with our starters! We would love to have you join us! 🙂
I love danishes!
I haven't done any with sourdough, but I did write a guide a few months ago on how to make perfect laminated dough (http://www.ironwhisk.com/2011/10/plum-danishes/). I should try it with sourdough though. (To be honest, I've never used sourdough before!)
Oh, Ilan! You should try sourdough, its so fun to play with! Its like a science experiment! 🙂 Your laminated dough tutorial turned out great, and those plum danish look soo delicious! I think plums are highly underrated! 🙂
I’m on step 19 but can’t rool my dough it keeps tearing. What should I do?
Uh-oh! If the dough is tearing, you might need to roll more gently. Use long, firm strokes when rolling and don’t push down with force, being gentle so you don’t over work the gluten in the dough. If you feel like the dough is sticking to the counter, you can give a light dusting of flour, but make sure you dust the flour off before you fold. Your butter could also be too cold, maybe trying shortening the chill time a little or let it sit on the counter for just a little bit before you roll out. Its a delicate balance of making sure the butter stays cold but that it isn’t so cold that it makes rolling difficult!
Wow – those are mouthwateringly beautiful – flaky and gorgeous and I bet they tasted amazing!! I am so glad that Sourdough Surprises got to make it's new kitchen debut with this one! 🙂
They turned out so well!! So delicious, and you're right, not as hard as I thought they would be 🙂
I love how easy they were! Maybe that is all in prospective after making croissants, but still, these weren't too bad! 🙂 And tasted so amazing!
Yum! I love cheese danish, but have never thought to try to make them at home before. Yours look really delicious.
I know you can make laminated dough, so you would find these to be a breeze!! And actually, I think these were easier to make than croissants!