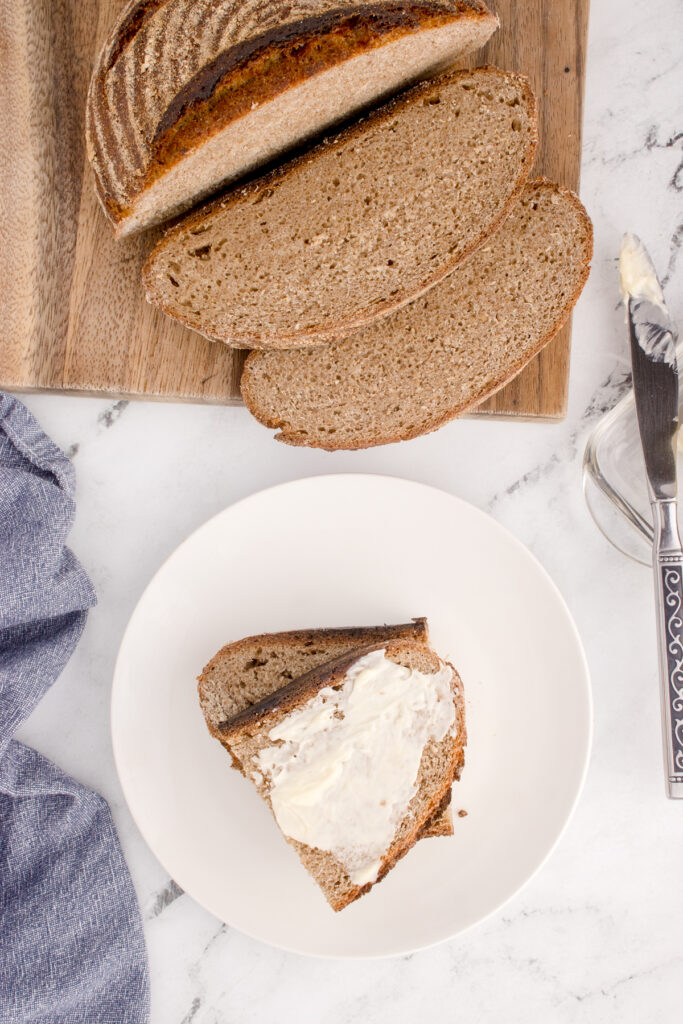
German Rye Sourdough Bread

Sourdough rye bread has amazing flavor with deep and complex tones that pair with sourdough so well! This German inspired bread is a perfect beginner sourdough baker recipe.
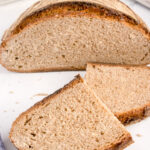
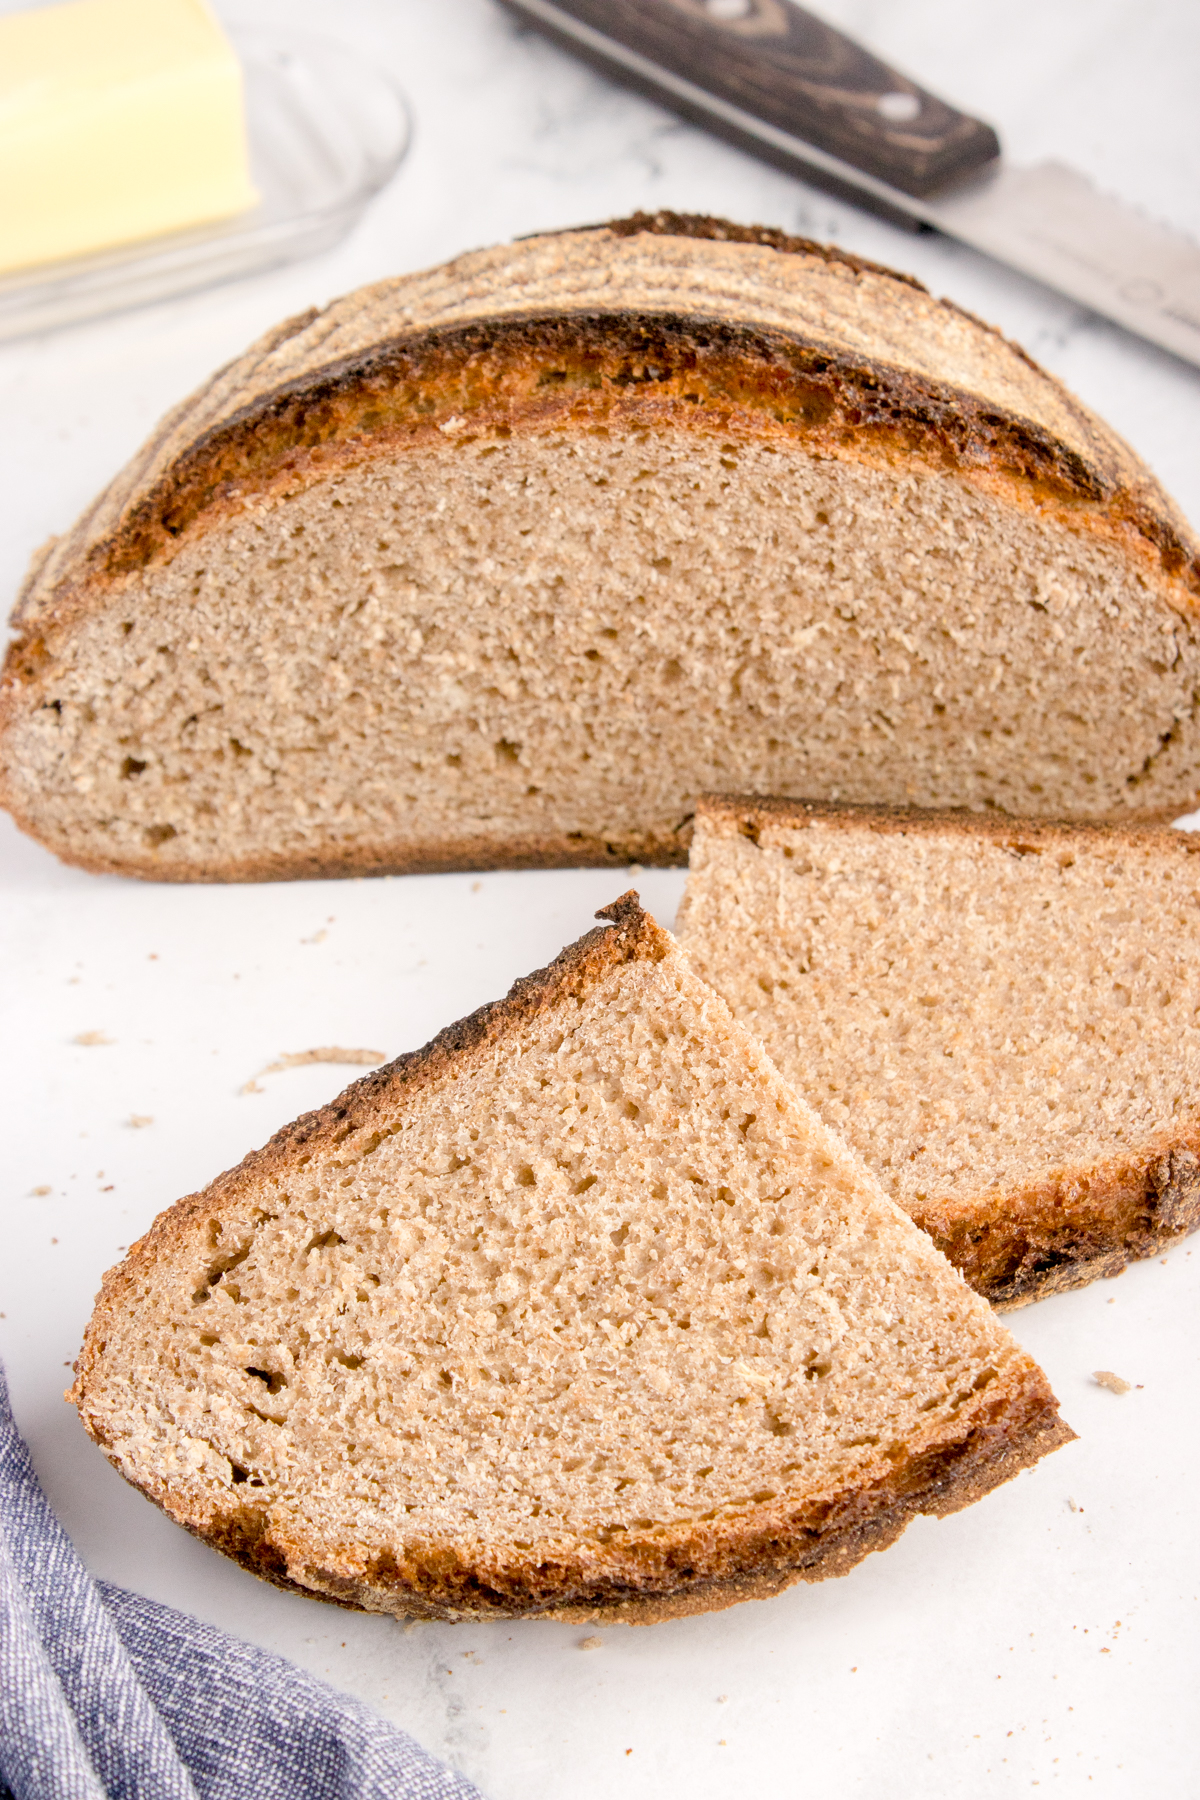
This loaf of bread is easy and perfect for beginners. It makes a beautiful simple loaf that has a lovely crumb and chewy texture, great flavor, and is straight forward and simple to make.
Rye is a grain that grows well in poor soil and colder climates, so it started out as a “poor person’s flour”, but don’t let that fool you. Rye has such an amazing depth of flavor, and when you combine it with the tang and fermentation times of a sourdough starter, its just SO GOOD.
Psst – if you love rye also make sure you check out my sourdough chocolate rye cookies!
Try these other delicious sourdough bread recipes:
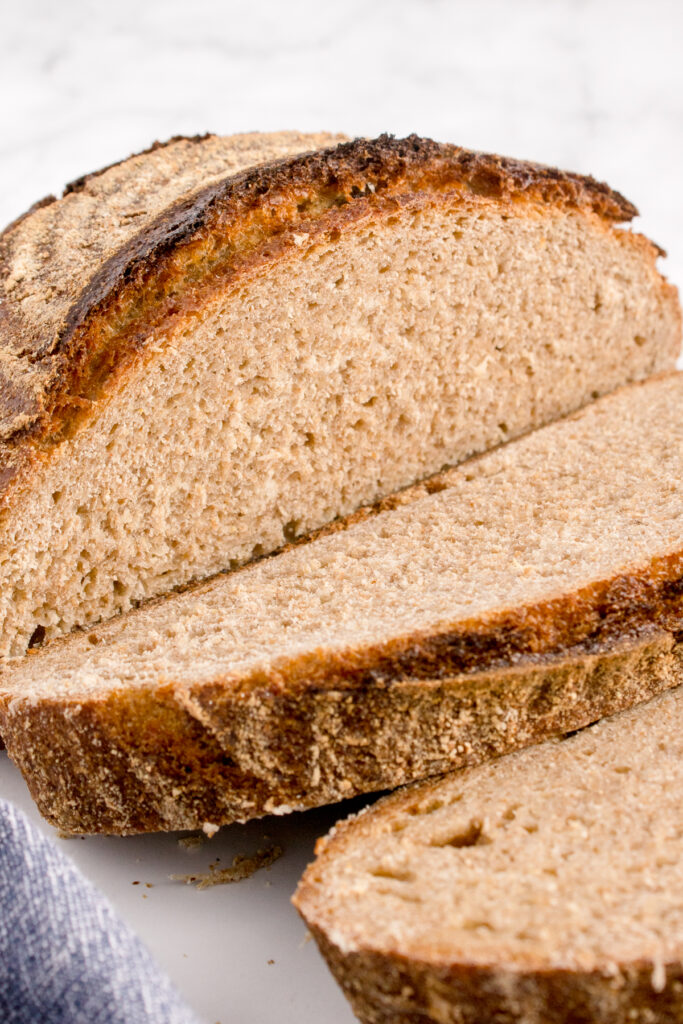
This recipe is a low hydration dough, which means there is less water than flour. The dough is soft and easy to work with, and the recipe yields a bread that has a soft, chewy texture with a dense crumb, and a complex tangy flavor.
Use this bread as a side to potato soup, make a sandwich out of it, use it in your favorite breakfast casserole, or make homemade croutons out of it!.
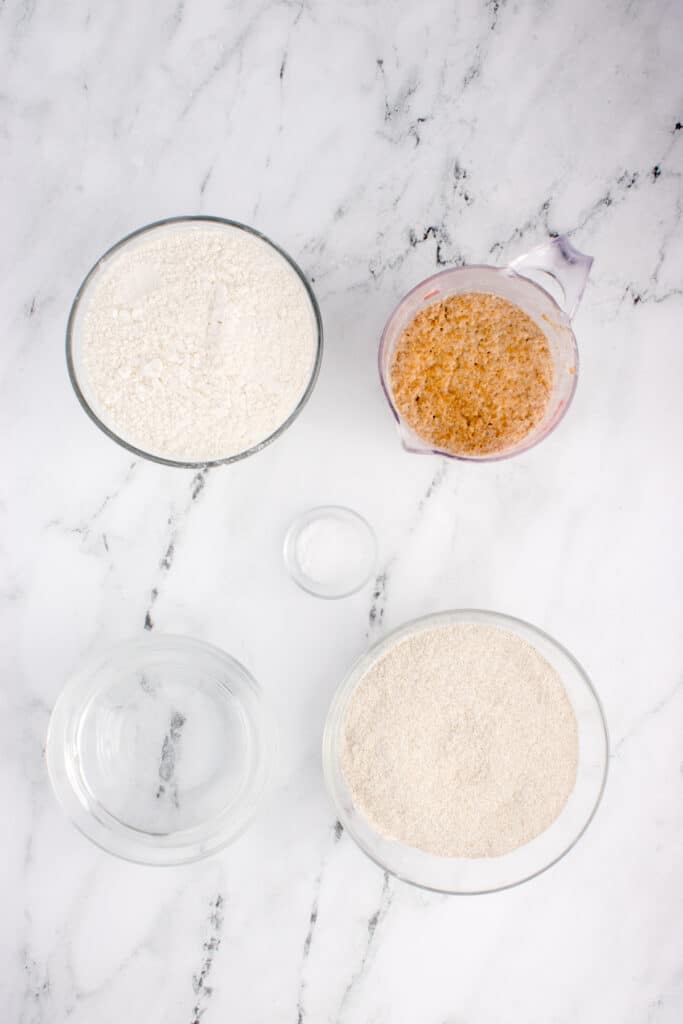
Ingredients needed:
Here are the things you need to have on hand to make this recipe. Please make sure you scroll down to the recipe card below for the full ingredient list and directions.
- Rye flour – Rye flour imparts an earthy and slightly sweet flavor to the bread loaf. It also contains less gluten compared to wheat flour, which helps create a dense and moist crumb. I used a medium rye flour, but you can use a dark rye, too, depending on how much rye flavor you want.
- All purpose flour – All-purpose flour is added to the recipe to give it the structure it needs. It also complements the rye flour’s texture and helps create a well-balanced, chewy crumb while preventing the bread from becoming too dense. Substitution: You can use whole wheat flour or bread flour instead. Bread flour has a higher protein content and is ideal for bread-making.
- Sourdough starter – You need a starter that is at 100% hydration (or one that is fed equal amounts by weight of flour and water. It does not matter if you feed your starter with all purpose, whole wheat, or rye flour – all will work with this recipe. The starter needs to have been fed and is active, bubbly, and has doubled in size without falling back down.
- Salt – Salt is a vital ingredient that enhances the flavor of the bread and also regulates fermentation. It also strengthens the gluten structure, balances the sweetness from the rye, and adds depth of flavor to the bread. Substitutions: I used kosher salt for this recipe, but you can use Himalayan salt or sea salt. Also, feel free to adjust the amount according to your taste preferences, though I wouldn’t go above 10 grams.
Can I add seeds to this recipe?
Yes, you can totally add seeds to this recipe. Caraway seeds and sunflower seeds are perfect for this recipe.

Baking equipment
You have two good choices for baking, and both are good, it just depends on what tools you have on hand.
- Dutch Oven – You can use a cast iron pot (not an enameled one) with a lid to bake it. Make sure you preheat it and the lid so they are nice and hot. The lid will help trap in any steam and create a nice hot environment that is great for oven spring. You can add in a few ice cubes around the bread (but not on it) if you want even more steam.
- Baking stone + baking dish – You can use a baking stone instead of a pot. You will need to pair this with another kind of high temperature safe baking dish (not glass) that you can pour boiling water in to create steam. Make sure you preheat both items to be really hot.
How to make a rye sourdough loaf
This recipe is simple to make! For the full set of directions, please scroll down to the recipe card below. This is just a general overview on how to make it to help you plan.
Recipe Note: Rye flour has less gluten than your typical all purpose flour. Because of that, this dough will feel wetter and stickier than you might be used to. It will become less sticky as you work it with your stretch and folds!
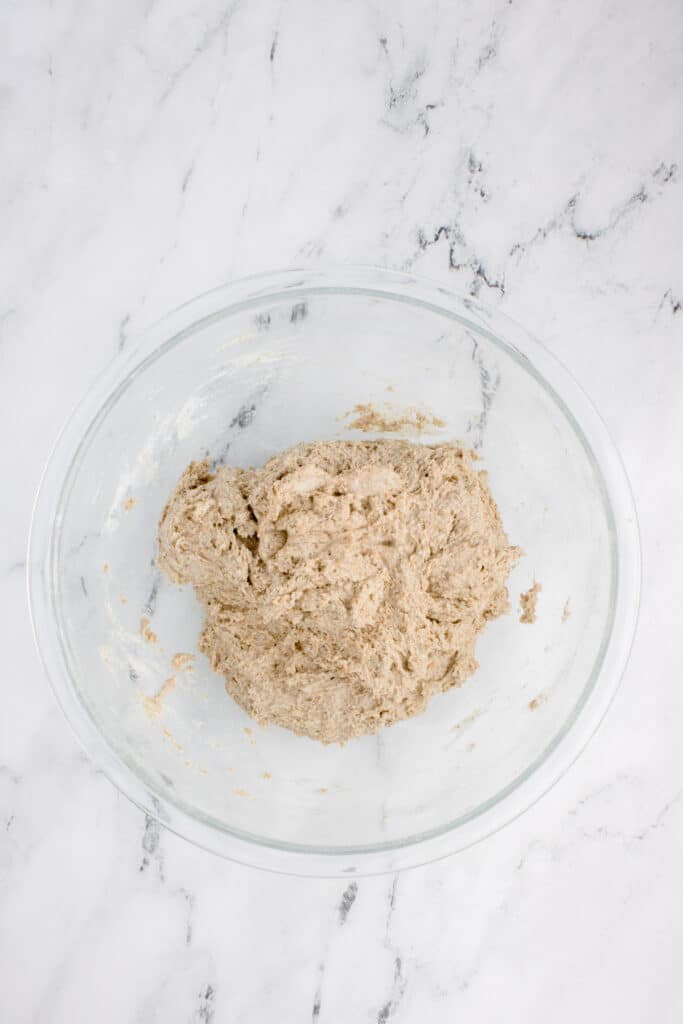
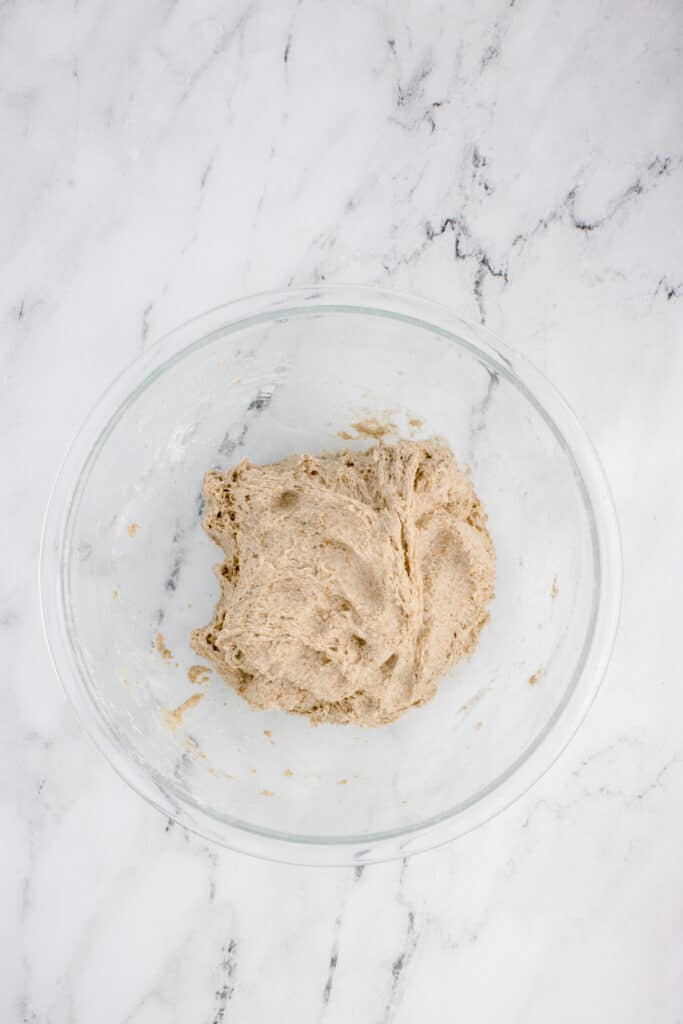
Mix the dough.
- Mix the dry ingredients, which include dark rye flour and all-purpose flour, and add warm water, salt, and active sourdough starter to it. Mix these ingredients together in a large bowl with a wooden spoon or stand mixer with a dough hook.
- Cover the bowl and allow to sit for 1-2 hours to fully hydrate the flours and develop gluten.
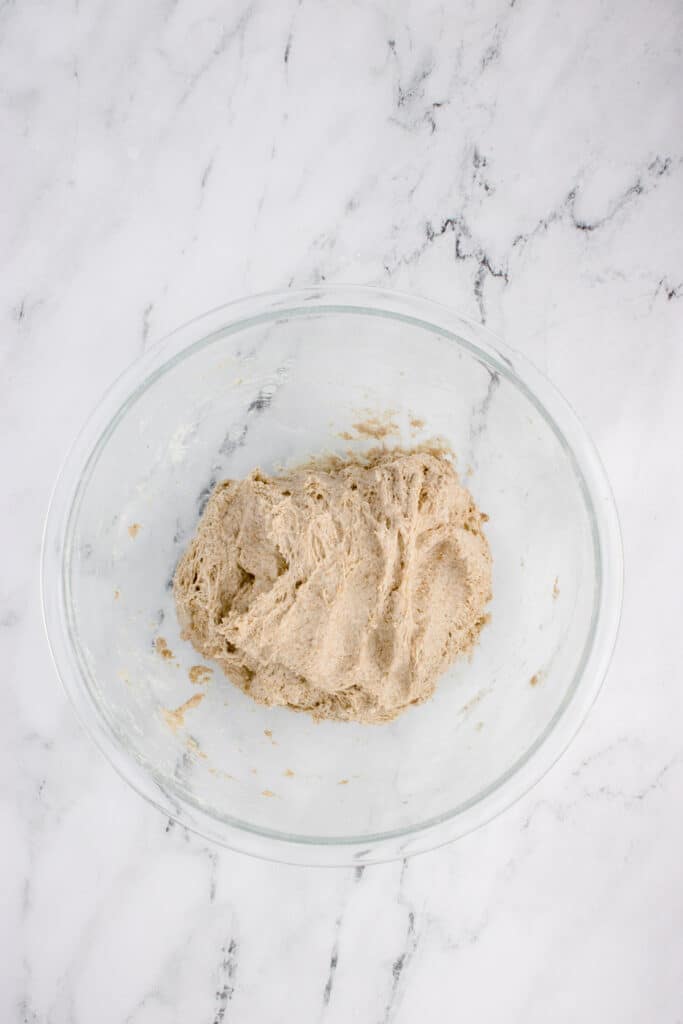
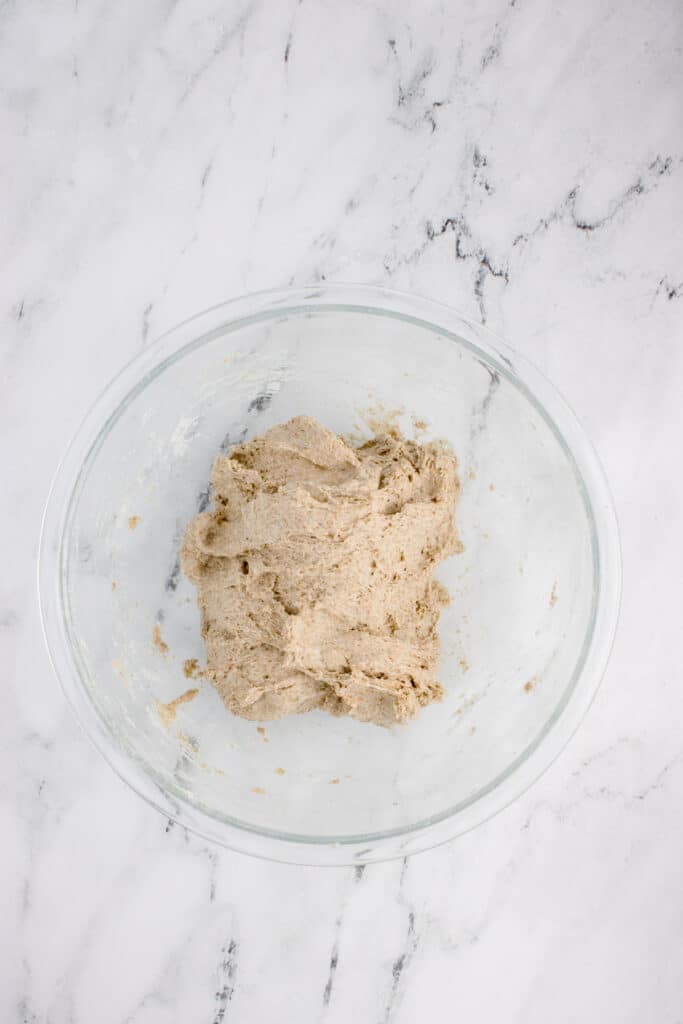
Stretch and fold + Bulk Ferment
- Perform stretches and folds on the dough. Grab the side of the dough closest to you and stretch it way up in the air. Then “fold it” down to the side farthest away from you.
- Rotate the bowl 90 degrees and repeat the stretch and fold. Repeat this two more times so that you have done all four “sides” of the bowl.
- Cover with plastic wrap and allow to sit for 30 minutes, repeating the stretch and folds every 30 minutes for 2-3 hours. When done, the dough should have more strength and density.
- Cover the bowl with plastic wrap and allow it a bulk fermentation time of 5-8 hours depending on the temperature of your kitchen. Look for the dough to increase in volume by about 30-50%.
Recipe Note: You can stick the dough in the fridge to do a cold fermentation overnight as well! Do this immediately after your last set of stretch and folds.
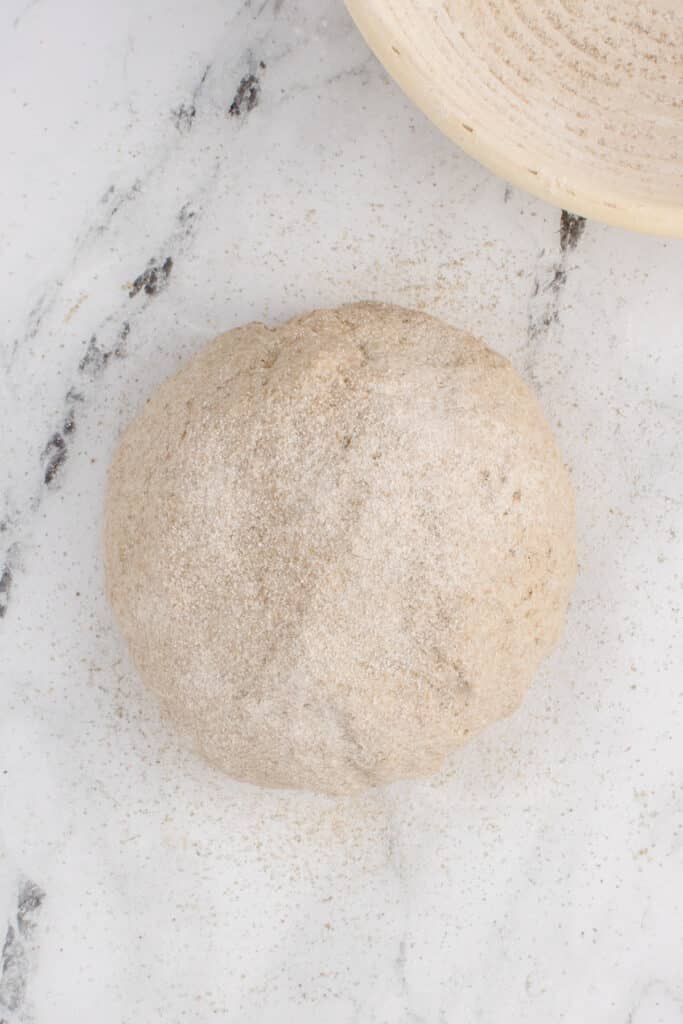
Shaping the loaf + Final Proof
- Shape the dough into a ball on a clean, flat work surface and place it in a banneton or floured-proofing basket.
- Cover with plastic wrap or a plastic bag and proof the dough at room temperature until the dough rises and is slightly puffy. The exact time can vary, but it usually takes 4-6 hours.
Recipe Note: After shaping, you can do a cold fermentation in the fridge overnight.
Baking
- Place the dutch oven with a lid on in the oven and then preheat the oven to 500°F.
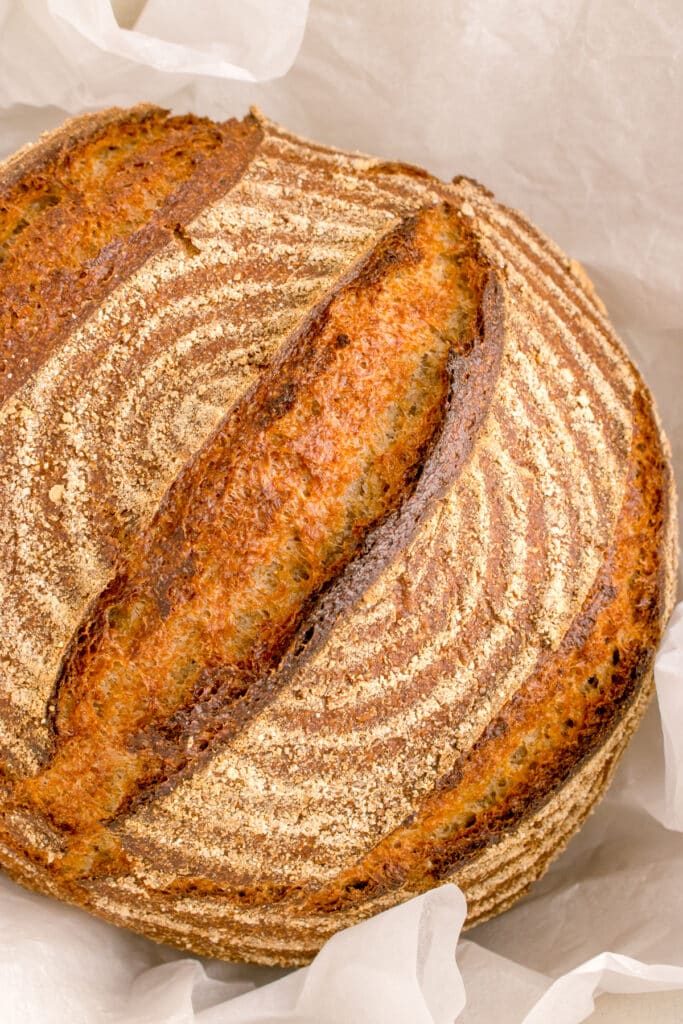
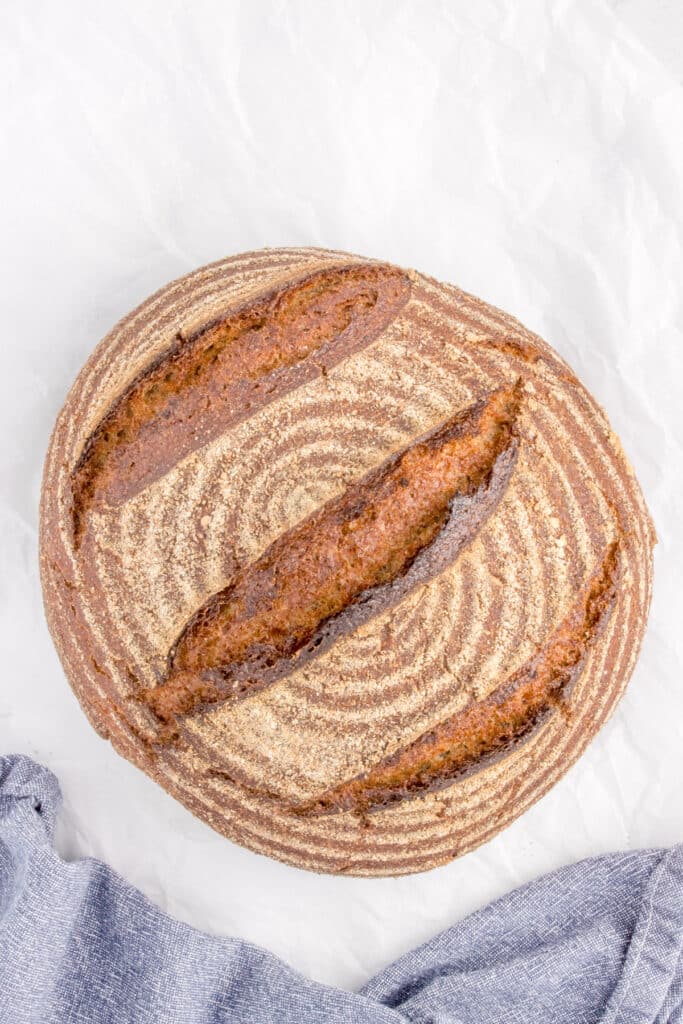
- Carefully remove the dutch oven from the preheated oven with oven mitts. Turn the dough out onto parchment paper. Score the top with a pattern of your choice and place it in the hot Dutch oven.
- Return the Dutch oven back to the oven and bake at 500°F for 20 minutes.
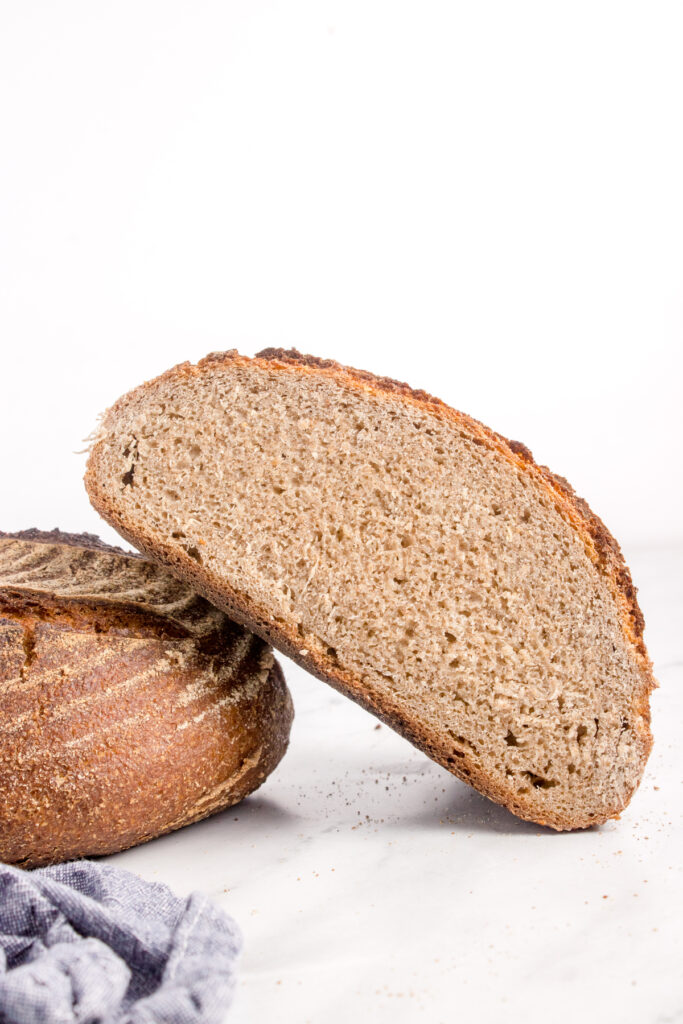
- Reduce the temperature to 450°F and bake for 40-50 minutes more or until the bread has a golden or dark-brown crust. You can cook it for less time for a lighter rye bread. The bread is ready when it reaches an internal temperature of 208°F or more, and it sounds hollow when tapped on the bottom.
- Cool the bread completely on a wire rack before slicing. I recommend waiting for at least 2 hours for the best texture and moisture distribution.
How to get a softer crust: To get a crust that is not so crusty, keep the lid on your dutch oven for another 10 minutes. Then remove the lid and allow the crust to develop a lighter brown color.

Baker’s Schedule
Knowing how this bread recipe fits into your schedule is an important step for knowing when you should start to have it be done on time. I like to work backwards from when I want the bread to be done baking and figure out when I should feed my starter.
Reminder: You need to start with a fed and active starter, so you will need to add that time.
- Mixing Dough – 20 minutes + 1-2 hours
- Stretch and Folds – 2-3 hours
- Bulk Fermentation – 5-8 hours (Can be done overnight in the fridge)
- Shaping – 10 minutes
- Final Proofing – 4-6 hours (Can be done overnight in the fridge)
- Baking – 1 hour
*NOTE: The timing of this schedule is dependent on the temperature of your house. Dough will proof faster in a warmer house, and slower in a colder house. Watch the dough here, not the clock! For reference, the temperature of my house is 70 F.
New to sourdough? Read my ultimate guide to sourdough for beginners to get all the answers to your questions in easy to understand ways!
Love and links are always appreciated! If you’d like to share this post, please link to this post directly for the recipe, please do not copy and paste or screenshot. Thanks so much for supporting me! xoxo
German Rye Sourdough Bread Recipe
Ingredients
Equipment
Method
- Mix the dry ingredients, which include rye flour and all-purpose flour, and add warm water, salt, and sourdough starter to it. Mix these ingredients together in a large bowl with a wooden spoon or stand mixer with a dough hook.
- Autolyse for 1-2 hours to fully hydrate the flours and develop gluten.
- Perform stretches and folds on the dough every 30 minutes for 2-3 hours.
- Cover the bowl with plastic wrap and allow it a bulk fermentation time of 5-8 hours depending on the temperature of your kitchen. Look for the dough to increase in volume by about 30-50%.
- Shape the dough into a ball on a clean, flat work surface and place it in a banneton or floured-proofing basket.
- Cover with plastic wrap or a plastic bag and proof the dough at room temperature until the dough rises and is slightly puffy. The exact time can vary, but it usually takes 4-6 hours.
- Place your dutch oven with a lid on in your oven and then preheat the oven to 500°F.
- Carefully remove the dutch oven from the preheated oven with oven mitts.
- Turn the dough out onto parchment paper. Score the top with a pattern of your choice and place it in the hot Dutch oven.
- Return the Dutch oven back to the oven, place the lid one, and bake at 500°F for 20 minutes.
- Reduce the temperature to 450°F and bake for 20 minutes.
- Remove the lid and bake for 20-30 minutes more, until the bread has a golden or dark-brown crust. The bread is ready when it reaches an internal temperature of 208°F or more, and it sounds hollow when tapped on the bottom.
- Cool the bread completely on a wire rack before slicing.
Nutrition
Nutrition information is provided as a general estimate and may vary based on ingredients, brands, and substitutions. For specific dietary needs, we recommend calculating nutrition using your preferred tool.
Can I make it into a shape like French bread but not as long then bake on a cookie sheet?
Yeah, you can definitely make it in a different shape!
This dough was stiff and not sticky I followed your directions. I felt like there was not enough water.
Rye tends to absorb water more than all purpose flour, and so if you used a darker rye flour instead of the medium that I used, it would absorb even more water and be more dense. The recipe itself is a low hydration dough and is more stiff, I made the note about it being sticky for people who have never worked with rye flour before, and aren’t used to how it absorbs water.
My dough also is super dry. I added a bit more water, but now looks like wet clay. I don’t have high hopes
Hey there CornDawg, as always, make sure you are measuring with a scale for the most accurate results and to pay attention to your specific dough. The hydration rate of your starter, your house’s temperature and humidity will definitely affect how your dough forms and reacts. What rye flour you use also will affect your hydration rate. In the recipe notes I wrote that I used a medium rye here, but if you chose something darker or a courser grind of flour, that will throw off the hydration rate. I always show step by step process photos so you can get an idea of what your dough needs to look like and you can definitely adjust if you need to use more water or flour.
I would love to make this recipe, but it looks like you can’t really do it in 1 day. How can this be broken up over 2 days? Can any of these steps be condensed or refrigerated ?
Hi Jamie! You can do it in one day if you really watch your time, but you can easily split it into two days, too! You can refrigerate it after you have finished your stretch and folds and let it do its bulk fermentation in the fridge overnight. You can also do the final proof in the fridge overnight, too, after you shape the dough. You could even do BOTH fermentation periods in the fridge and make this a 3 day recipe if you want all the sourdough flavor! I will add some notes into the post to clarify this.
Can you translate measurements to volume quantities? IE, cups , Tablespons, etc.
Hi Bob! For this recipe, no. In order to ensure that the proper ratio of flour to water is achieved so you get the correct hydration of dough (and therefore consistency of the dough) and texture of the baked bread, the ingredients need to be weighed. If you are wanting sourdough recipes that are in cups you will find that almost all of my sourdough discard recipes and a few of my very beginner basic bread recipes have cup measurements. Otherwise I always give my sourdough bread recipes in weights because it is more accurate.
I plan to made this bread but it is unclear about the baking. Do I bake with the lid on and then remove the lid when the oven temperature is reduced? And for a softer crust, do I leave the lid on even after reducing the temperature? Thank you for your reply
That’s correct! Bake with the lid on first, and then remove the lid during the last 20 minutes of baking for a crisp crust that is nice and golden brown. If you want a softer crust, you can leave the lid on the whole time – the crust won’t be as darkly golden, but it will be softer!
These temperatures are too high. At 40 minutes, the bottom of the load is burnt.
In the list of items needed for the recipe, you say to use a cast iron dutch oven, not an enamel one, but in the photos you show the bread in an enamel coated cast iron dutch oven. Did I misunderstand the directions?
So… This is really a very nuanced question and answer, and yes you are correct – I say one thing and show another and I should have been more clear. It really depends on your pan. You need to make sure that the handles and knobs on the lid can withstand the high temperatures – some of them are plastic and aren’t meant to go past 400, and some you can purchase special metal handles that can go up to 500 F. Some enameled cast iron pans also recommend that you don’t bake from cold or preheat them empty, which can make baking sourdough in them tricky. So the answer is kind of yes and no, you need to know YOUR pan and what it can do! Hope that helps!