Rosemary Sourdough Bread
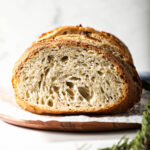
This rosemary sourdough bread loaf is made with toasted wheat germ, giving it a lovely rustic and earthy flavor that can’t be beat. Perfect for slathering with butter, or toasting into grilled cheese sandwiches!
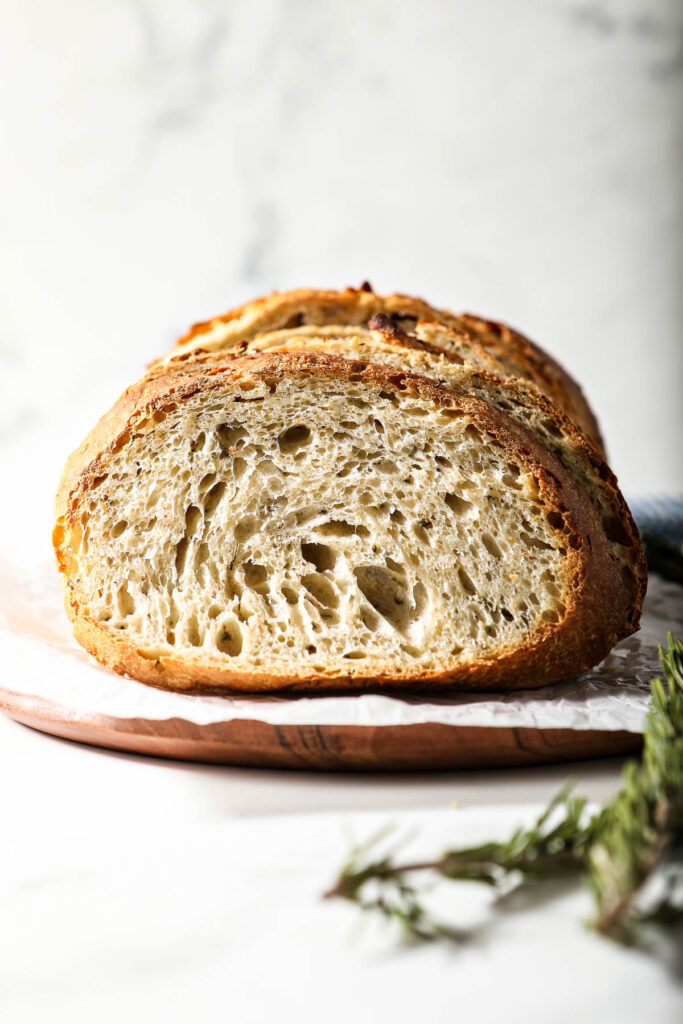
I love easy sourdough bread that tastes amazing, don’t you? What I love about this recipe is it isn’t a perfect artisan loaf. Its meant to be simple and easy but still give excellent results time and time again.
This is a great loaf for beginner sourdough bakers to try. It uses a 100% hydration starter, simple ingredients, and has a fairly straight forward method to follow. It might not be full of all those airy pockets and a perfect ear, but it is dang good and easy to make.
Even “expert” level sourdough bakers can enjoy the simplicity and deliciousness of this bread!
Try these other sourdough bread recipes:
New to sourdough? Read my Ultimate Guide to Sourdough for Beginners to answer all the questions you have!
What do I need to make this sourdough bread?
Jenni Ward/The Gingered Whisk is a participant in the Amazon Services LLC Associates Program, an affiliate advertising program designed to provide a means for sites to earn advertising fees by advertising and linking to Amazon.com.
Ingredients needed:
- Sourdough starter – we are using a 100% hydration starter that has been fed and is active. For more information on what that means, please read “Feeding your sourdough starter”.
- Water – Use room temperature water that is good quality. Whatever you are using to feed your starter with is fine.
- Bread flour – You need a good quality flour with an extra protein content. I suggest bread flour, but you can use all purpose, too. Just know that you might have to do more stretch and folds to build up the strength of the dough.
- Toasted wheat germ – Wheat germ is awesome and so nutritious! If you don’t know what it is, read this article that explains it much better than I could ever. This will add a touch of toastiness and nuttiness to the bread flavor, and it also helps quicken fermentation a little. You can find toasted wheat germ in the baking aisle, usually by the pancake mixes. I usually find it in a glass jar, but it can also be in a bag.
- Fresh rosemary leaves – This is where we are getting our rosemary flavor from. Use fresh, don’t substitute with dried.
- Salt – salt helps add extra flavor, helps to regulate the yeast activity, and helps to strengthen the gluten development. Don’t skimp or skip it!
- Oil – a vegetable or olive oil to help “grease” the counter and your hands to prevent the dough from sticking. We use this to help us work the dough easily without adding more flour. You don’t need much, just a thin layer.
Tools needed:
- Large Mixing bowl
- Plastic wrap or shower curtain to cover bowls
- Banneton proofing basket (affiliate link)
- Dutch oven or baking stone to bake in (*see note at the bottom)
- Parchment paper
- Sharp knife or lame
*For other tools you need for sourdough baking, check out Sourdough Bread Tools.
How to Make Rosemary Sourdough Bread
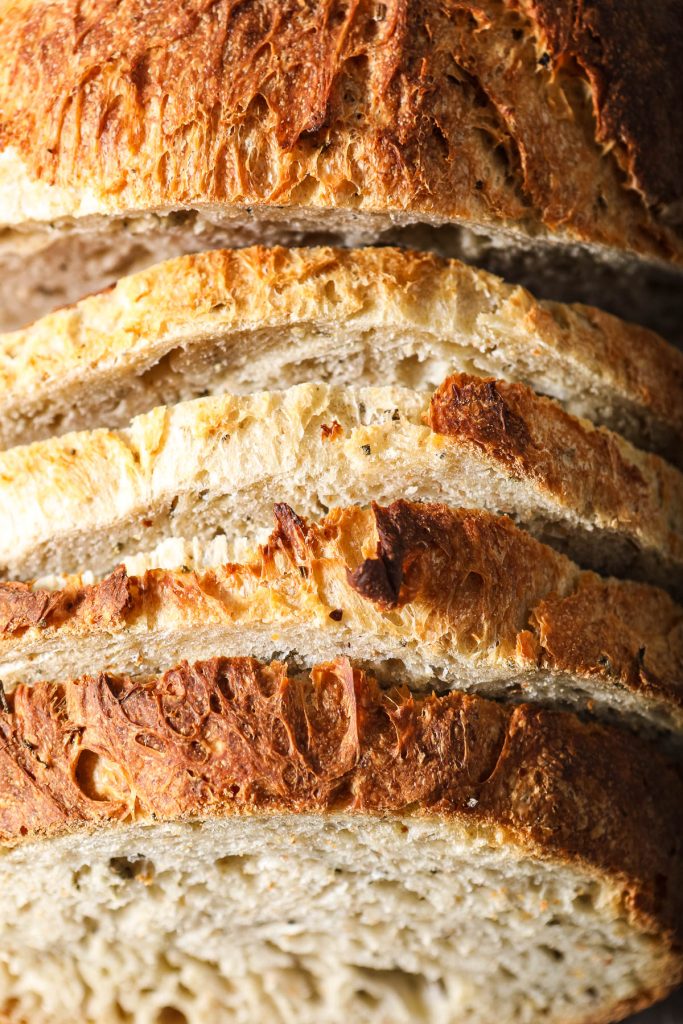
This rosemary sourdough bread recipe is an easy loaf of bread to make! Here are the simplified steps to make it. For the full recipe, make sure to scroll down to the recipe card in the bottom.
Prep work
- Feed your sourdough starter and allow it to become active – you want it at its peak activity level, so doubled in size and nice and bubbly.
Mix the dough and autolyse
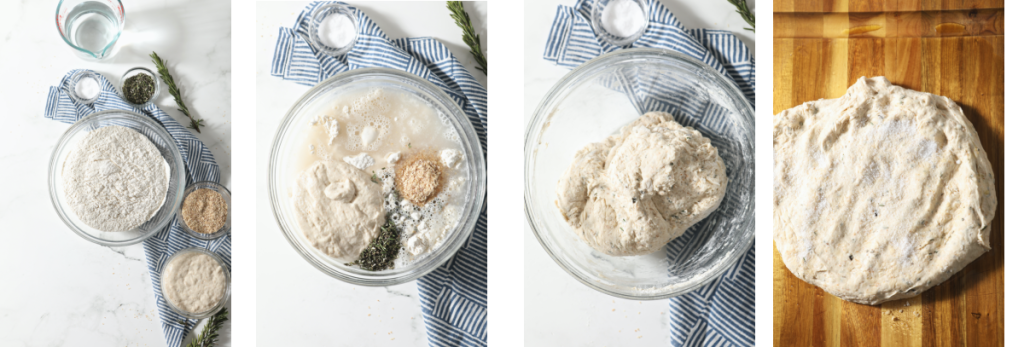
- Mix all the ingredients except for the salt until it forms a kind of shaggy, messy mass.
- Let it sit on the counter for 40 minutes.
- Turn the dough out onto a lightly oiled surface and then sprinkle the salt evenly over the top.
- Knead a few times to distribute the salt.
Bulk Fermentation with stretch and folds
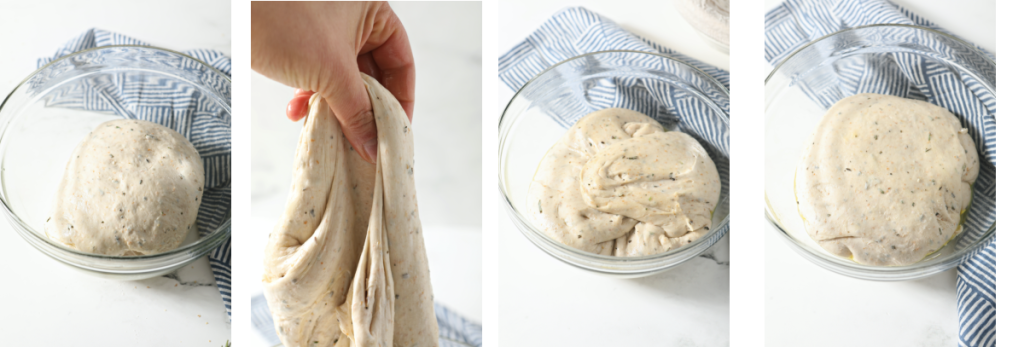
- Place the dough in an oiled bowl and let it sit, covered, for 1 hour.
- Place the dough on a lightly floured surface and knead by stretching and folding the dough a few times, until it feels very smooth and is easy to fold.
- Put the dough back into the oiled bowl and let it rise for 1 more hour.
- Repeat the stretch-and fold kneading, place the dough back into the bowl, cover, and let rise for 2 hours and 20 minutes.
Cold Overnight Fermentation
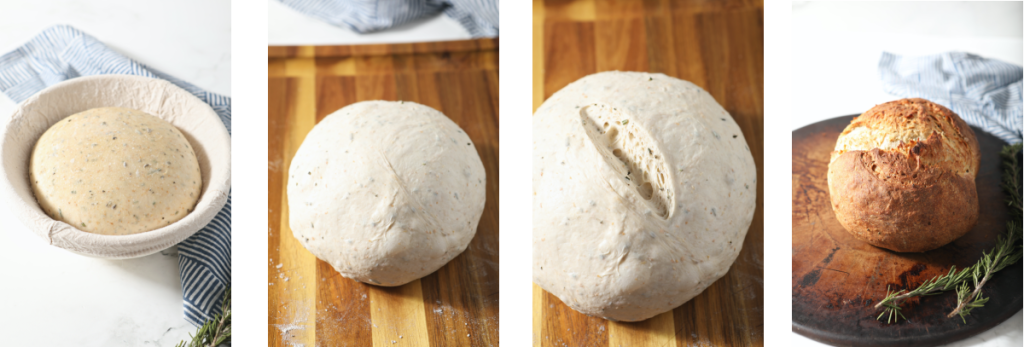
- Remove the dough from the bowl, form into a ball, and place in a floured bowl or banneton, cover, and let it sit in the refrigerator overnight (or 8-12 hours).
- In the morning, remove the dough from the refrigerator and let it sit on the counter for 1.5 hours to warm up. Use half this time to preheat your oven.
Baking
- Preheat the oven to 450 degrees and heat your baking dish to help create steam.
- Lightly flour a piece of parchment paper and turn the dough out onto it. With floured hands, gently shape the dough into a round smooth circle.
- Use a lame or sharp knife to cut a cross or cross hatch design into the top of the dough.
- Boil some water, and pour the boiling water into a baking or casserole dish, and place this on the bottom rack of your oven. Place the bread on the top rack on the baking stone, above the water.
- Bake for 20 minutes.
- Reduce the temperature of the oven to 425 degrees. Bake for 20-25 additional minutes.
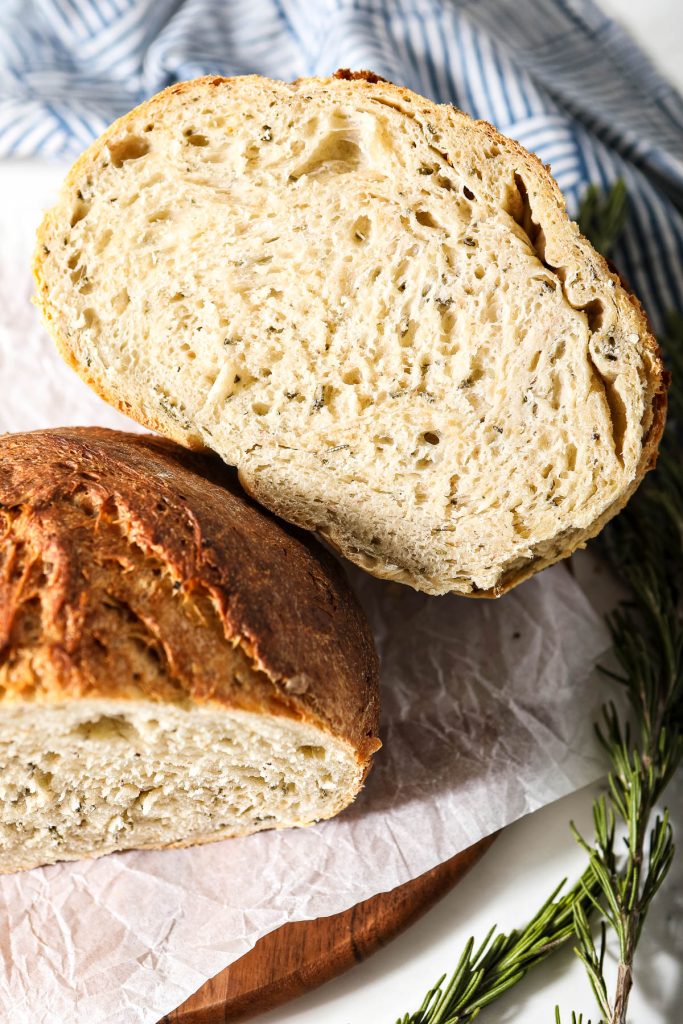
- Let the bread cool for at least 2 hours before slicing – this helps it to continue baking and prevents your bread from becoming gummy.
- Enjoy!
Baker’s Schedule
Knowing how this bread recipe fits into your schedule is an important step for knowing when you should start to have it be done on time. I like to work backwards from when I want the bread to be done baking and figure out when I should feed my starter.
- Mixing Dough and autolyse – 50 minutes
- Bulk Fermentation with Stretch and Folds – 4 hours 30 minutes
- Overnight Proofing – 8-12 hours + 1 hour 30 minutes to warm up in the morning
- Baking – 45 minutes
- Cooling – 2 hours
*NOTE: The timing of this schedule is dependent on the temperature of your house. Dough will proof faster in a warmer house, and slower in a colder house. Watch the dough here, not the clock! For reference, the temperature of my house is 70 F.
What should I bake my loaf in?
You have two good choices for baking, and both are good, it just depends on what tools you have on hand.
- Dutch Oven – You can use a nice big dutch oven with a lid to bake it. Make sure you preheat the dutch oven and the lid so they are nice and hot. The lid will help trap in any steam and create a nice hot environment for oven spring. You can add in a few ice cubes around the bread (but not on it) if you want even more steam. The only downside to this is you have to carefully transfer your dough into the hot dutch oven and carefully remove the hot lid to crisp the crust.
- Baking stone + baking dish – You can use a baking stone instead of a dutch oven. You will need to pair this with another kind of high temperature safe baking dish (not glass) that you can pour boiling water in to create steam. Make sure you preheat both items to be really hot. The downside to this method is you have to work quickly to add boiling water to the pan below the baking stone, and then add the dough to the baking stone without losing too much heat from the oven and without burning yourself.
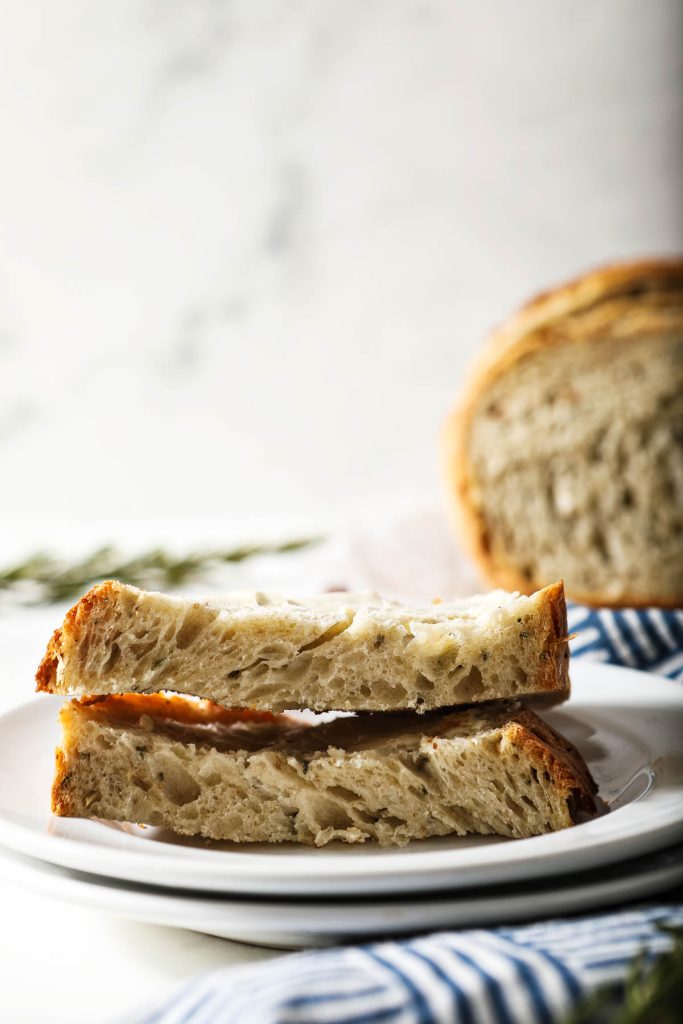
How do I get a softer crust?
To get a crust that is not so thick and hard, keep the lid on your dutch oven for another 10 minutes. Then remove the lid and allow the crust to develop a lighter brown color.
How to store sourdough bread
This bread stores best at room temperature in a bread bag, or wrapped in a kitchen towel. You can also store the bread, sliced side down, on a wooden cutting board. Do not store in the fridge, the bread will become hard.
What does wheat germ in bread do?
Wheat germ helps to add nutrients to the bread, quickens the fermentation process (your sourdough starter loooooves it!), and provides a pleasant nutty and toasty taste to the bread. Don’t skip it!
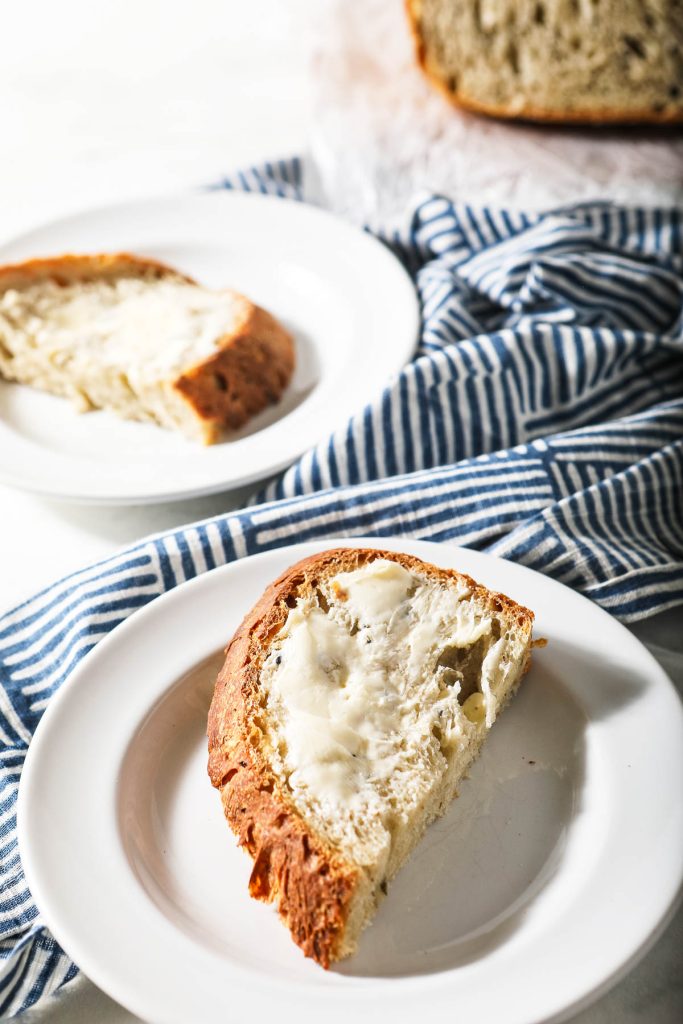
How to eat this sourdough bread
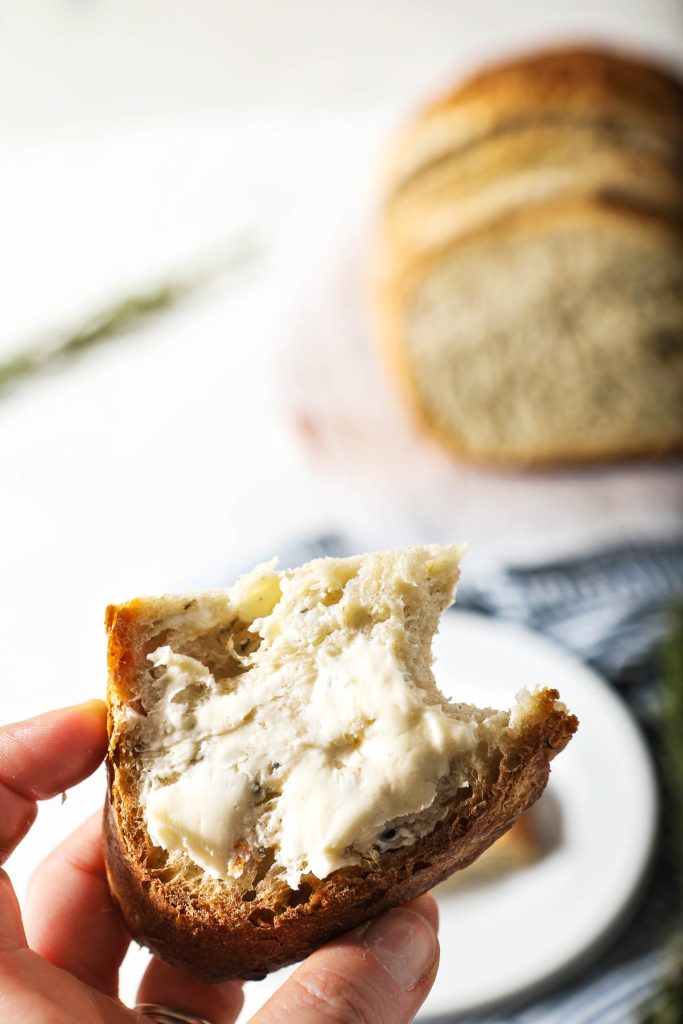
Besides eating it plain, and smeared with real butter, this rosemary sourdough bread was wonderful toasted in the oven with butter and garlic, but it makes a KILLER grilled cheese sandwich. I mean, its pretty amazing. Also try these ideas:
- Use it to create awesome sandwiches
- Serve it beside homemade tomato soup
- Turn it into grilled cheese sandwiches
- Make an awesome breakfast strata with it
- Serve it beside homemade chili.
- Serve it beside breakfast with eggs!
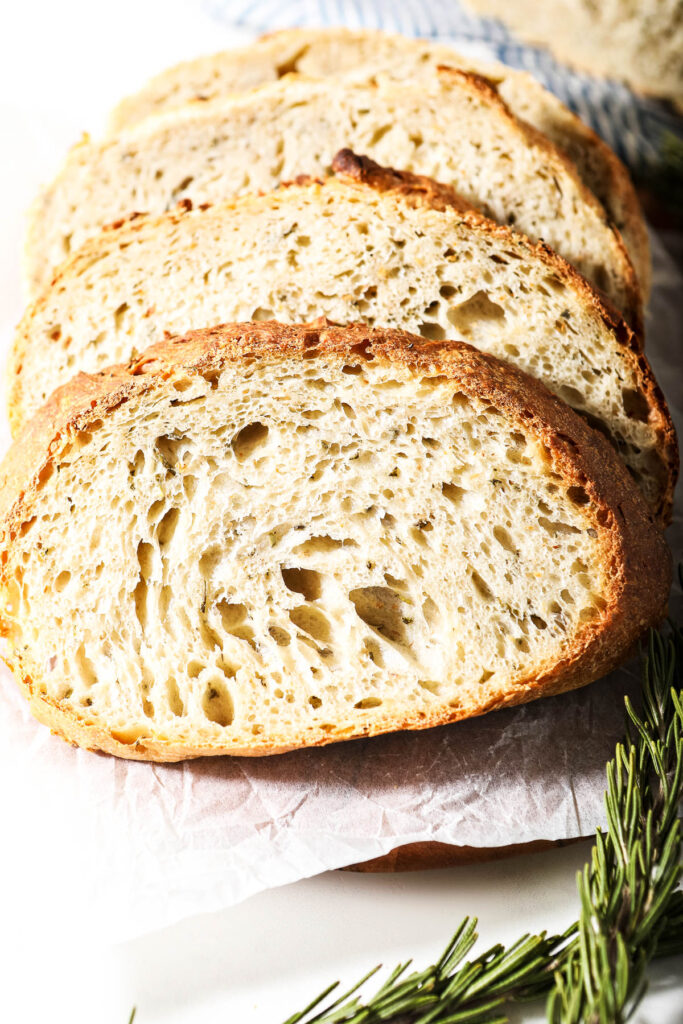
There’s nothing I love more than seeing you make my recipes! If you make this Rosemary Sourdough Bread, don’t forget to leave a comment below and rate the recipe!
And if you are on Instagram, tag @gingeredwhisk and use the hashtag #gingeredwhisk on social media when you make my recipes so that I can share them and maybe even feature you. Follow along to get the latest updates:
And don’t forget to subscribe to the email list to get all the extra tips, tricks and bonuses! Subscribe here!
Want to save this for later? PIN THIS TO YOUR SOURDOUGH BREAD BOARD on Pinterest!
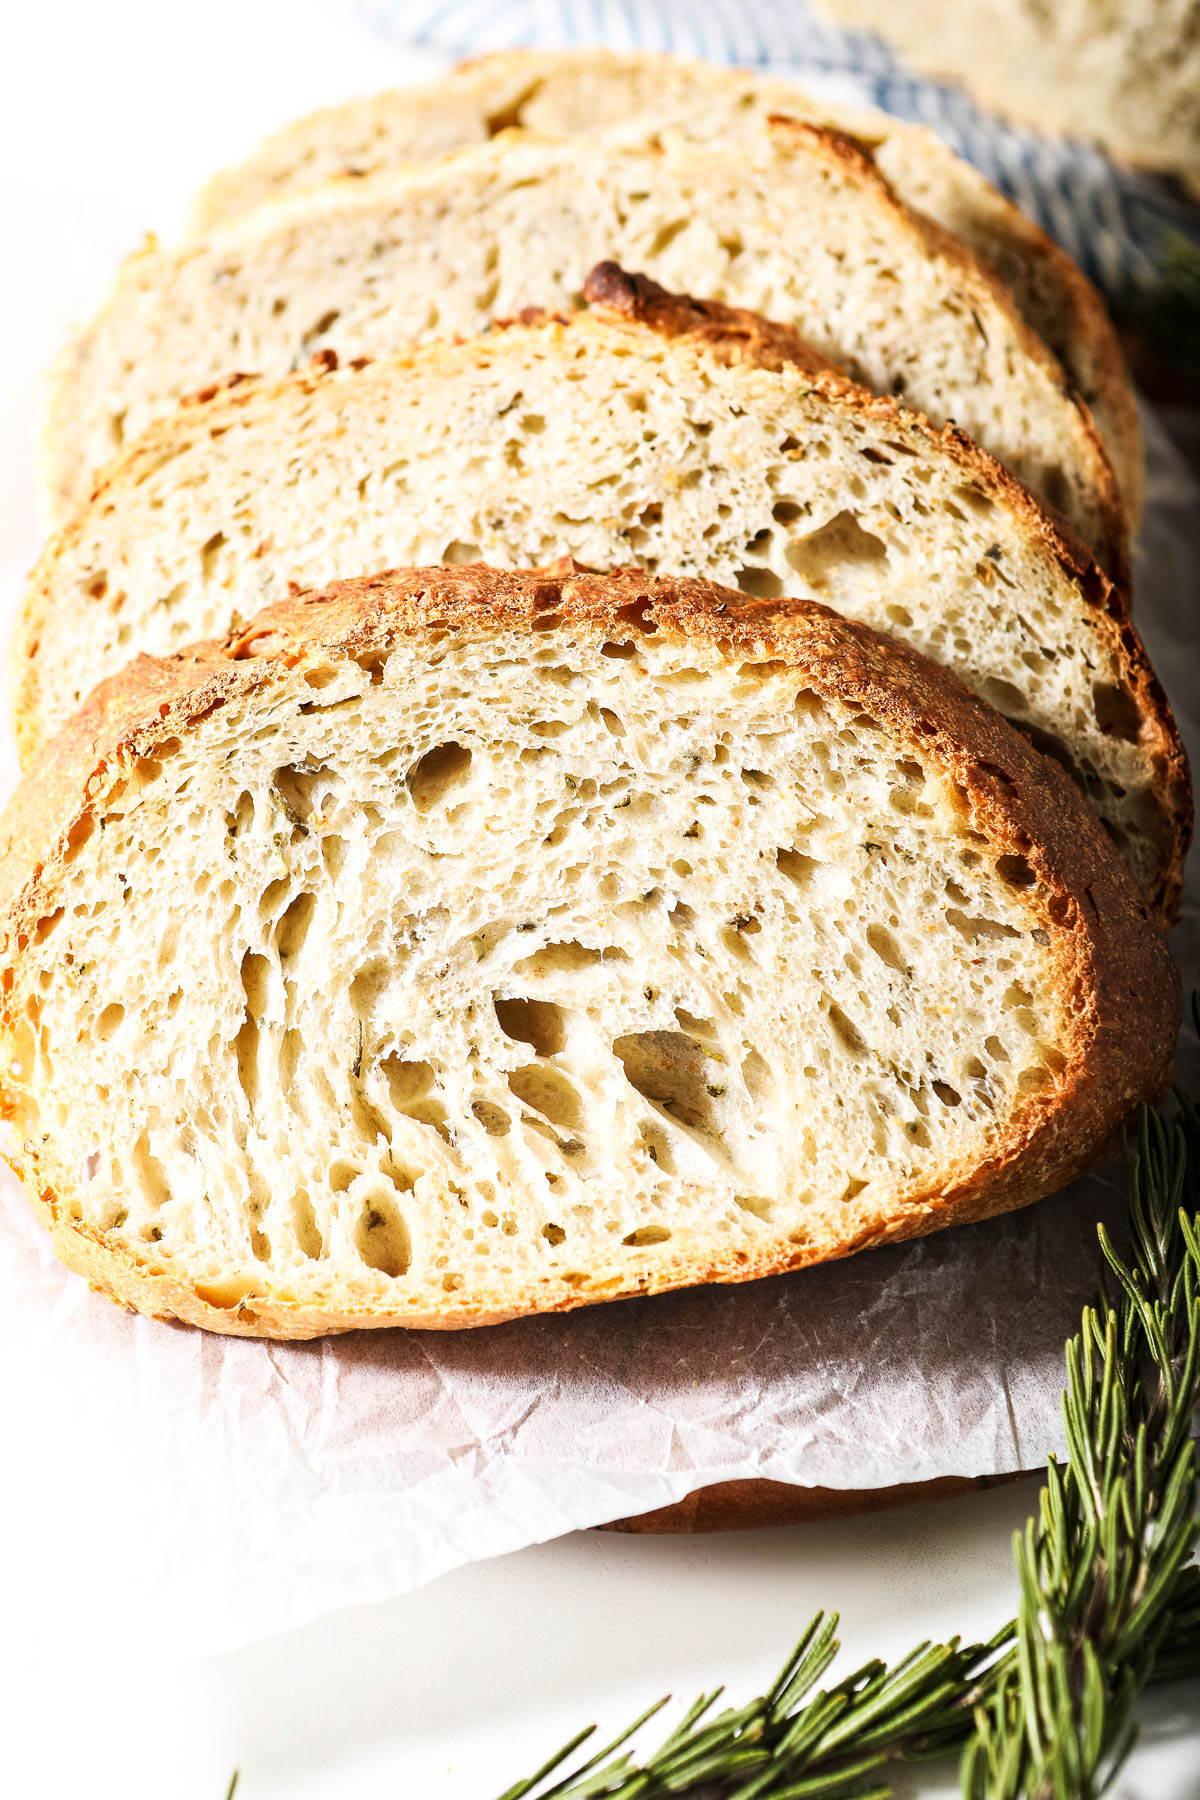
Rosemary Sourdough Bread
Equipment
Ingredients
- 150 grams of sourdough starter 100% hydration, fed and active
- 335 grams water
- 490 grams bread flour
- 20 grams toasted wheat germ
- 2 tbsp fresh rosemary leaves finely chopped
- 9 grams salt
Instructions
Prep work
- Feed your sourdough starter and allow it to become active – you want it at its peak activity level, so doubled in size and nice and bubbly.
Mix the dough and autolyse
- Mix all the ingredients except for the salt until it forms a kind of shaggy, messy mass.Let it sit on the counter for 40 minutes.
- Turn the dough out onto a lightly oiled surface and then sprinkle the salt evenly over the top.
- Knead a few times to distribute the salt.
- Bulk Fermentation with stretch and folds
- Place the dough in an oiled bowl and let it sit, covered, for 1 hour.
- Place the dough on a lightly floured surface and knead by stretching and folding the dough a few times, until it feels very smooth and is easy to fold.
- Put the dough back into the oiled bowl and let it rise for 1 more hour.
- Repeat the stretch-and fold kneading, place the dough back into the bowl, cover, and let rise for 2 hours and 20 minutes.
- Cold Overnight Fermentation
- Remove the dough from the bowl, form into a ball, and place in a floured bowl or banneton, cover, and let it sit in the refrigerator overnight (or 8-12 hours).
- In the morning, remove the dough from the refrigerator and let it sit on the counter for 1.5 hours to warm up. Use half this time to preheat your oven.
- Baking
- Preheat the oven to 450 degrees and heat your baking dish to help create steam.
- Lightly flour a piece of parchment paper and turn the dough out onto it.
- With floured hands, gently shape the dough into a round smooth circle.
- Use a lame or sharp knife to cut a cross or cross hatch design into the top of the dough.
- Boil some water, and pour the boiling water into a baking or casserole dish, and place this on the bottom rack of your oven.
- Place the bread on the top rack on the baking stone, above the water.
- Bake for 20 minutes.
Reduce the temperature of the oven to 425 degrees. - Bake for 20-25 additional minutes.
- Let the bread cool for at least 2 hours before slicing – this helps it to continue baking and prevents your bread from becoming gummy.
- Enjoy!


Oh, I love that you picked a bread to bake from the Bewitching!
Wonderful! So nice to "meet" you, I am now going to indulge in reading your blog, and see what you've been up to in your kitchen…
That bread is a favorite of ours, I should bake it again soon…
Hi! I just found you through the secret recipe club. Love your blog! I’m a new follower.
We would love to invite you over to visit our blog and link up to our weekly themed blog hop called Everyday Sisters Sharing Sundays. This week’s theme is SWEET and SAVORY! We hope to see you there. http://everydaysisters.blogspot.com/2011/10/everyday-sisters-sharing-sunday-19.html
Ellen
sourdough bread is never a bad idea. in addition to grilled cheese sammies, I also suggest toasting up slices and loading em with guacamole-esque concoctions or a bit of goats cheese and fresh basil. Heaven!
PS. Thanks for stopping by lovely 🙂
Boy, you weren't kidding, that bread does look amazing. I can see myself pulling slices of this out of the oven, covered in butter and garlic. I'm such a chicken at trying to make a sourdough starter though.
Thanks for dropping by my blog and commenting! 🙂
Wow! It looks like perfection!
I'm from Group C but I'm an honorary Group D member this week, welcome to SRC. I could just die for that bread, what a gorgeous crust! Like you I hear Gordon Ramsey in my head…intimidating and weird!
wow that air bubble looks intense!
Hello from the SRC!
Your bread looks amazing!!! One of my favorite things to bake is bread and now this is on my list of new items to try. You did a fantastic job!
That bread looks really nice & all that air must make it really nice n fluffy. Your Gordan Ramsey reference made me burst out laughing.
Your bread looks delicious! I really need to get a sourdough starter going, I keep seeing so many delicious sourdough breads and I want to try them all.
Welcome to SRC!
The SRC sounds great! I just joined myself!
Hey Jenni….Thnx for your lovely comment and making me aware of such a beautiful looking bread….I thoroughly enjoyed the challenge….Following your wonderful bog..Keep visiting me too….
Cheers
Neha
I'm also on group D, and that bread looks AMAZING!!!! And I sell bread from home as a side business, so I mean it. 😉 Hmmm, I need to try my hand at sourdough again.
Gorgeous sourdough! I love bread, I have been trying to make more of it. Sourdough is on my list! Welcome to SRC, great first post! Please check out my site too =)
Wow your bread looks absolutely delicious, what a great choice for SRC! Love your blog, so glad to be a new follower! xoxo
Just thought you ought to know I’ve made this recipe for or five times, and we love it. It’s a good use for our giant rosemary plant and it makes an excellent gift loaf. I double the recipe every time and often give one away and everyone has loved it! Unfortunately I’ve yet to try it with wheat germ but it is excellent without it