No Churn Mint Chocolate Chip Ice Cream
No churn mint chocolate chip ice cream is an easy, creamy, and delicious treat! Chunks of Andes mint chocolates are folded into a soft and creamy condensed milk based ice cream.

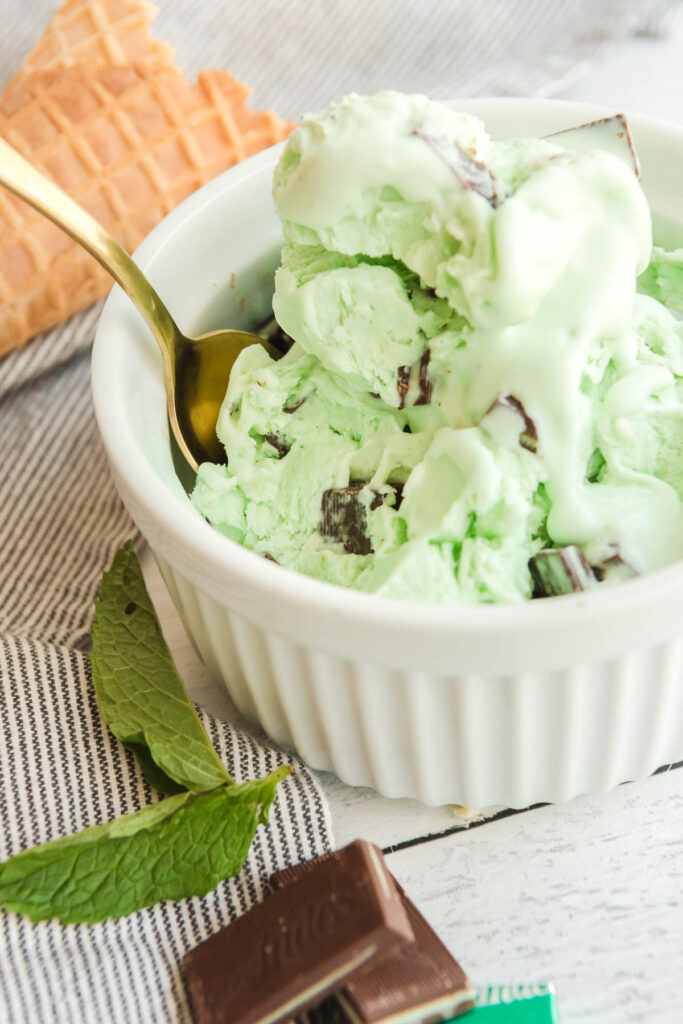
There is nothing better than fresh homemade ice cream, but often making traditional custard based ice cream and tempering eggs just seems so fussy and time consuming.
No churn ice cream recipes always come to the rescue, offering creamy and delicious tasting ice creams with almost no work. Just blend a combination of heavy whipping cream and sweetened condensed milk with your favorite flavoring to make easy and delicious ice cream!
Other easy no churn ice cream recipes:

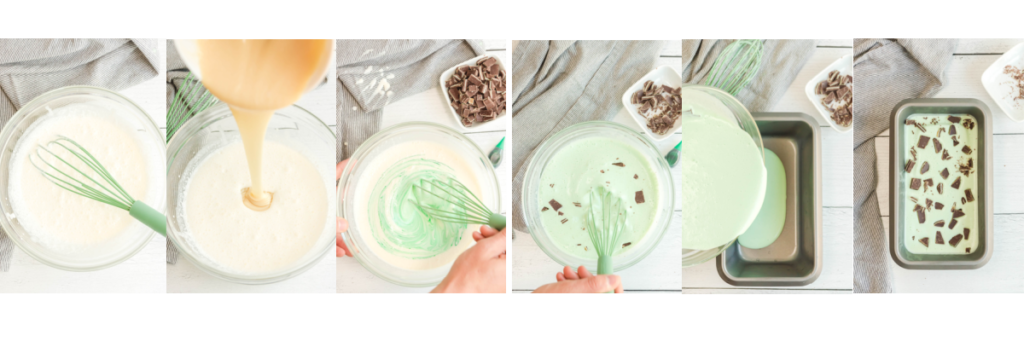
How to make this no churn ice cream recipe
This recipe is very simple to make! Here is a brief overview of the recipe to give you an idea of how it works. For the full set of directions and measurements, please make sure you scroll down to the recipe card below!
- Unwrap each individual Andes chocolates and break them into bits. This will make about ¾ cup of chocolate bits.
- In a medium mixing bowl, combine the peppermint extra with the condensed milk. Stir together until fully mixed. Set aside.
- In a large mixing bowl, whip the heavy whipping cream. Whip with an electric hand mixer (affiliate link) for 3-4 minutes or until the cream is tall and frothy on its own.
- When you’re done whipping the cream, fold in the evaporated milk mixture and stir until ingredients are fully combined and smooth.
- Add 10 drops of green food coloring and mix well. This will give your ice cream a light green coloring that is subtle yet minty-looking.
- Fold in ⅔ of your Andes bits. Stir well.
- Pour ice cream mixture into a 9”x5” loaf pan and place inside the freezer for 1.5-2 hours.
- Remove from the freezer and add in the remaining ⅓ Andes bits. Return to the freezer for the remaining time or overnight.
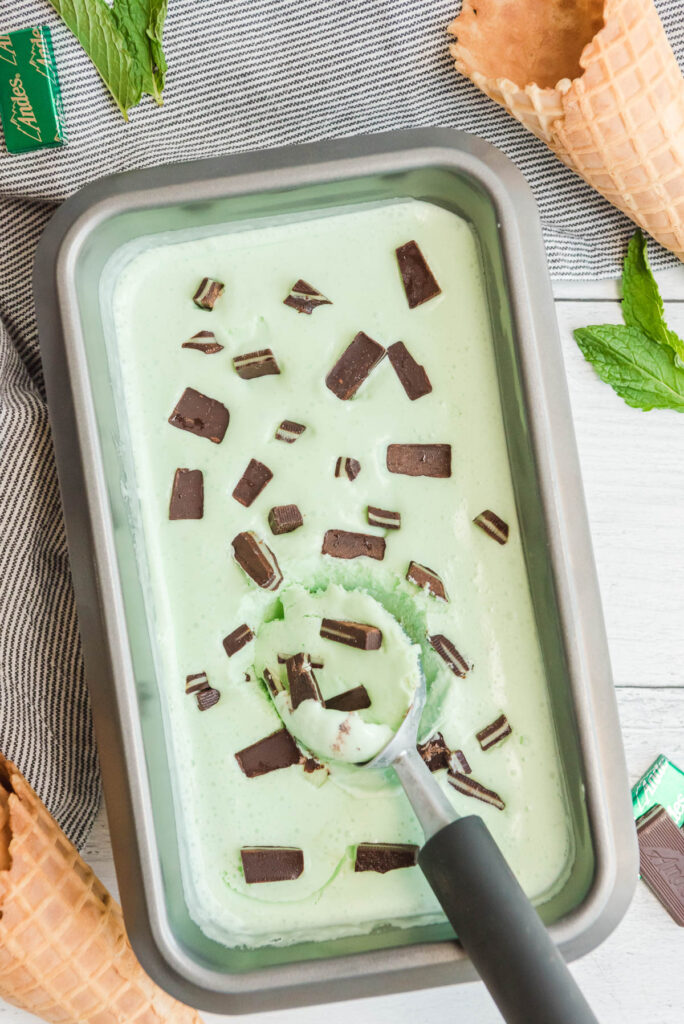
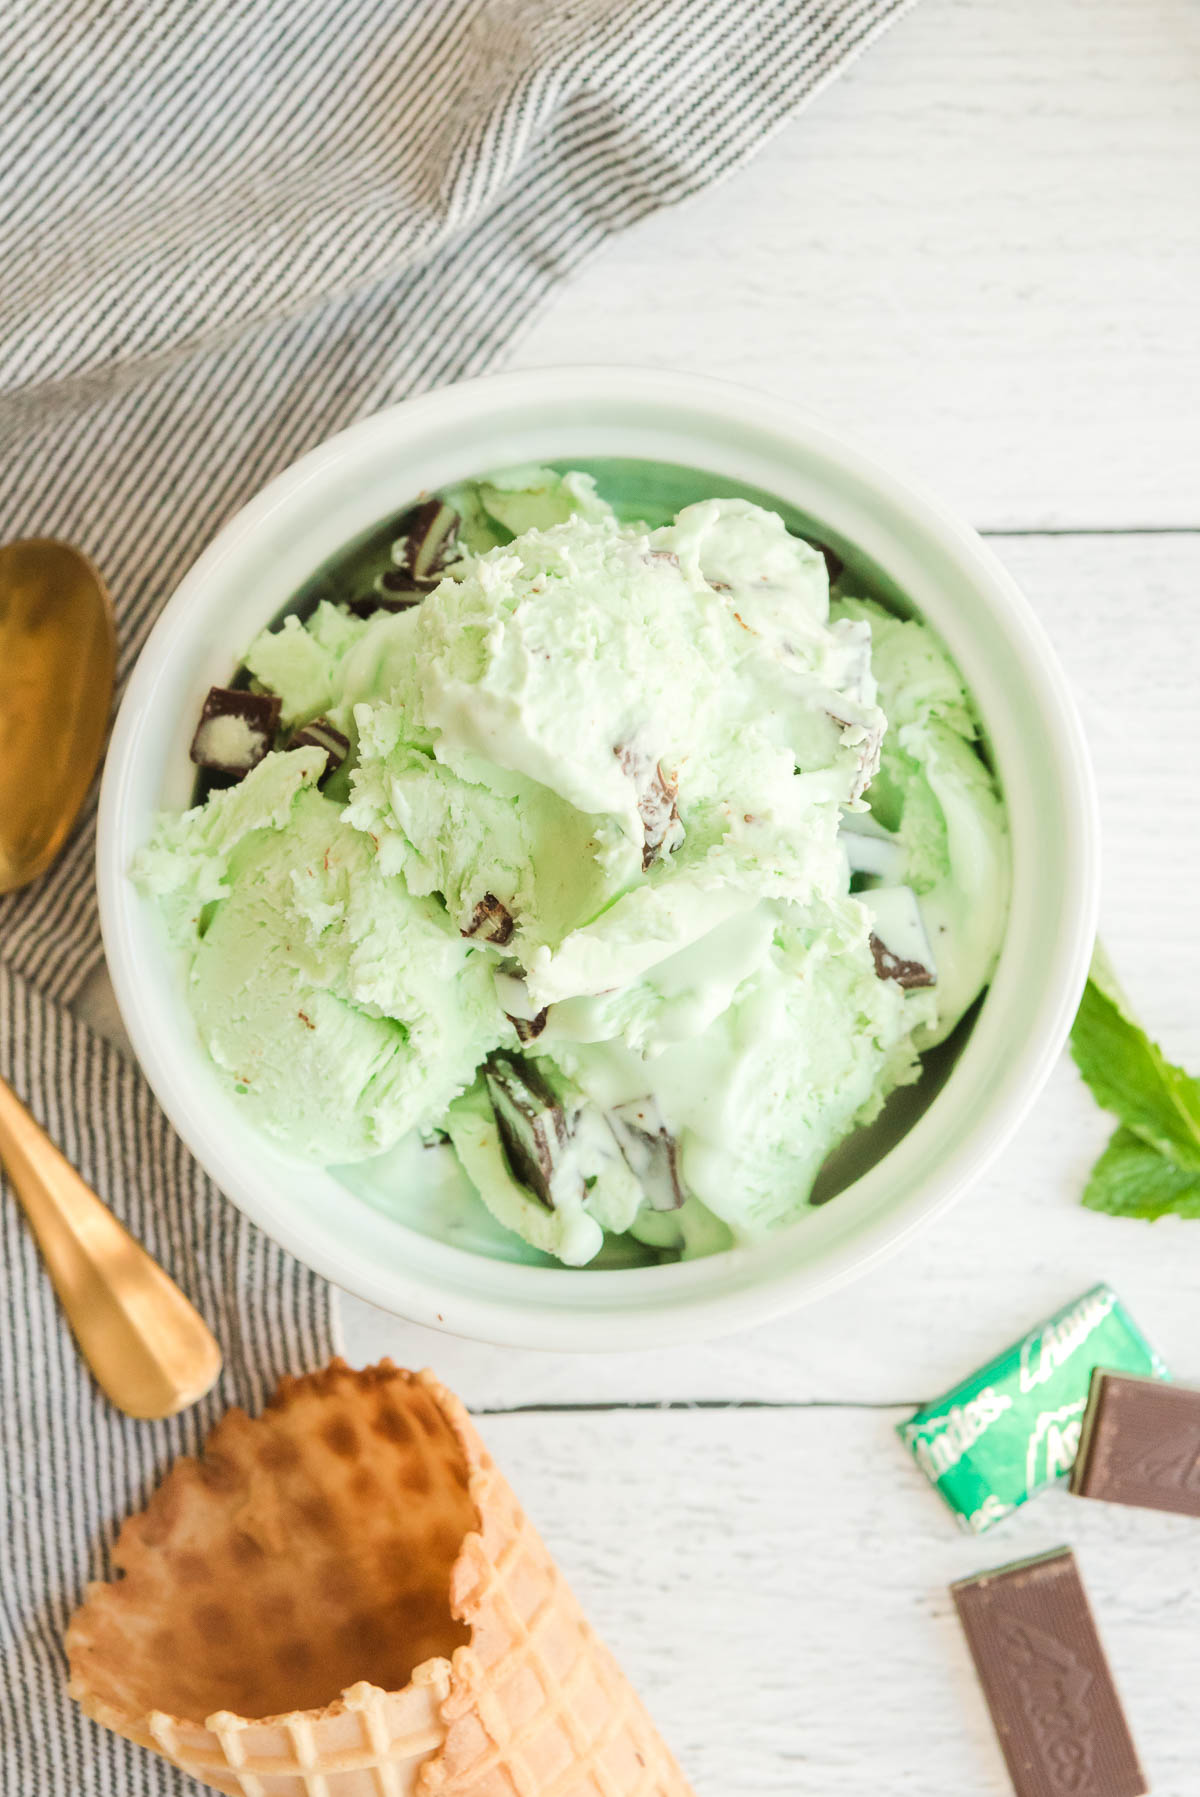
- When you’re ready to enjoy the ice cream, remove it from the freezer and scoop into a bowl or waffle cone.
Recipe Note: Feel free to leave the green food coloring out if you want!
Recipe Tips
- If you can find regular mint extract instead of peppermint extract, that will make a huge and awesome flavor difference!
- The food coloring is not necessary in this recipe (and really I like it best without), but it does give the nice color we are used to.
Storage information
Store this ice cream covered with plastic wrap and a tightly fitting lid inside the deepest part of your freezer for 5-7 days. After that it could start to develop ice crystals.
Homemade ice cream does best when stored in a low flat container like a loaf pan. Press a piece of plastic wrap on the surface so it touches the ice cream to help prevent freezer burn.
Serving Tips
This ice cream is pretty spectacular on its own, but if you want to really make it special, try serving it with:
- Homemade whipped cream
- Hot Fudge Sauce
- Sprinkles
Food tastes better when its shared! If you try this recipe, let me know! Leave a comment and rate below! Love and links are always appreciated! If you’d like to share this post, please link to this post directly for the recipe, please do not copy and paste or screenshot. Thanks so much for supporting me! xoxo
No Churn Mint Chocolate Chip Ice Cream
Ingredients
- 1 28 piece box of Andes Mint Chocolates, crushed into bits
- 2 cups heavy whipping cream
- 14 oz can of condensed milk
- 1 teaspoon mint extract or peppermint extract
- 10 drops of green food coloring optional
Instructions
- Unwrap each individual Andes chocolates and break them into bits. This will make about ¾ cup of chocolate bits.
- In a medium mixing bowl, combine the peppermint extra with the condensed milk. Stir together until fully mixed. Set aside.
- In a large mixing bowl, whip the heavy whipping cream with an electric hand mixer for 2-3 minutes or until the cream is tall and frothy on its own. You can also use an electric hand mixer for this as well. See notes below.
- When you’re done whipping the cream, fold in the evaporated milk mixture and stir until ingredients are fully combined and smooth.
- Add 10 drops of green food coloring and mix well. This will give your ice cream a light green coloring that is subtle yet minty-looking.
- Fold in ⅔ of your Andes bits. Stir well.
- Pour ice cream mixture into a 9”x5” loaf pan and place inside the freezer for 1.5-2 hours.
- Remove from the freezer and add in the remaining ⅓ Andes bits. Return to the freezer for the 4 more hours or overnight.
- When you’re ready to enjoy the ice cream, remove it from the freezer and scoop into a bowl or waffle cone.


My kids beg me to make this! Thank you so much for this easy recipe!
I remember my fav Kdrama in this no churn mint chocolate chip ice cream! So creamy and refreshing.