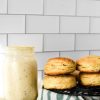
Buttermilk Sourdough Biscuits

These easy buttermilk sourdough biscuits are tender and flaky with just the right amount of sourdough tang. A quick and simple recipe for using your leftover sourdough starter discard, and a perfect easy recipe for beginner sourdough bakers!
I’m bringing you some biscuit today! These are a great biscuit to utilize some discard sourdough starter. These biscuits are a quick recipe that do not need to sit overnight.
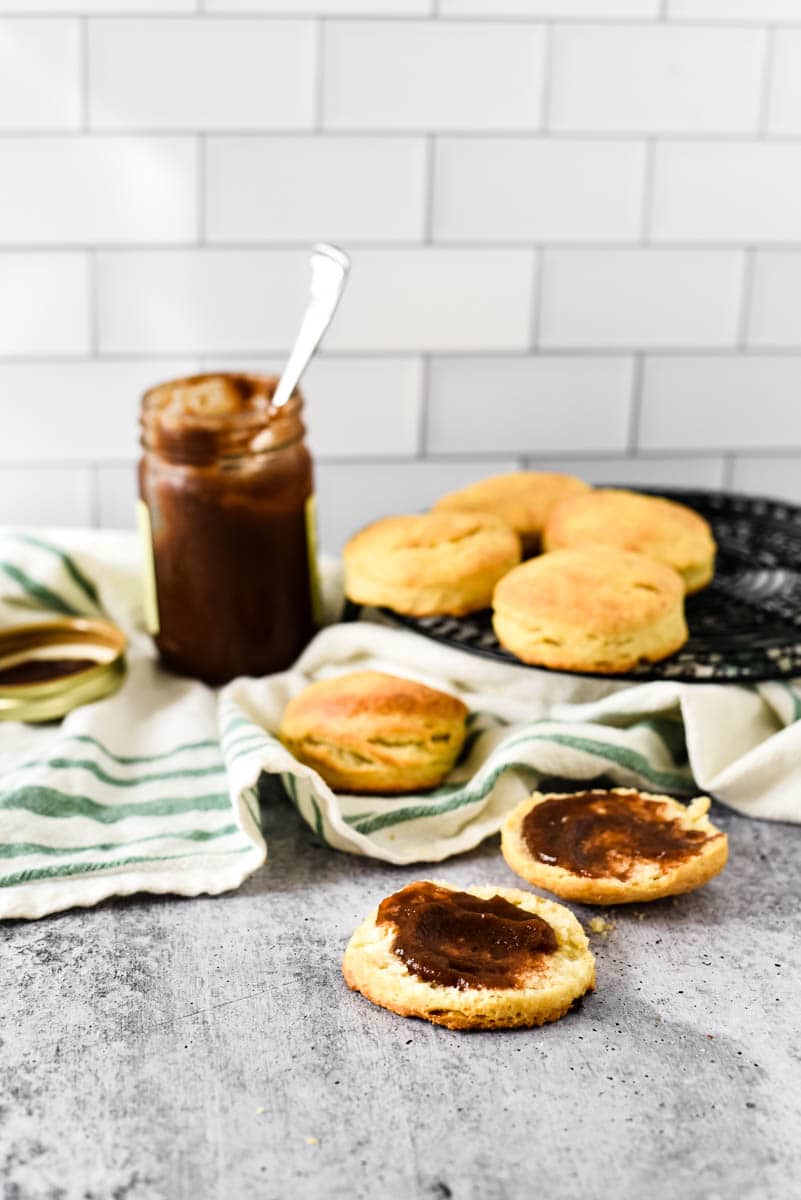
Biscuits have always been a great easy addition to any meal, an afternoon snack, or anywhere in between. Whether you serve them in a sandwich, or layer them with butter and jam, its always a good time for a good biscuit!
Let’s just get the elephant out of the room.
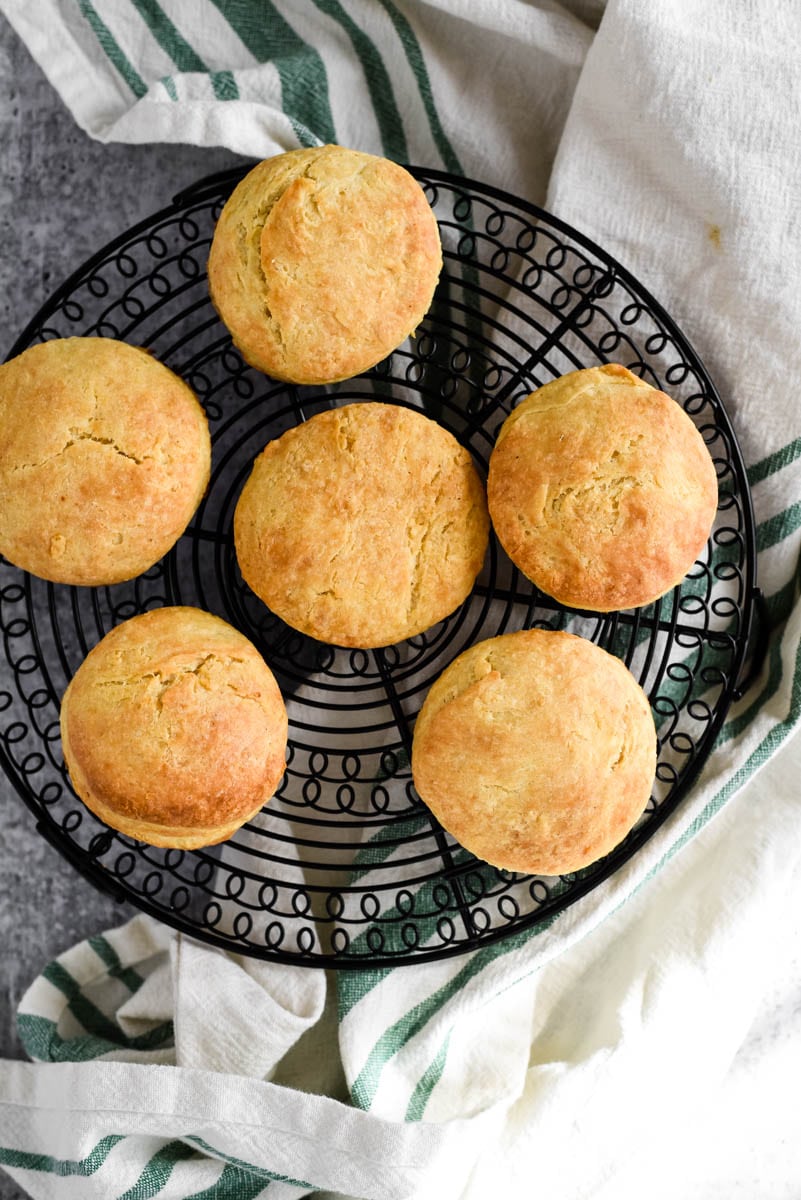
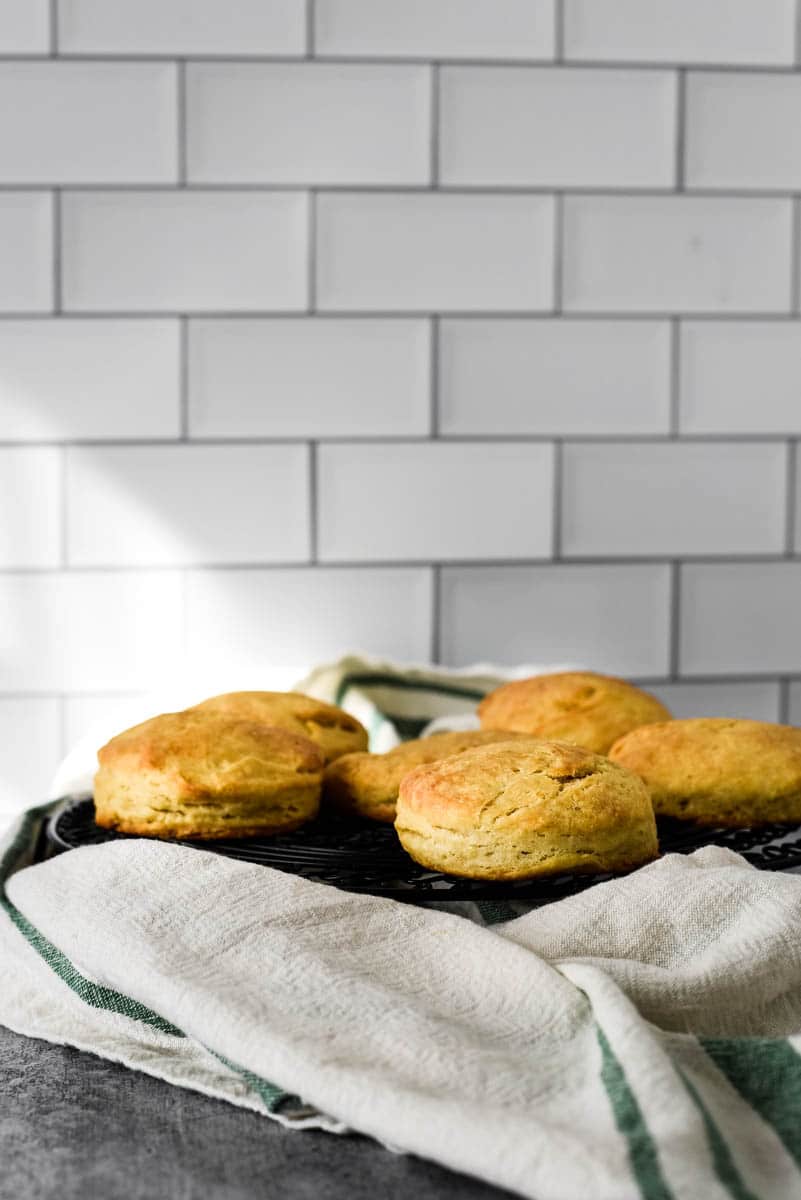
These biscuits are not super high and fluffy, ultra flakey Southern biscuits. Its just not who they are. But that doesn’t mean these aren’t worth making, because these old fashioned buttermilk sourdough biscuits are really good.
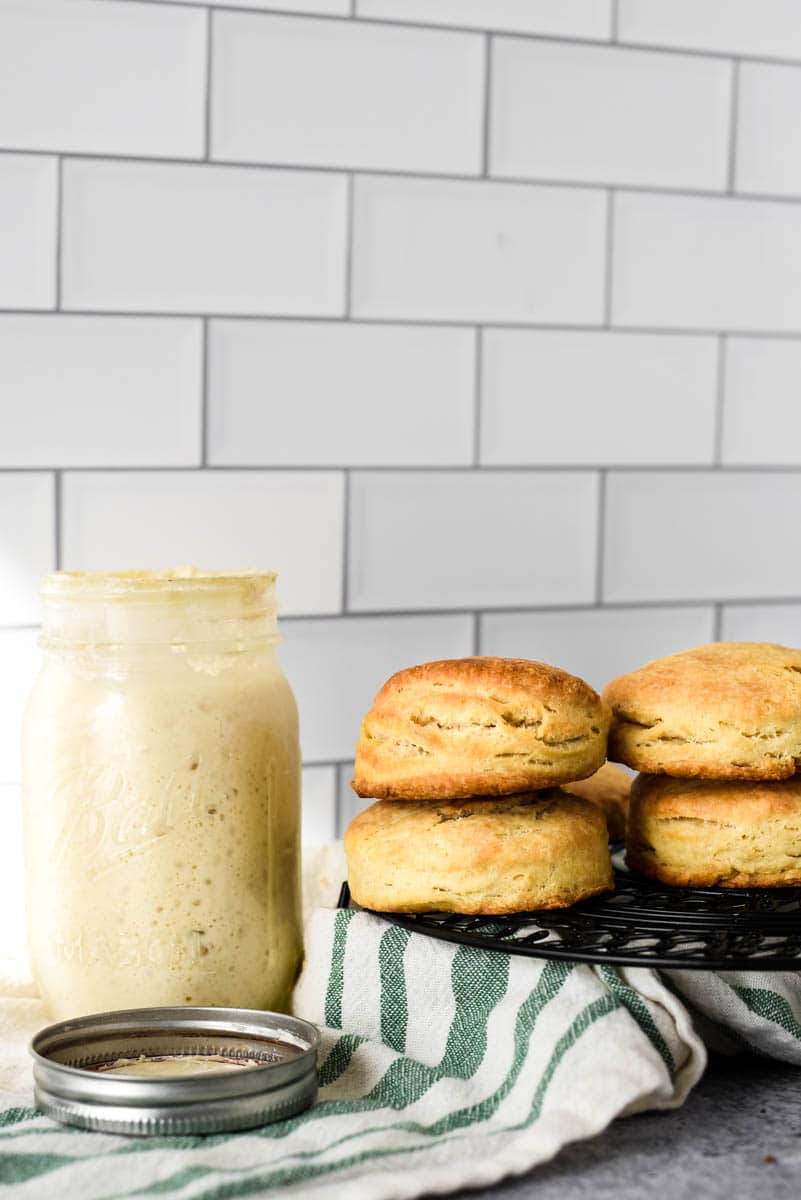
They have great sourdough flavor, a nice soft texture, and are a truly lovely biscuit. They use active sourdough starter for flavor but still get most of their leavening from baking soda and baking powder.
These biscuits are a great recipe for beginner sourdough bakers. In this recipe you need to use your sourdough discard. You feed your discard, and then wait for it to become active and bubbly before you use it in this recipe.
These biscuits are a great way to use sourdough discard! Other recipes that use sourdough starter discard are:
We’ve been making these biscuits a lot lately, and pretty much devour them immediately. All of them.
I thought the sourdough and the buttermilk together would be kind of ridiculous, but it pairs together amazingly.
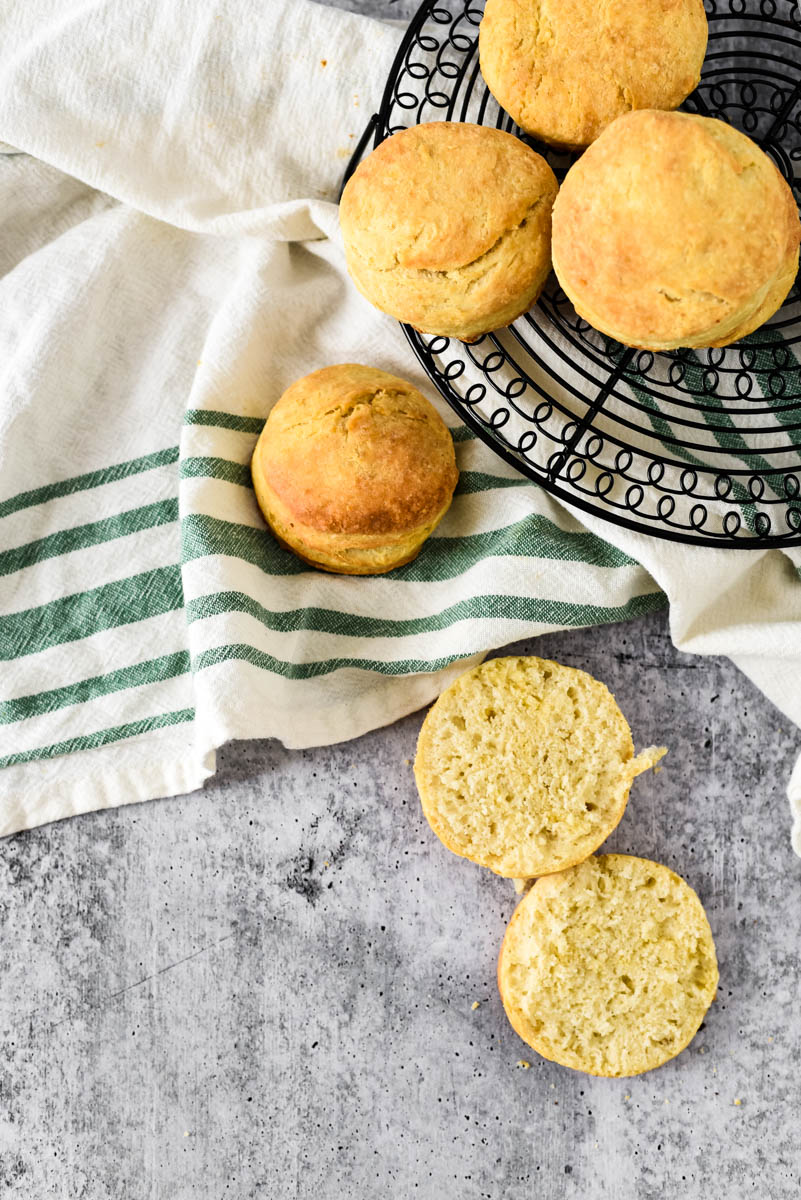
They have a really nice tang to them, but are also buttery.

How to make simple biscuits with sourdough starter
These easy biscuits are simple to make, they just take a little bit of time. Make sure you scroll down for the complete recipe below – this is just an overview of the method you need to bake these.
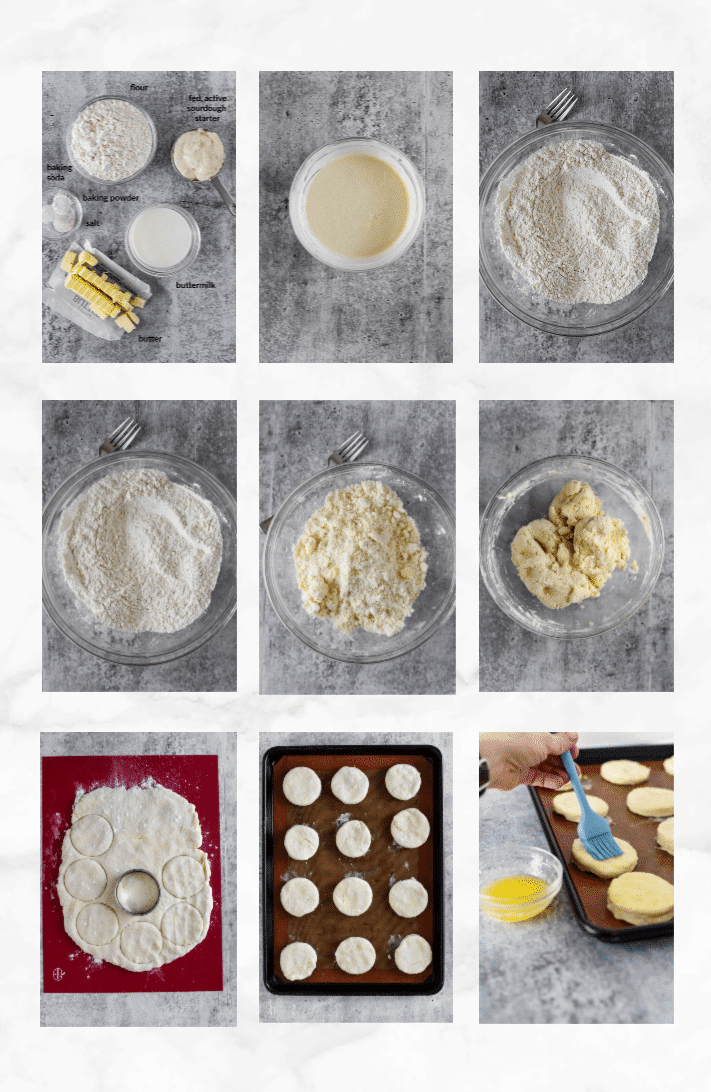
- Prepare a baking sheet with parchment paper or a silicone baking mat.
- In a large bowl, mix wet ingredients together. In a separate bowl, whisk together the dry ingredients. Cut the cold butter into the dry ingredients until it looks like cornmeal or sand. Mix in the starter mixture into the dry ingredients until it forms a soft dough.
- Turn the dough out onto a lightly floured counter and knead for about 30 seconds (don’t over mix it!). Fold the dough over on itself into thirds (like an envelope) and gently pat out again until it is 1/2″ thick. Repeat folding the dough over onto itself in thirds and then pat out with your fingers until the dough is 1/2″ to 3/4″ thick again. This will help to create layers in the biscuits.
- Cut the biscuits and place on a lightly greased baking sheet. You can use your hands to gently bring any scraps together and repress to continue cutting out biscuits, but try not to overwork the dough. The more you handle the dough, the tougher your biscuits will be.
- Cover with a towel and allow to rest for 30 minutes.
- Preheat the oven to 425 F. Brush the tops of the biscuits with melted butter and bake until golden.
Storage Information
These biscuits will keep for 2-3 days when stored at room temperature.
You can reheat them briefly in a warm oven or toaster oven.
Love and links are always appreciated! If you’d like to share this post, please link to this post directly for the recipe, please do not copy and paste or screenshot. Thanks so much for supporting me! xoxo

Sourdough Buttermilk Biscuits
Ingredients
Method
- In a medium bowl, mix together the buttermilk and starter together.
- In a large bowl whisk together the flour, salt, baking soda, and baking powder.
- Cut the cold butter into the dry ingredients until it looks like cornmeal or sand.
- Combine the buttermilk/starter into the dry ingredients and mix until a soft dough forms and it comes away from the side of the bowl. Do not overmix.
- Turn the dough out onto a floured surface and carefully knead to ensure it is all mixed together, but do not over knead. Just two or three times is good.
- Gently pat into dough out until it is 1/2" thick.
- Fold the dough over on itself into thirds (like an envelope) and gently pat out again until it is 1/2" thick.
- Repeat folding the dough over onto itself in thirds and then pat out with your fingers until the dough is 1/2" to 3/4" thick again. This will help to create layers in the biscuits.
- Cut biscuits and place on a lightly greased baking sheet.
- You can use your hands to gently bring any scraps together and repress to continue cutting out biscuits, but try not to overwork the dough. The more you handle the dough, the tougher your biscuits will be.
- Cover with a towel and let rest for 30 minutes (I have also successfully skipped this step several times and they turn out just fine – not as high as the rested ones, but they still have good layers and flavor).
- Brush the tops of the biscuits with melted butter.
- Preheat the oven to 425F.
- Bake for 10-15 minutes or until the tops of the biscuits are golden brown.
Nutrition
Nutrition information is provided as a general estimate and may vary based on ingredients, brands, and substitutions. For specific dietary needs, we recommend calculating nutrition using your preferred tool.
Tried this recipe?
Let us know how it was!
Do you happen to have instructions for freezing these wonderful biscuits?
Hi Sharon! You can freeze them before baking, and then let them thaw on the counter before putting them in the oven. Or you can bake them, let them cool, and then wrap them individually and freeze them that way.
Huge congratulations Jenni! This is probably going to make me sound like a weirdo, but I was thinking about you this morning and randomly wondering if you were planning on having another kid… and then I log onto your blog and taa-daa! Craziness.
Hahaha, Korena, I keep trying to tell you that we are the same! LOL
LOL, only now you're two kids ahead of me… 😉
Congratulations!! Glad to see you back, too – these biscuits look yummy!
Thanks, Amy!
So that's why you've been missing… Congratulations and all the best to you, Jenni!
Haha, yup, that's where I've been! 🙂 Thanks!
Congratulations!!! And take it easy!
Thank you Hannah!
Congrats!! My first Grand-daughter was born on March 29th, little Willow Lynn:) God bless to you and yours~Lynn @ Turnips 2 Tangerines
Thanks!
Congratulations! I am expecting #3 at the end of September :). I hope the rest of your pregnancy is much less eventful. Thanks also for the black bean brownie recipe – it was a big hit with my family.
Oh, congrats! We are due pretty close together! 🙂 Glad you liked the brownies! They are yummy!
Congratulations! I am expecting #3 at the end of September :). I hope the rest of your pregnancy is much less eventful. Thanks also for the black bean brownie recipe – it was a big hit with my family.
Congratulations! I am expecting #3 at the end of September :). I hope the rest of your pregnancy is much less eventful. Thanks also for the black bean brownie recipe – it was a big hit with my family.
Congrats! Your post gives me some hope. I'm 24 weeks and was very sick my first trimester. I was wondering if I'd ever get pregnant again, but we don't want an only child. Glad to know it's not a guarantee that I'll be sick with #2! Good luck with the rest of your pregnancy. Take care of yourself momma!
It's definitely not a guarantee! Every pregnancy is totally different! 🙂
Congratulations Jenni, and glad to see you back! The biscuits look amazing!
Thanks!!
Weeeee!!! Congrats on number 2!!
🙂 Thanks!!
Congratulations!!!!! So happy for you! My youngest niece in BRazil is also pregnant, and just wrote me to say it's a boy, due in mid October… there you go, two new babies in the world!
I wish you all the best, and look forward to whatever posts you want to write, even if it's just to say how many hours you were sitting in the sofa watching Food TV network… or cartoons 😉
Oh my gosh, all I've been watching is tv centered around food! And now all I want is 5 star gourmet amazing food…and all I have the energy to make is boxed mac and cheese. LOL.
Congratulations!! I hope the rest of your pregnancy goes smoothly with no more emergency trips!
Thank you! Me too! LOL! 🙂
Congratulations to you and your family on baby #2! Looking forward to your posts 🙂
Thanks! 🙂