Sourdough Focaccia Recipe
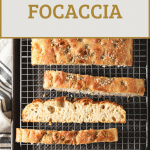
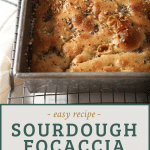
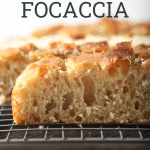
Sourdough focaccia is a golden bread with a chewy crumb and a subtle tang. An easy high hydration dough to make, this will be one of your favorite go-to bread recipes for your sourdough starter!
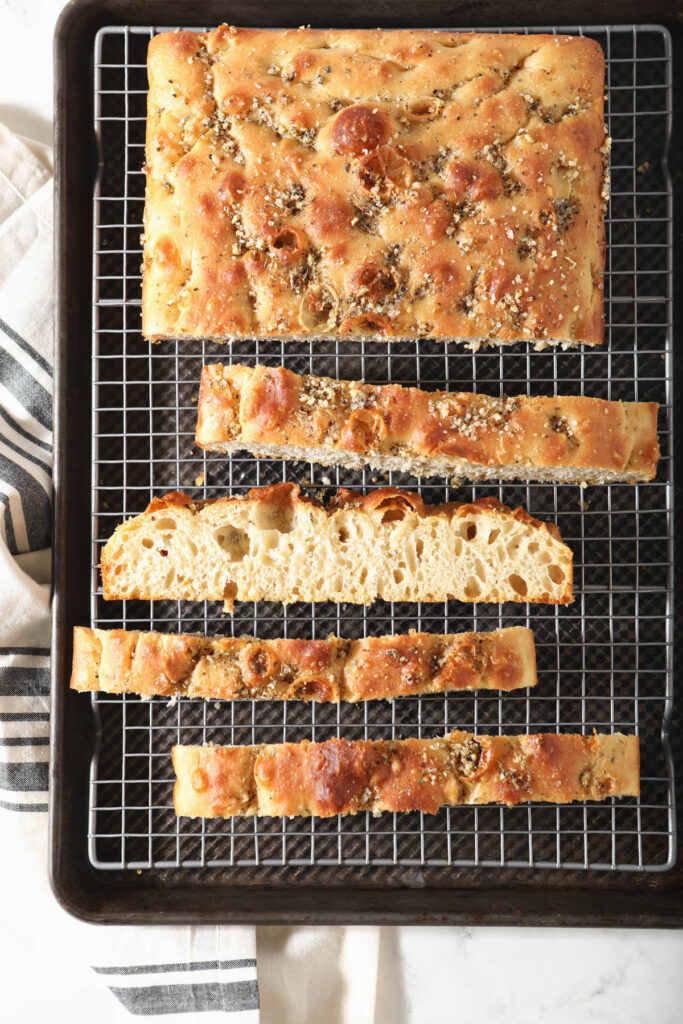
Focaccia is one of my favorite breads to make – it’s relatively easy, there is no complicated kneading, most of the work is done in a pan, and it’s supposed to be rustic, so you don’t have to worry about perfection.
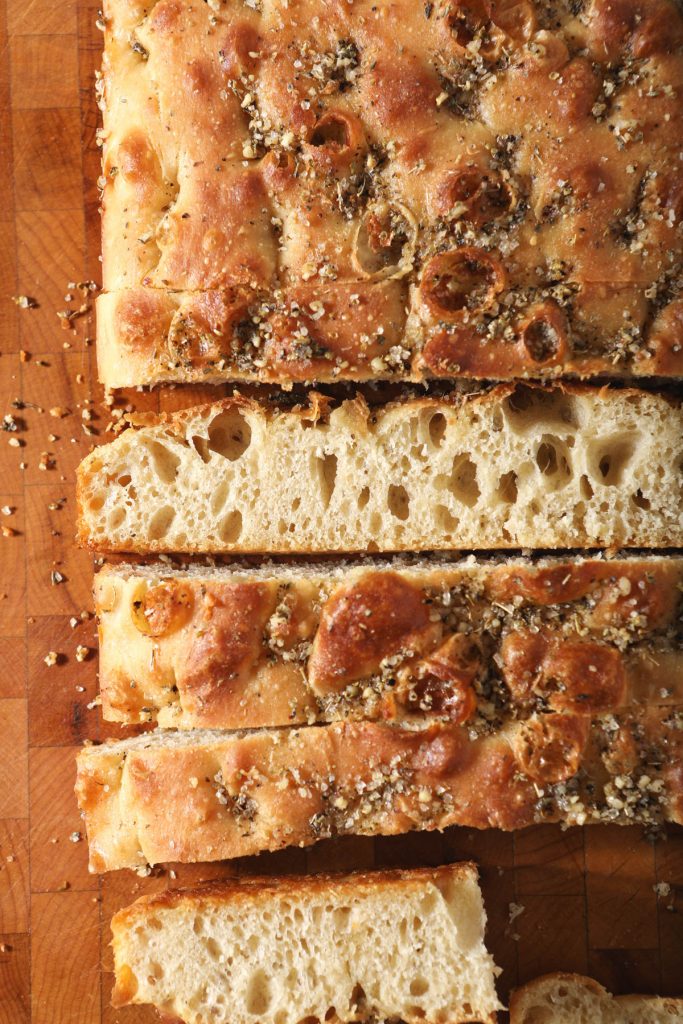
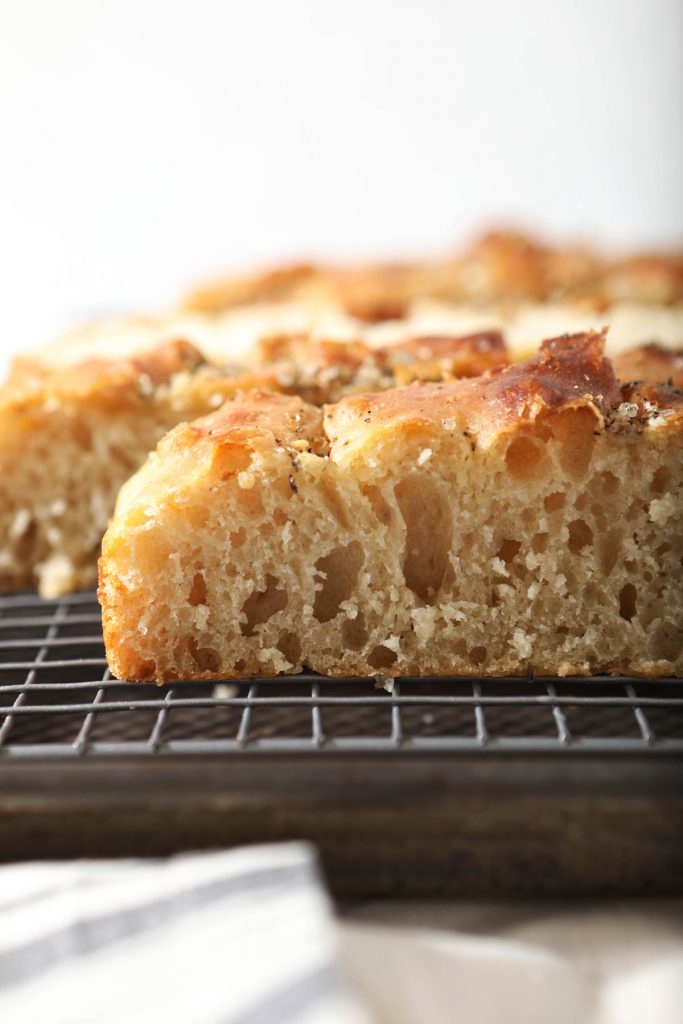
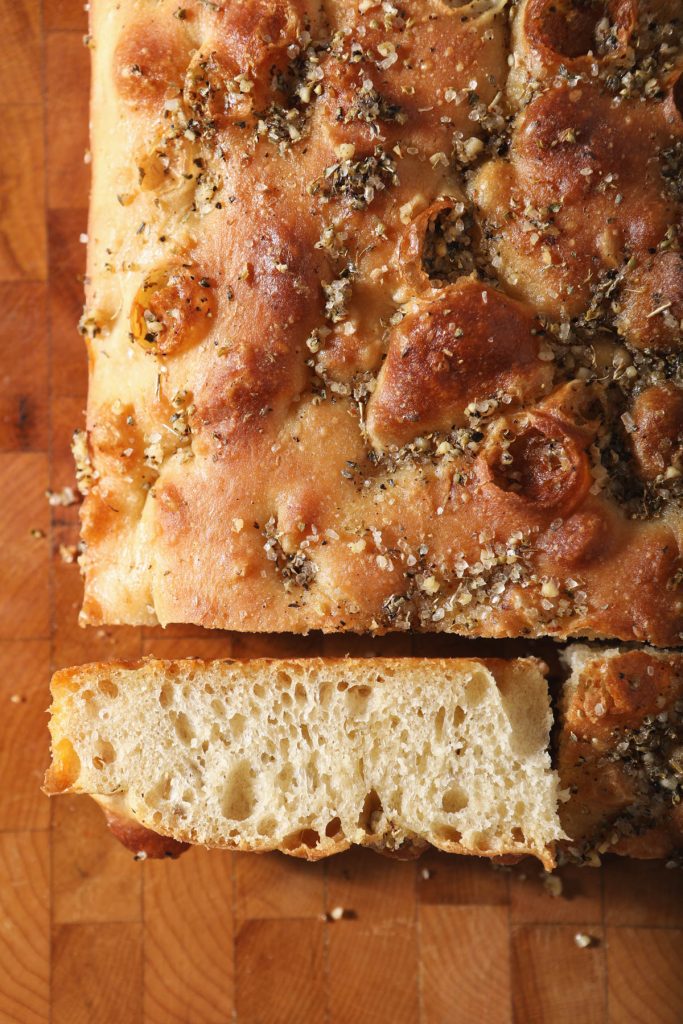
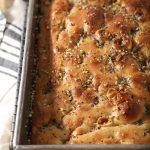
It’s also pretty amazing to eat – golden brown with a perfect crisp crust but soft interior, a lovely flavor brought on by quality olive oil and a slight sourdough tang. Its seriously one of my favorites, and I hope it will become one of yours, too!
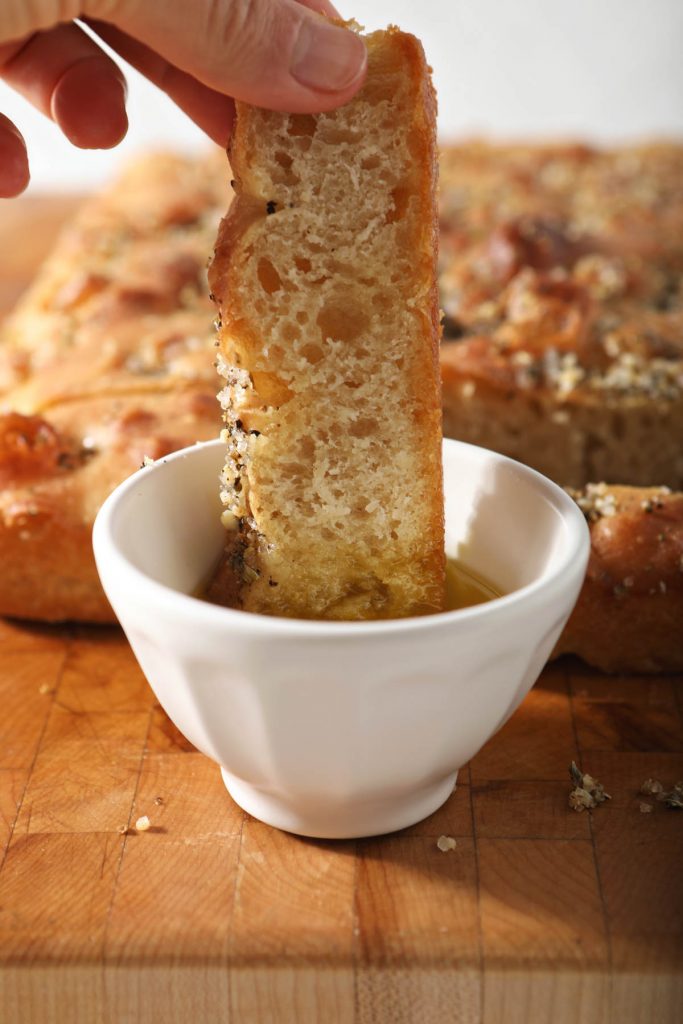
This sourdough focaccia is perfect to serve beside any meal, to make a sandwich with, or to just snack on and dip in bread oil!
Other easy sourdough bread recipes that go great with a meal:
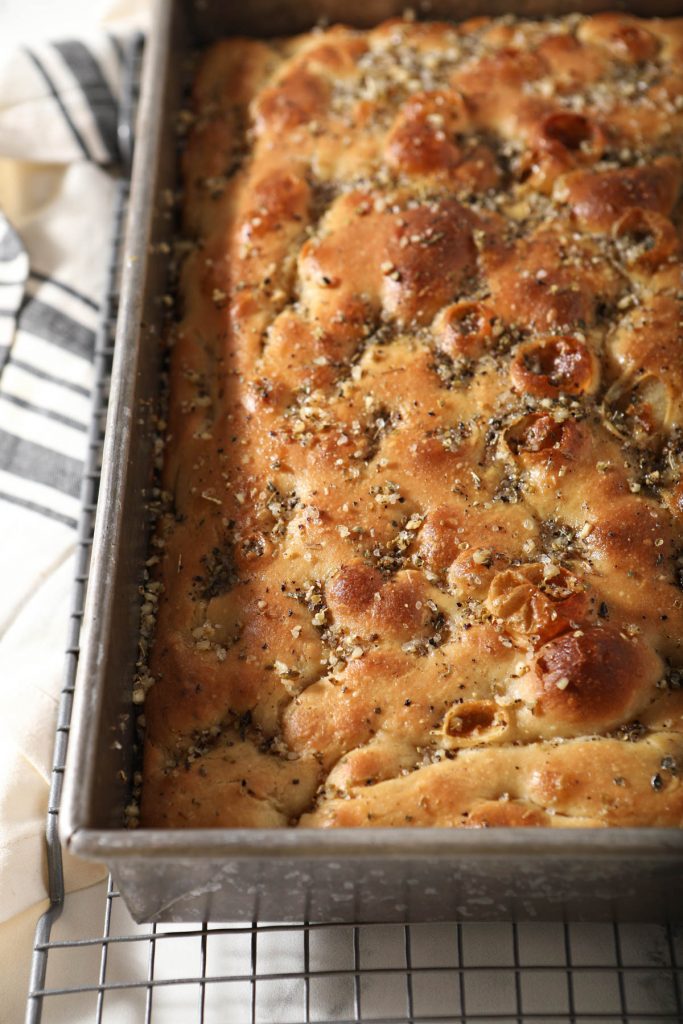
I love sourdough focaccia. It’s a simple and rustic bread that is easy to make.
How is focaccia different from bread?
Focaccia is a flat oven baked bread (similar to pizza dough) that is mostly used as a side to a meal or the base of a sandwich. It is usually seasoned with plenty of olive oil, salt, and herbs.
How to make sourdough focaccia
This focaccia is a good introduction to a higher hydration dough but doesn’t need a ton of extra kneading or time. The dough itself is wet and sticky and doesn’t have as much structure as other bread doughs, but is relatively quick and easy to make.
Mixing focaccia dough
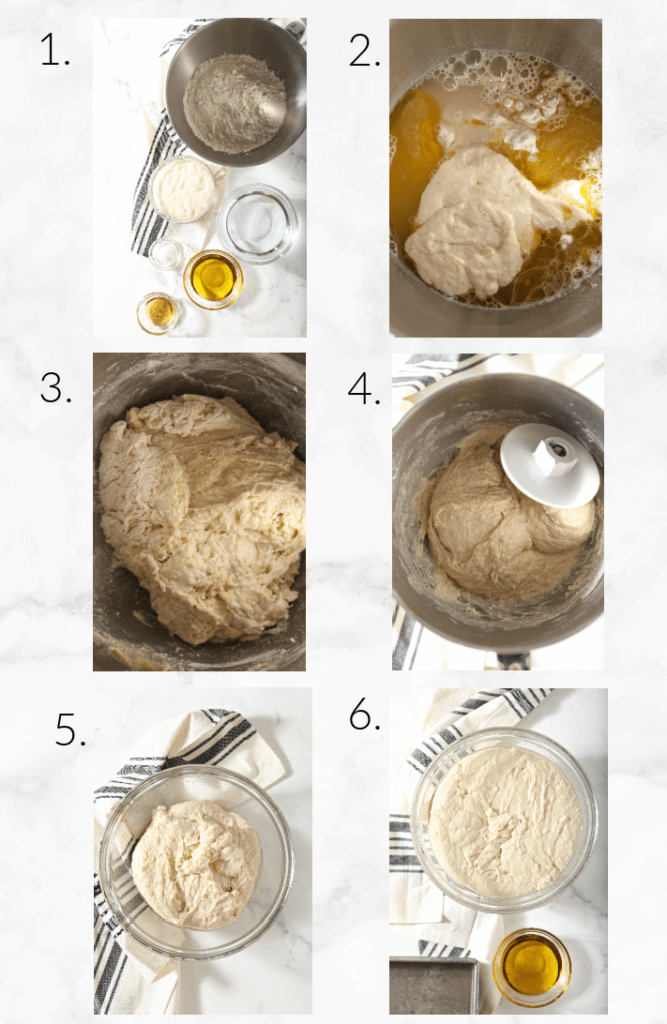
- In the bowl of a stand mixer, mix together the starter, warm water, olive oil, flour, honey, and sea salt (affiliate link).
- Switch to a dough hook and knead until it becomes a smooth pliable ball of dough. It should pull away from the side of the bowl and hold itself. It will take about 3-5 minutes of mixing at low speed. If your dough seems too loose still, you can add in a spoonful of flour at a time until it starts to hold onto itself – but don’t add too much flour, it’s supposed to be a wet dough.
- Grease a large mixing bowl, place the dough in it, cover, and allow to proof for 4-6 hours. (The time will depend on the strength of your starter and the temperature of your house). The dough needs to be doubled, look puffy, and have a few bubbles.
Shaping focaccia
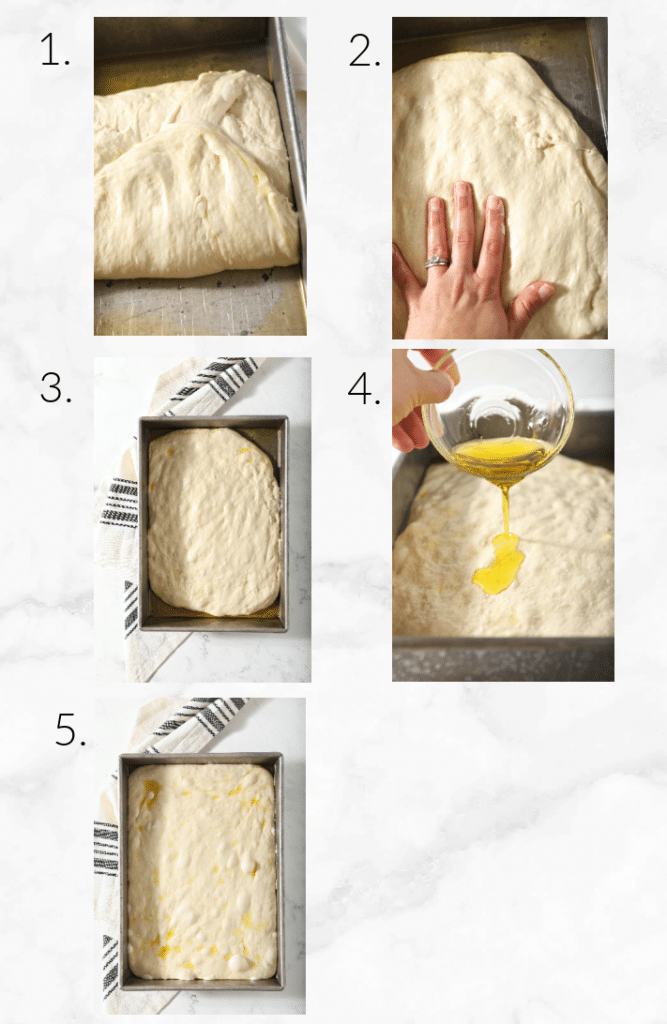
- Prepare a baking sheet by adding 2 Tablespoons of olive oil to a 9×13 baking dish and coating evenly.
- Place the dough onto the baking dish. Gently use your fingers to fold the dough envelope style from top to bottom and side to side to create a rough rectangle. Use gentle hands so you don’t deflate the air out of the dough.
- Turn the dough over so the seam side is down.
- Use your fingers to gently stretch the dough to be about 1.5 inches to 2 inches tall. It won’t fill the pan, and that is ok.
- Rub the top of the dough with more olive oil.
- Allow the dough to rest for 3-5 hours at room temperature, until puffy and nearly doubled in size.
Baking focaccia
- Preheat the oven to 425F.
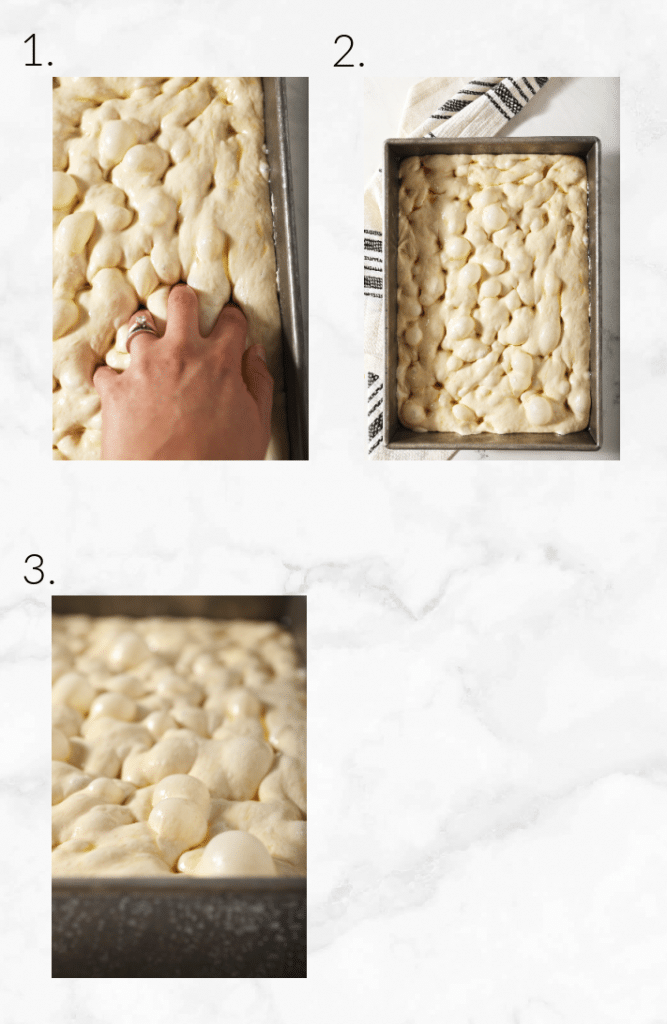
- Use your fingers to indent the surface of the dough and stretch the dough to fit the pan. Be gentle when indenting, you don’t want to deflate the focaccia, but you do want your fingers to go down to the bottom of the pan.
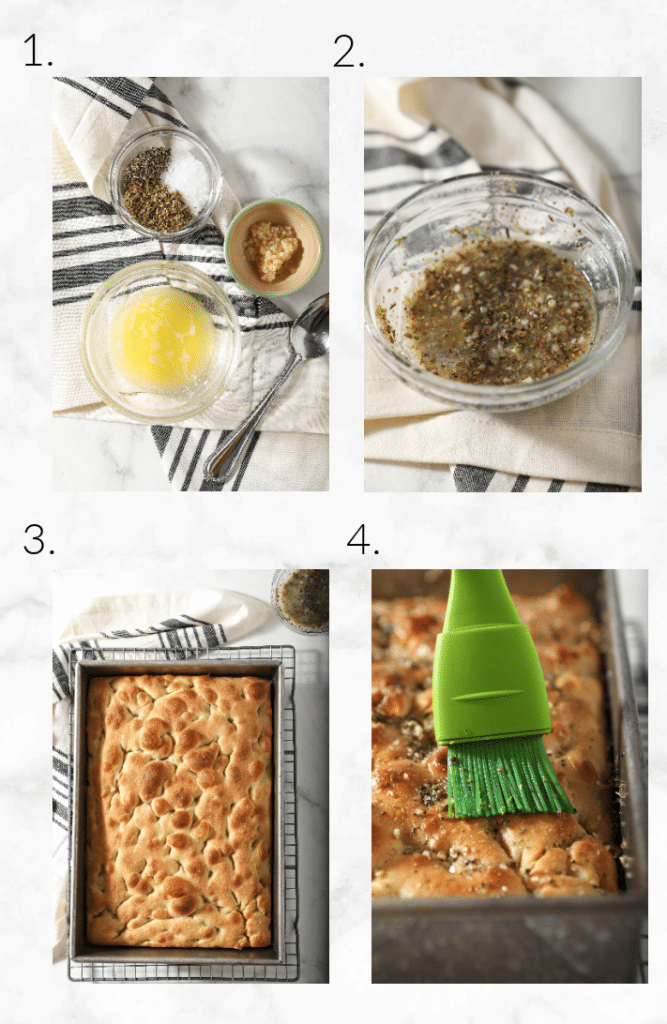
- Bake for 20-30 minutes, or until the bread is golden and crusty, turning halfway through baking.
- While baking, mix together melted butter, finely minced garlic, salt, pepper, and dried oregano.
- When you pull the focaccia out of the oven, immediately brush with the melted butter mixture.
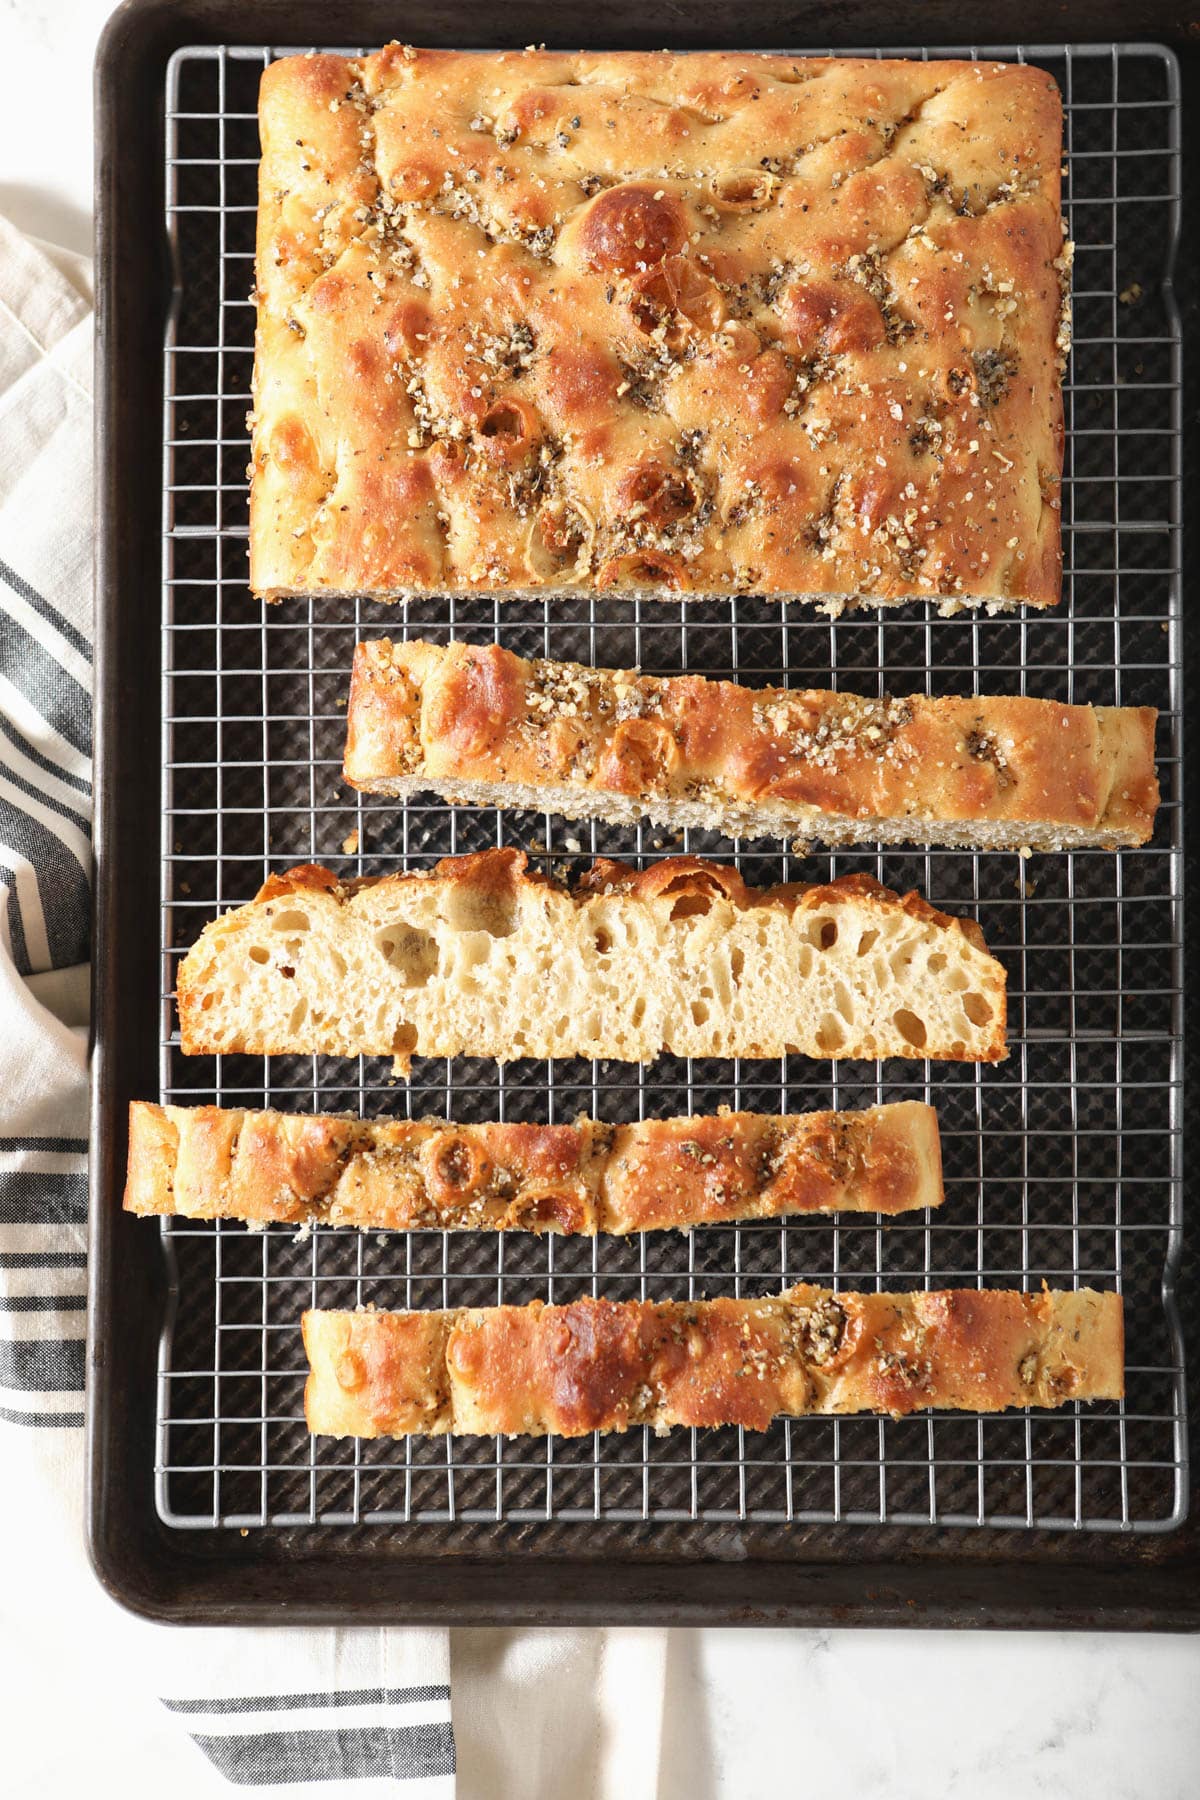
- Place the bread on a wire rack and allow to cool to room temperature (or at least 20 minutes), cut into squares and serve with olive oil for dipping.
Baker’s Schedule
A baker’s schedule helps you understand the timing for baking and helps you estimate when you need to start refreshing your starter in order to have your bread be baked by a certain time. Use this guideline to help you work backwards from when you want your focaccia to be done to know when to start.
Remember to use this as a guideline, and to watch the dough instead of the clock – if your house is warmer or cooler it could alter the timing.
- Mixing – 10 minutes
- Proofing – 4 to 6 hours, until doubled
- Shaping – 10 minutes
- Final Proofing – 3-5 hours, until doubled
- Baking – 20-30 minutes
- Cooling – 20 minutes
Frequently Asked Questions
What kind of olive oil should I use for focaccia? You want a full flavored, high quality olive oil for this recipe. Get the best you can afford, because this will affect the taste of the bread.
What kind of flour should I use? You want the flavor of your bread to be mild and the olive oil and herbs to shine through. Because of that, you want to stay away from highly flavorful whole grains.
What kind of sourdough starter do I need? For this recipe you need a 100% hydration sourdough starter. That means a starter that has been fed with equal amounts of flour and water. If you are unsure what hydration means or if you aren’t sure what hydration you have, read my guide to feeding sourdough starter. Your starter needs to be fed and active, meaning it is bubbly and has doubled in size.
Can I get these measurements in cups? This is a more advanced sourdough recipe, and it is important that the amount of ingredients is very accurate. In my sourdough discard recipes measurements are all given by volume (in cups) for ease of use, but for sourdough bread recipes where the volume of flour to water is important, you do need a food scale (affiliate link).
New to sourdough? Read my ultimate guide to sourdough for beginners to get all the answers to your questions in easy to understand ways!
Focaccia Toppings
The awesome thing about focaccia is it’s so easy to create endless variations! Try changing up the flavor and look of your focaccia by using different toppings.
- Add fresh vegetables that have been thinly sliced, like tomatoes, red onions, olives, thinly sliced potato,
- Change up the herbs – use rosemary, parsley, or thyme instead
- Add grated hard cheese like parmesan or pecorino
- Turn your focaccia into a sweet version by adding fruit like lemon, stone fruits, berries, or cinnamon and sugar.
Food tastes better when its shared! If you try this recipe, let me know! Leave a comment and rate below! Love and links are always appreciated! If you’d like to share this post, please link to this post directly for the recipe, please do not copy and paste or screenshot. Thanks so much for supporting me! xoxo
Want to save this for later? PIN THIS TO YOUR SOURDOUGH BOARD on Pinterest!
Sourdough Focaccia Recipe
Ingredients
Focaccia
- 170 grams active 100% hydration starter fed, doubled and bubbly
- 305 grams warm water
- ¼ cup olive oil – the best quality you can use!
- 460 grams bread flour
- 2 tsp sea salt
- 1 Tablespoon honey
Topping:
- 4 TBSP olive oil – high quality!
- 2 Tablespoons melted butter
- 1 TBSP coarse sea salt
- 2 cloves garlic finely minced
- 2 teaspoons dried oregano
- 1 teaspoon coarsely ground black pepper
Instructions
- In the bowl of a stand mixer, mix together the starter, warm water, olive oil, flour and sea salt.
- Switch to a dough hook and knead until it becomes a smooth pliable ball of dough. It should pull away from the side of the bowl and hold itself. It will take about 3-5 minutes of mixing on low speed.
- Grease a large mixing bowl, place the dough in it, cover, and allow to proof for 4-6 hours. (The time will depend on the strength of your starter and the temperature of your house). The dough needs to be doubled.
- Prepare a baking sheet by adding 2 Tablespoons of olive oil to a 9×13 baking dish and coating evenly.
Place the dough onto the baking dish. - Gently use your fingers to fold the dough envelope style from top to bottom and side to side to create a rough rectangle.
- Turn the dough over so the seam side is down.
- Use your fingers to gently stretch the dough to be about 1.5 inches to 2 inches tall. It won’t fill the pan, and that is ok.
- Rub the top of the dough with more olive oil.
- Allow the dough to rest for 3-5 hours at room temperature, until puffy and nearly doubled in size.
- Preheat the oven to 425F.
- Use your fingers to indent the surface of the dough and stretch the dough to fit the pan. Be gentle when indenting, you don’t want to deflate the focaccia, but you do want your fingers to go down to the bottom of the pan.
- Bake for 20-30 minutes, or until the bread is golden and crusty.
- While baking, mix together melted butter, finely minced garlic, salt, pepper, and dried oregano.
- When you pull the focaccia out of the oven, immediately brush with the melted butter mixture.
- Place the bread on a wire rack and allow to cool to room temperature (or at least 20 minutes), cut into squares and serve with olive oil for dipping.
- Enjoy!


Cherry Tomatoes are perfection on focaccia!
Love his round version, nice job 😉
Have a great day
Lou
Looks Delicious Jenni!! With a big Thanks to Shelley too:) Lynn @ Turnips 2 Tangerines
It looks delicious! I hope Felix comes home soon. It just occured to me that I have had my starter for almost three years too. I had to go out of town when it was finally ready to be used that March. I packed it up and it drove 450 miles with me to see a friend. I made my first loaf at her house.
Oh, I love that you took Felix on a road trip! That is one well traveled starter. Quick or not, your focaccia turned out beautifully!
Sibling starters! You know… I never named mine… we should think of something… 😉 And WOW – for traveling all that distance, it sure made a delicious looking focaccia! I bet it went PERFECTLY with your spaghetti and meatballs! 🙂
Hooray, the new starter performed admirably! Lucky Felix to hang out with family, and poor you to handle the stress! Starters place somewhere between pets and family in attachment after a few years of companionship.
So pretty! At least your starter is in a good home. Maybe you'll be able to marry your new starter with Felix at some point. 🙂
To me, those slivers of basil just add that final brush stroke to a lovely painting. Your focaccia really catches the eye!
Gorgeous and classic. I love that your starter is named Felix. Mine's Flo.
Oh my gosh, how did Shelley mail the starter?? That is awesome 🙂 And it made some beautiful looking focaccia.
She fed it, stuck it in a container, in a box, and mailed it! LOL It works best in winter when it is cold out, and 2 day shipping (or less) is best. Worked just fine!
Jenni, that is just beautiful. So what's Felix' little brother's name?
I haven't decided yet!
Hey I know it’s been a few years, but crossing fingers you’ll see this. 🙂 If we are leaving Thanksgiving morning and need to either final proof overnight and bake when we get up to go, or bake the evening before and take it cooled… which would you suggest? Thanks so much! I can’t wait to make it!
It might have been a few years since this recipe was posted, but I am always here to help! You can do either one, depending on your schedule preferences! If you bake it in the evening and take it the next day, you can always slice the focaccia into slices and then wrap in a towel and warm back up in the oven for a few minutes before serving if you want nice warm bread at your meal.