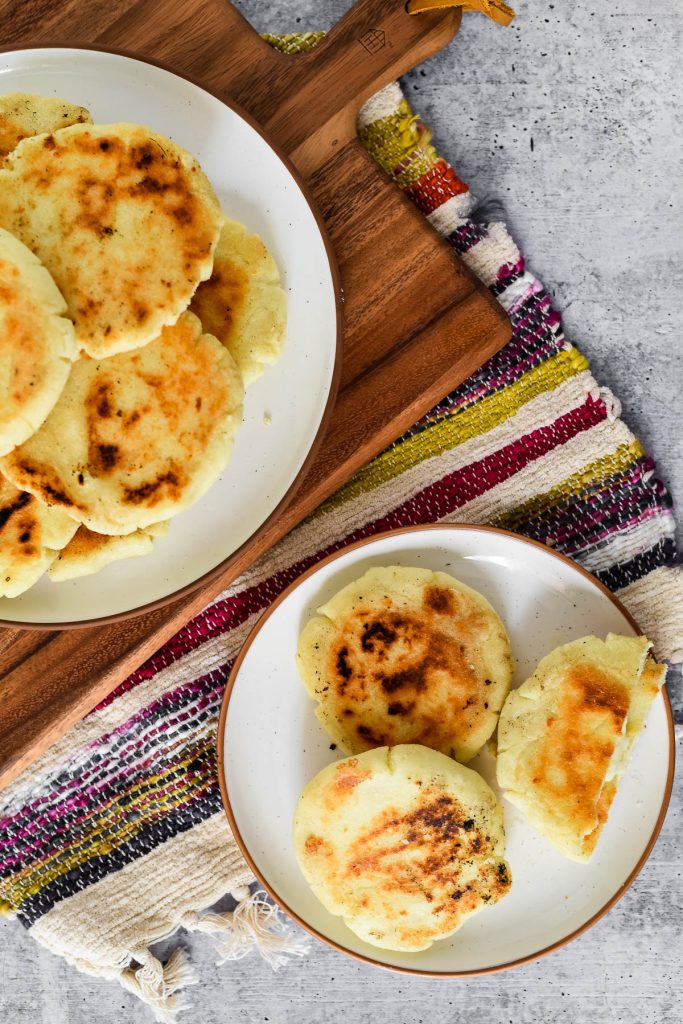
Arepas con Queso

Arepas con queso are savory, cheese filled corn cakes cooked on a griddle. This South American treat is delicious with any meal!

This post first appeared on Savory Experiments, where I am a contributor.
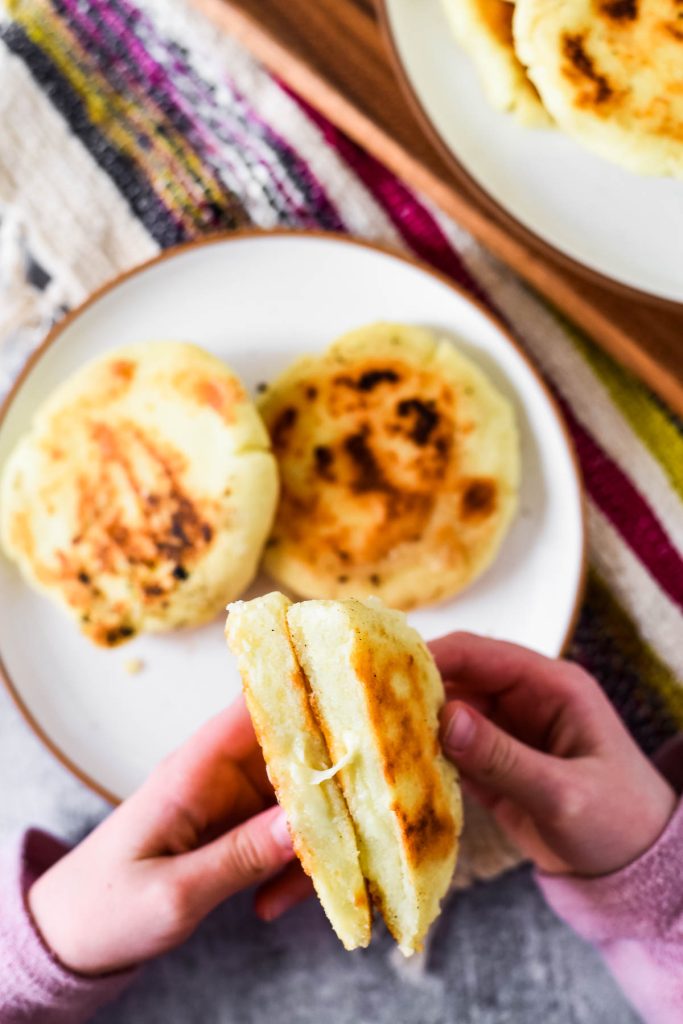
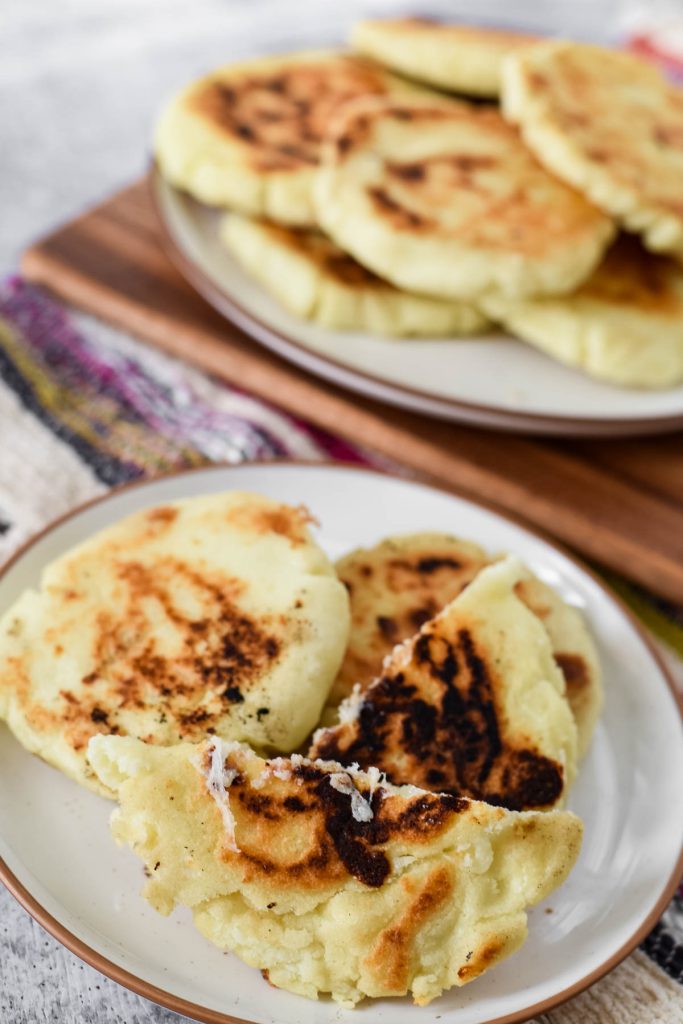
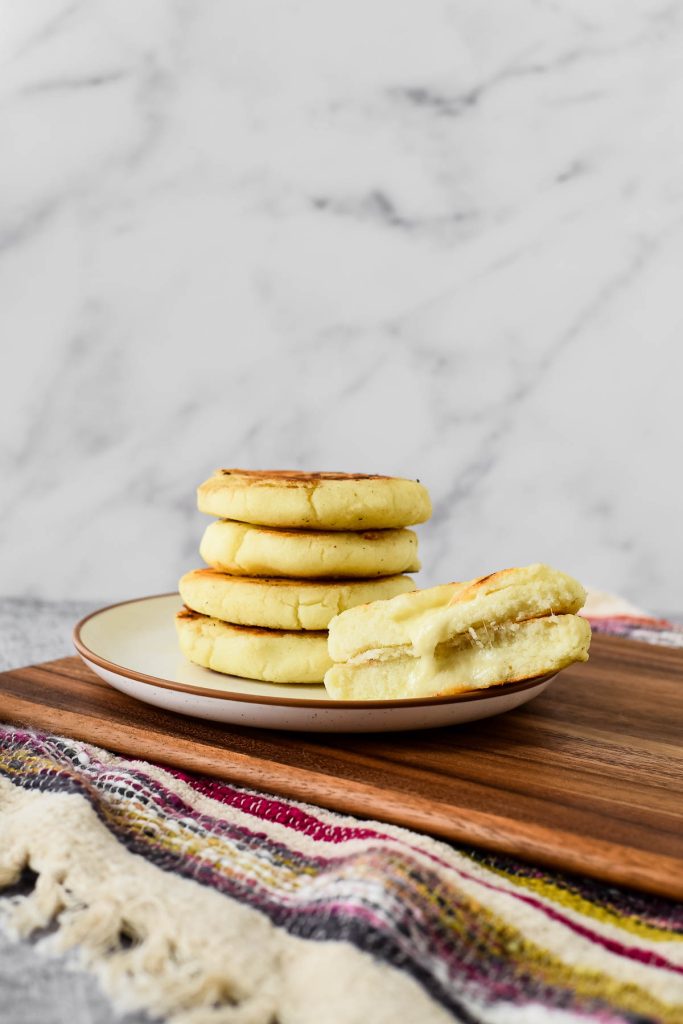
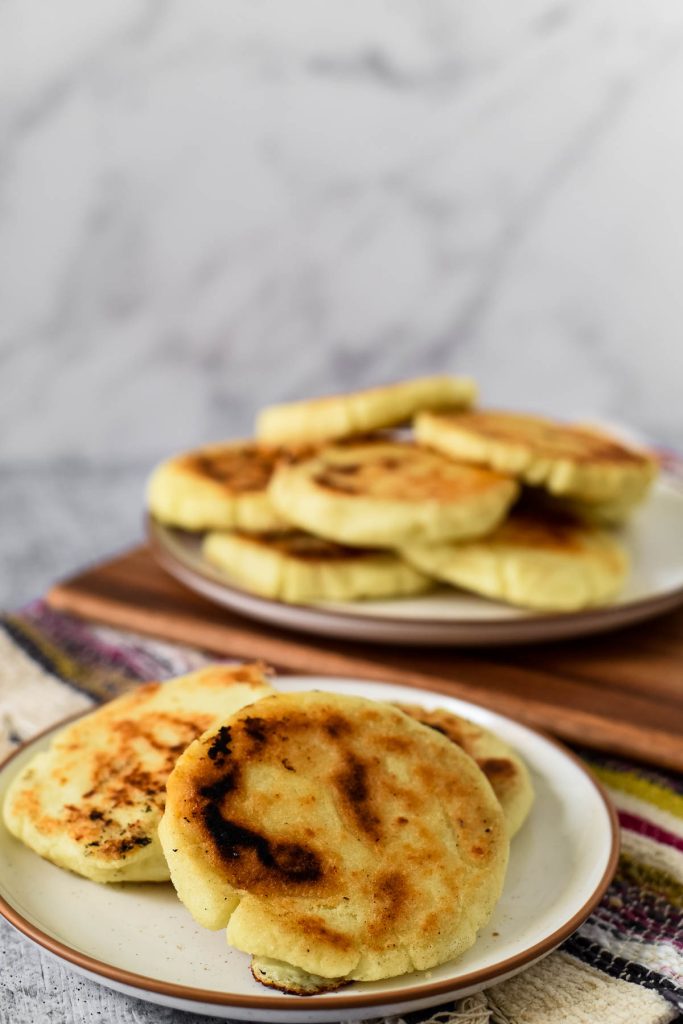
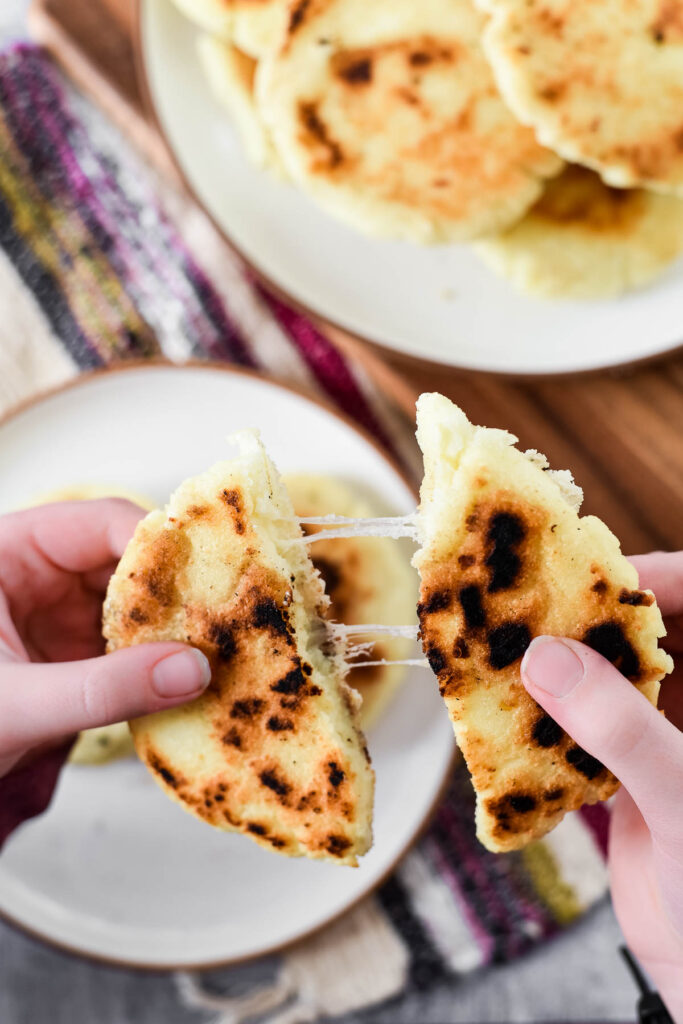
Arepas con queso are crispy on the outside, tender and cheesy on the inside, sooo satisfying to eat and so easy to make! Your family is going to love making – and eating – these arepas!
Try these other great side dish bread recipes that are perfect to add to a meal:
What are arepas?
Arepas are soft cornmeal cakes that originated hundreds of years ago in the areas that now make up Colombia, Venezuela and Panama.
What’s the difference between Colombian and Venezuelan Arepas?
Just like any food that spans Venezuelan arepas tend to be smaller and thicker, and Colombian arepas are sweeter, thinner, and stuffed with cheese.
What do I need to make these corn cakes?
This recipe is simple, both in its ingredients and equipment needed. Here is what you need:
Ingredients needed:
You do need some specific ingredients for this recipe. Please note; specific ingredients that might be new to you doesn’t necessarily mean scary and crazy and hard to find. It just means new.
- Precooked White Cornmeal. This is different from just regular cornmeal, it needs to be precooked cornmeal that is dehydrated. It is often called “masarepa” or “harina precocida” or “masa al instante”. Seeing words on the packaging that include precooked or instant are clues that you have the right thing. Don’t confuse it with “masa harina”, which is a different type of cornmeal you use to make tamales. They are different types of cornmeal that are made with different processes and have different textures and tastes. Make sure you get the right kind, you can’t substitute here! Popular brands are Goya or P.A.N.
- Soft Melting Cheese – You will use shredded cheese both in the dough of the arepa but also to stuff in the middle. You can use mozzarella or a “mexican blend” of melting cheeses that are sold pre-shredded in the grocery store. Mozzarella is also an acceptable replacement.
- Cotija cheese – This is an aged, crumbly cheese that is sold in a white wheel. It has a salty and milky flavor that kind of resembles a cross between feta and parmesan cheese. Find this in the speciality cheese section of your local grocers. You can also substitute queso fresco.
- Butter – You will use melted butter in the recipe to make the dough, but you also need some butter to grease the skillet with for cooking. Unsalted butter works best here.
- Warm water – Warm tap water will help you make the dough.
- Salt – use regular table salt or kosher sea salt.
Equipment needed:
- Measuring cups and spoons
- Cheese grater, if needed
- Large mixing bowl
- Kitchen towel
- Cast iron skillet, griddle, or greased panini press.
- Spatula
- Wire cooling rack
How to make arepas
These arepas are so easy to make, which means you can easily make them any time!
Make the dough
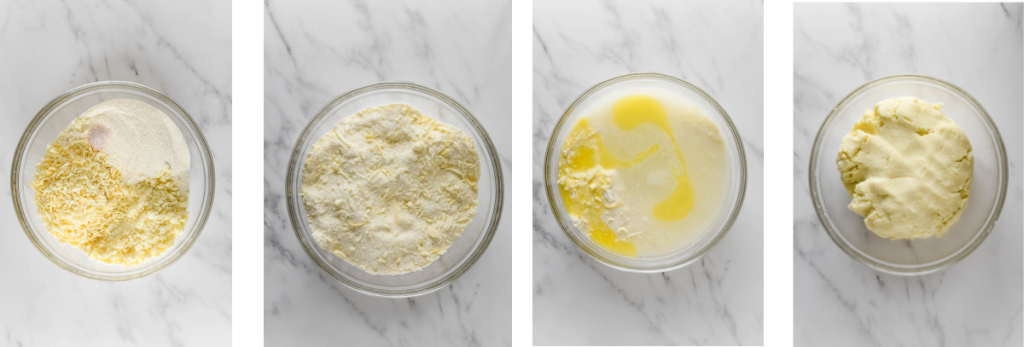
- In a large bowl, whisk together the cornmeal, salt, cotija cheese and 2 cups of shredded cheese.
- Stir in the water and melted butter to form a soft dough. It should feel like a soft homemade playdough consistency. Use your hands to mix to make sure you have the right consistency. Trust me, its better this way! If the dough cracks and feels dry when you work it, add a little more water.
- Cover the bowl with a kitchen towel and allow it to sit for 10 minutes.
- Knead the dough for a few minutes until it is smooth and soft. It should hold its shape, but be easily worked.
Shape and fill with cheese
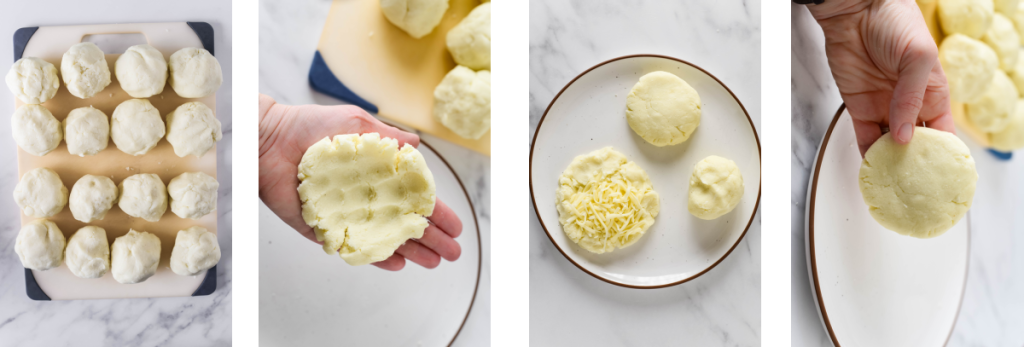
- Divide the dough into 16 equal balls.
- Pat each ball of dough into a 5 inch circle that is about ¼” thick.
- Place a few tablespoons of shredded cheese in the middle of the patty.
- Fold and wrap the dough around the cheese, ensuring all the cheese is well sealed inside.
- Pat the dough into a patty that is about 3 inches wide and ½” thick.
- Repeat with remaining balls of dough.
Cook
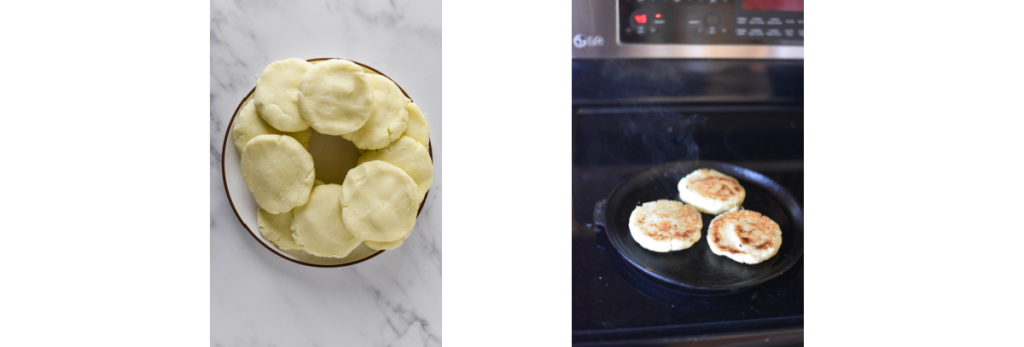
- Heat a 12” cast iron skillet over medium high heat. If you have an electric griddle, this works well, too, because you can cook more than 1 at a time!
- When the skillet is hot, place a small pad of butter on the skillet and spread it around to coat the surface.
- Place the arepas on the skillet and cook for 5 minutes, until crispy and golden.
- Flip and cook on the second side for 5 minutes.
- Transfer to a wire rack to cool while you continue cooking the rest.
Storage information
Leftover fried arepas can be stored in a sealed container in the fridge for up to 3 or 4 days.
To reheat leftover arepas, you can put them in a 350F oven or toaster oven for about 10 minutes. You can also reheat them in the microwave, but you lose a little of the crispy and tender texture this way.
How to serve this to your family
Arepas are so versatile and work well in a variety of ways. They are great as a snack, or part of any meal.
These arepas are amazing on their own, served beside a meal or stuffed with all kinds of awesome fillings. They would be great beside a bowl of easy pork posole!
How to stuff an arepa:
To stuff an arepa with fillings, simply use a thin serrated knife to slice ⅓ of the way through the corn cake. Use the knife tip to then cut downwards in the center to form a pocket.
Make sure you wipe down your knife in between each cut.
Ideas for fillings:
- Use your favorite meat like ground beef, slow cooker pork carnitas, shredded beef, spiced chicken, jackfruit, you name it!
- Add all the fillings like guacamole, seasoned black beans, fried plantains, grilled sweet potatoes, pickled red onions, crumbled cheese, all the things.
We play a game in my family called “Will it taco?” and if the answer to that question is YES, then you can bet your foodie heart it will go in an arepa, too. Think about it – breakfast arepas? Heck. Yes.

How your kids can help you cook these
Arepas con queso are a great recipe to make with kids because there are only a few steps and they are simple. Here are some ways that your little ones can help you make these!
- Kids aged 1-3 can help you measure ingredients and stir together the dough.
- Kids aged 4-6 can do everything above plus help you shred the cheese and stuff the arepas .
- Kids aged 7-10+ can help you do everything above, plus help you cook the arepas on the skillets.
*Please note that these recommendations are generalized, and to please use your personal discretion with your child’s skill level. And always, always supervise! Read more about how to have your children help you in the kitchen.
Love and links are always appreciated! If you’d like to share this post, please link to this post directly for the recipe, please do not copy and paste or screenshot. Thanks so much for supporting me! xoxo

Arepas con Queso Recipe
Ingredients
Equipment
Method
- In a large bowl, whisk together the cornmeal, slat, cotija cheese and 2 cups of shredded cheese.
- Stir in the water and melted butter to form a soft dough. It should feel like a soft homemade playdough consistency.
- Cover the bowl with a kitchen towel and allow it to sit for 10 minutes.
- Knead the dough for a few minutes until it is smooth and soft. It should hold its shape, but be easily worked.
- Divide the dough into 16 equal balls.
- Pat each ball of dough into a 5 inch circle that is about ¼” thick.
- Place a few tablespoons of shredded cheese in the middle of the patty.
- Fold and wrap the dough around the cheese, ensuring all the cheese is well sealed inside.
- Pat the dough into a patty that is about 3 inches wide and a ½” thick.
- Repeat with remaining balls of dough.
- Heat a 12” cast iron skillet over medium high heat. If you have an electric griddle, this works well, too, because you can cook more than 1 at a time!
- When the skillet is hot, place a small pad of butter on the skillet and spread it around to coat the surface.
- Place the arepas on the skillet and cook for 5 minutes, until crispy and golden.
- Flip and cook on the second side for 5 minutes.
- Transfer to a wire rack to cool while you continue cooking the rest.
Nutrition
Nutrition information is provided as a general estimate and may vary based on ingredients, brands, and substitutions. For specific dietary needs, we recommend calculating nutrition using your preferred tool.
We loved this recipe! Loved making something new. They were really delicious.
Sooo good!! 10/10 recipe, we loved it!!
I have a question related to the arepa. In the area of the ingredients. #1 it mentioned “slat”, I wonder if you meant salt.
Oh, good typo catch! Thanks!