Harry Potter Pumpkin Pasties
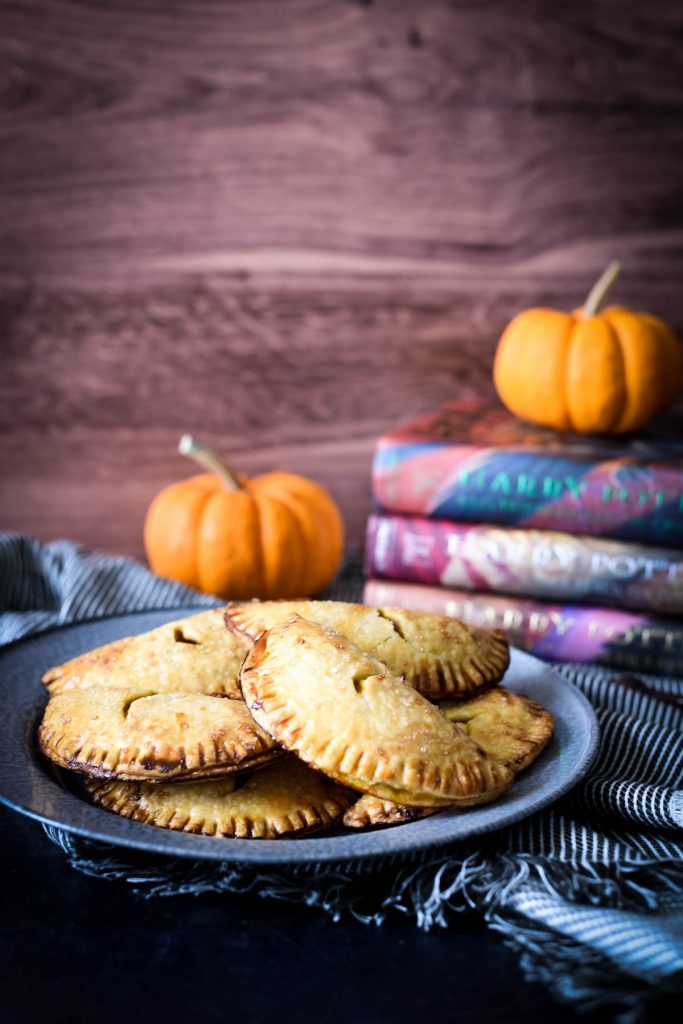
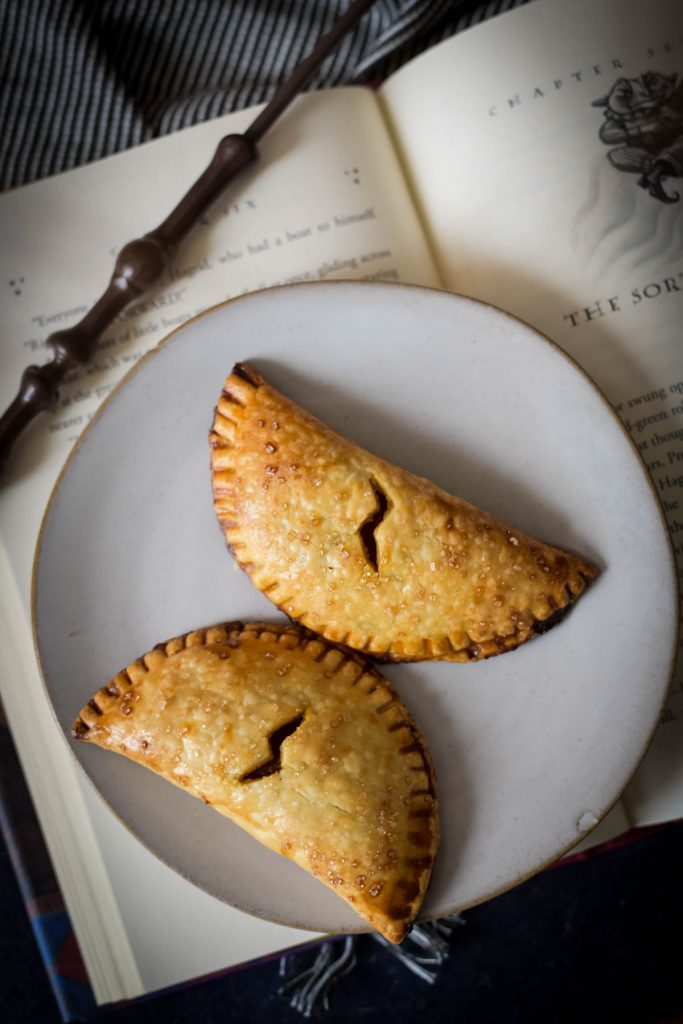
Harry Potter inspired pumpkin pasties are an awesome treat to enjoy whether or not you are on the Hogwarts Express! Tender flakey pockets with sweetly spiced pumpkin filling.
These fall inspired hand pies are a perfect treat to enjoy at your Harry Potter party, or any fall themed party all year.
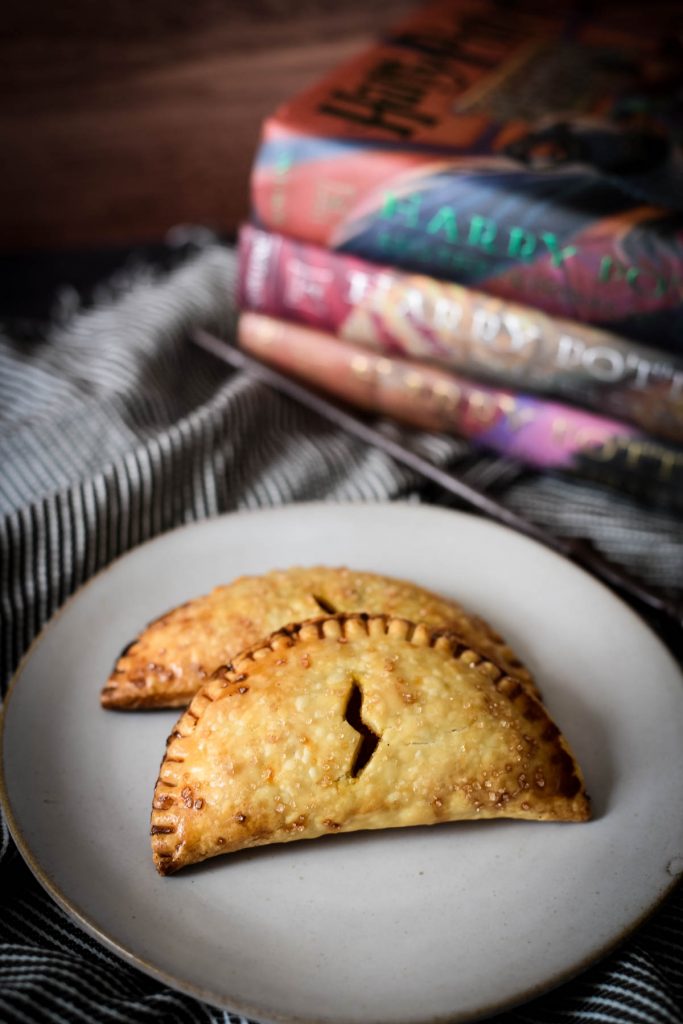
There is some debate in the Harry Potter fandom world whether pumpkin pasties should be sweet or savory. In the books, there is no mention if the pumpkin pasties are sweet or savory.
Because the book takes place in England, where pasties are savory meat filled hand pies, they could be savory. But they are purchased off the Honeydukes Express Trolly, which is an offshoot of the Honeydukes store which sells sweets, so they could be sweet!
What do you think? Should they be sweet or savory? I couldn’t resist the urge to make these sweet little treats that remind you of pumpkin pie!
You will definitely want to grab some of these from the trolley cart!
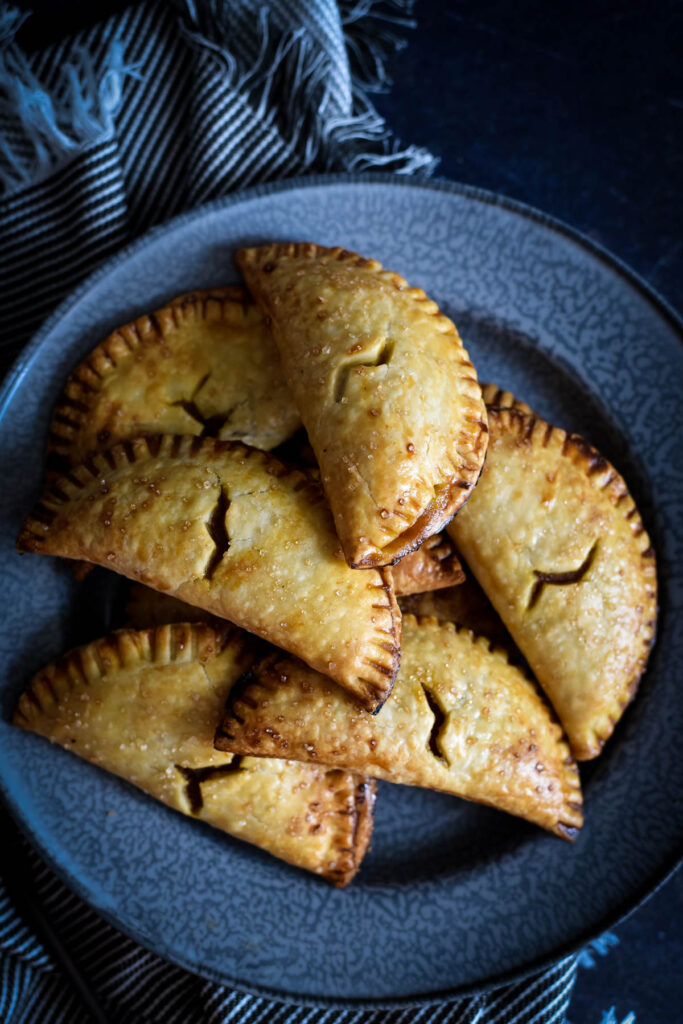
What does a pumpkin pasty taste like? Like a small hand-held pumpkin pie! The pumpkin filling is sweet and perfectly spiced, and the crust is perfectly flaky.
They are just as great on the breakfast or brunch table as they are on the dessert table.
Other Harry Potter inspired recipes:
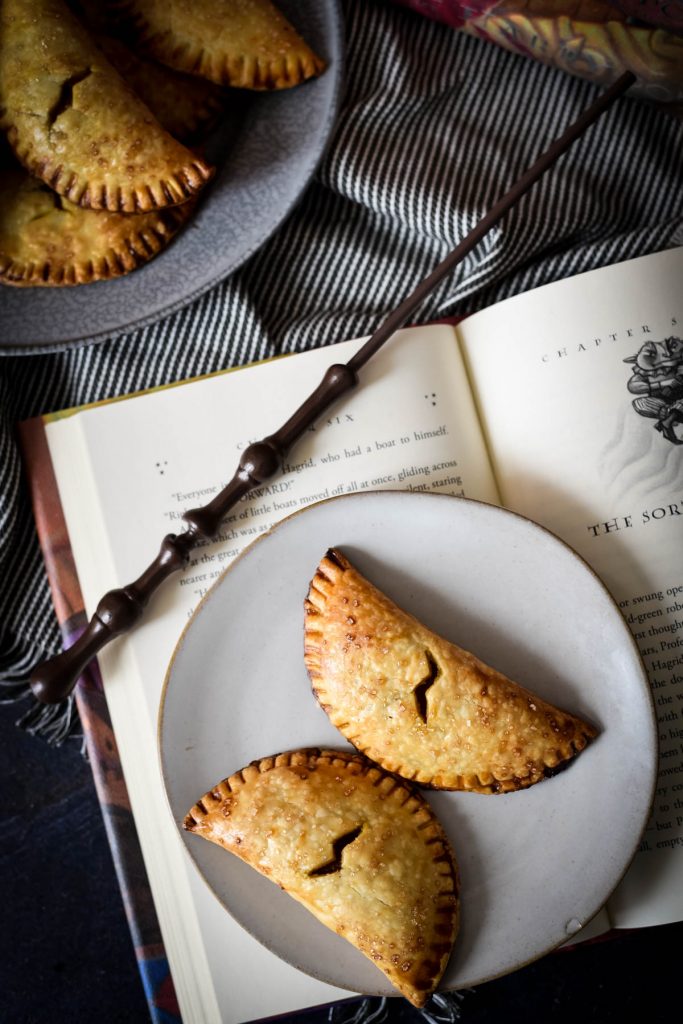
Ingredients Needed
You only need a few pantry staples to make these.
- Pumpkin Puree – make sure to use pure pumpkin, not pumpkin pie filling.
- Dark Brown Sugar – Adds sweetness and a hint of molasses flavor.
- Pumpkin Pie Spice (affiliate link) Mix – Adds great spiced flavor! I use the one from The Spice House (linked above) because it has such great flavor, but you can make your own, too.
- Egg Yolk + a splash of milk to create an egg wash glaze, this helps our pumpkin pasties have a gorgeous golden brown color.
- Refrigerated Pie Crusts – I like using the premade ones because it makes this recipe super quick and simple. But if you want to make a homemade pie crust, go for it! Try my sourdough pie crust recipe which is amazing here!
- Raw Sugar – A nice coarse ground sugar is great to sprinkle on top to create a beautiful finish and add some texture on top. A turbinado or demerara sugar is great.
How to make these
These little hand pies are so quick and easy to make! For the full set of directions, make sure you scroll down to the recipe card below!
- Preheat the oven to 400 F and line two baking sheets with parchment paper or silicone baking mats.
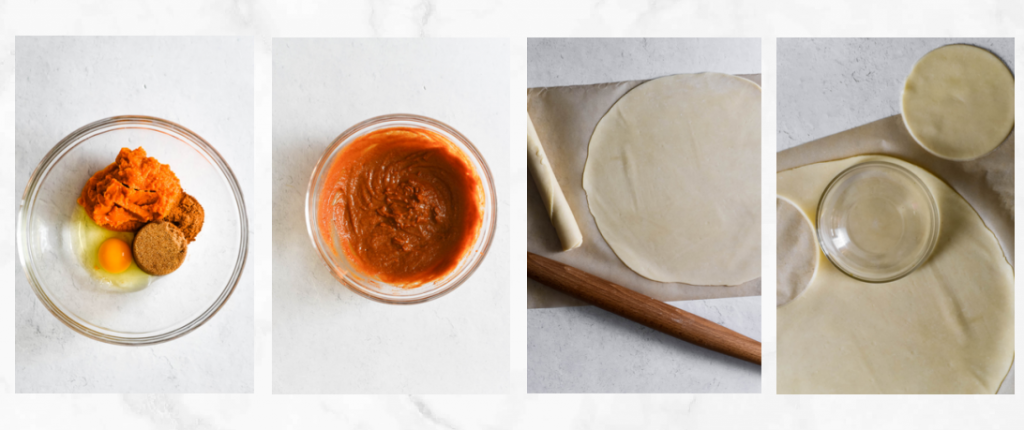
- In a large bowl, whisk the filling ingredients until smooth. Set aside.
- Roll out the prepared pie crust dough until it is about ⅛” thick. Using a biscuit cutter or a small bowl that is between 4” and 5” in diameter, cut circles out of the dough. You should be able to get about 5 from each pie crust, then you can re-roll the scraps to get a few more.
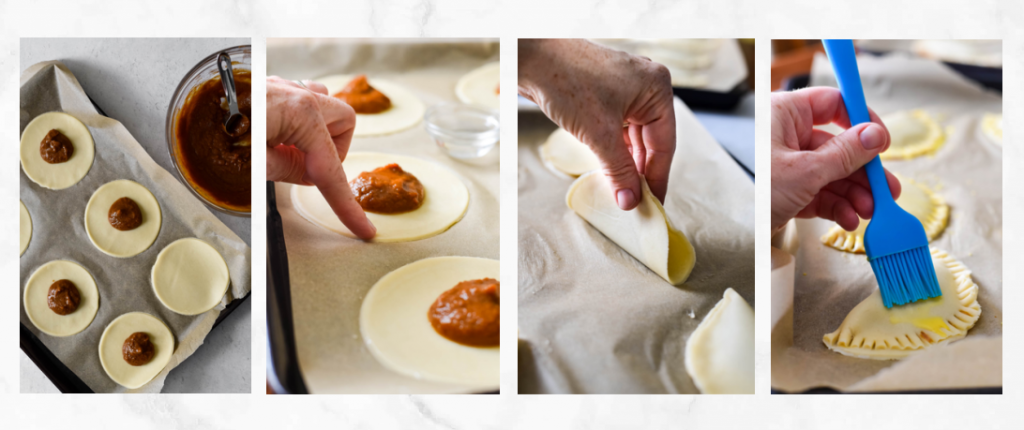
- Place the pie crust circles on the prepared baking sheet and place about 1 ½ tablespoons of filling in the center of each one.
- Using your finger, moisten the edges of each circle with a small amount of water. Don’t drown the pie crust, just get it slightly damp so it helps to make a seal.
- Pick up two opposite edges of the pie crust circle and bring them together at the top. Think of how you would hold a taco! This helps to keep the filling away from the edges while you seal them. Then gently press the edges together, starting at the top and working your way down to the sides.
- Lay the half circle back down on the cookie sheet and use a fork to crimp seal the edges together the rest of the way. Repeat with the other hand pies.
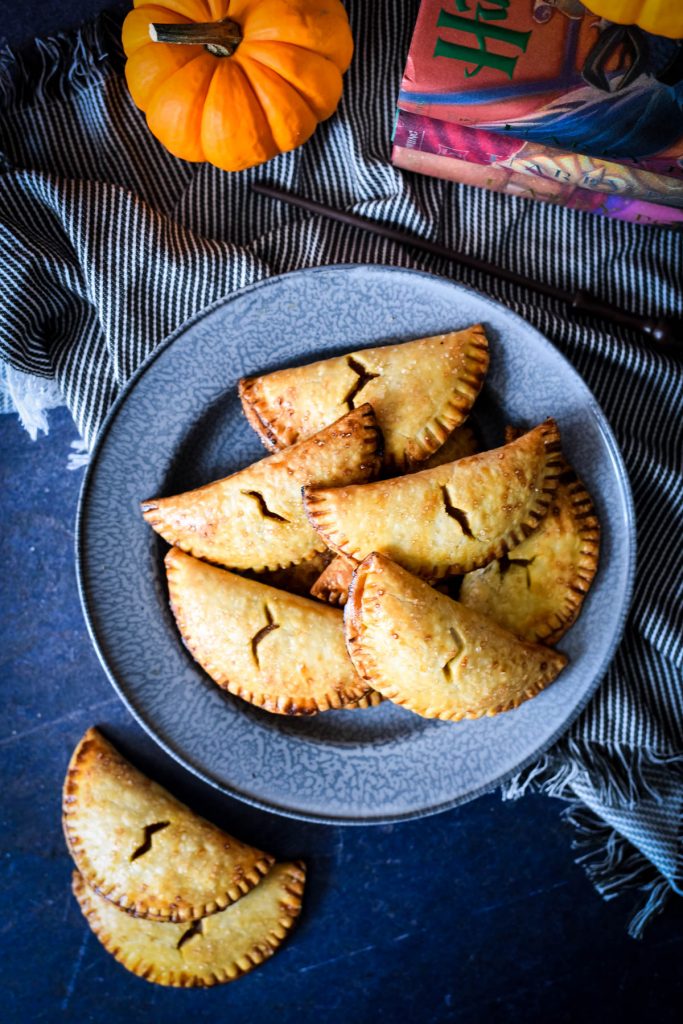
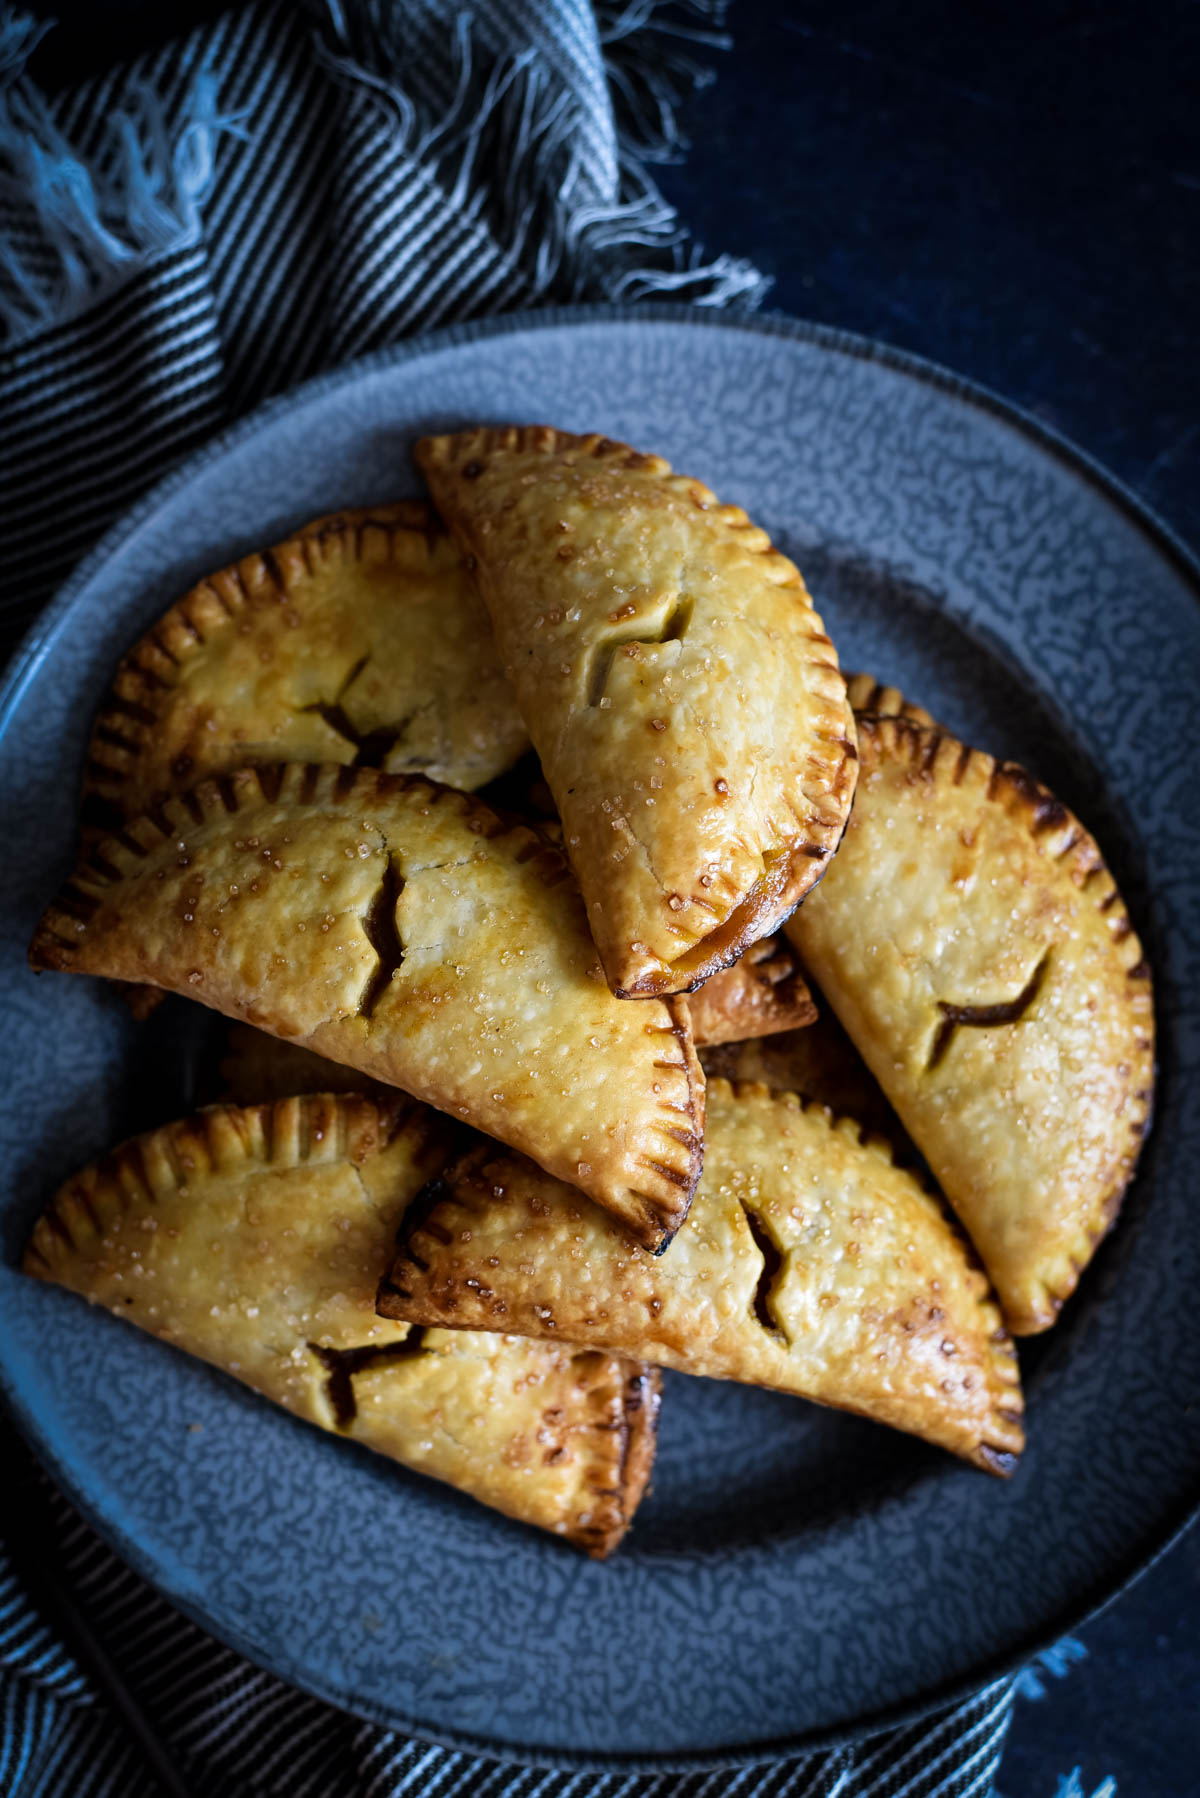
- Brush the top of each with the egg yolk wash and sprinkle with coarse sugar. Using a small sharp knife, cut a small lighting bolt into the center of each hand pie to let steam out.
- Bake for 18-22 minutes, or until the crust is golden brown.
- Transfer to a wire rack to cool.
- Enjoy!
Storage Information
If you don’t eat all of these right away, you can store them in an airtight container for a few days. They don’t freeze very well, so make sure to eat them all up quickly!
Kids in the kitchen: How your kids can help you cook
Inviting kids into the kitchen with you is an important way to help them learn confident life skills, get great one on one time with you, and help them to be more curious and interested in the foods you serve.
This recipe is great because it helps kids practice their measuring, mixing, rolling, cutting, filling, and baking skills!
- Kids aged 1-3 can help you measure the ingredients and press down on the bowls to create the circles. They can also sprinkle the sugar on top.
- Kids aged 4-6 can do everything above plus crack the eggs, whisk the filling together, place the filling on the circles and brush on the egg wash.
- Kids aged 7-10+ can help you do everything above, plus help you seal the pasties, and cut the steam vents.
*Please note that these recommendations are generalized, and to please use your personal discretion with your child’s skill level. And always, always supervise! Read more about how to have your children help you in the kitchen.
Other pumpkin desserts:
Food tastes better when its shared! If you try this recipe, let me know! Leave a comment and rate below! Love and links are always appreciated! If you’d like to share this post, please link to this post directly for the recipe, please do not copy and paste or screenshot. Thanks so much for supporting me! xoxo
Want to save this for later? PIN THIS TO YOUR FALL DESSERTS BOARD on Pinterest!
Harry Potter Pumpkin Pasties Recipe
Equipment
Ingredients
- 2 ready made pie crusts
Filling
- 1 cup pumpkin puree
- ⅓ cup brown sugar
- 2 teaspoons pumpkin pie spice mix
- 1 egg
Egg Wash Topping
- 1 egg yolk
- 2 Tablespoons milk
- ¼ cup turbinado sugar
Instructions
- Preheat the oven to 400 F.
- Line two baking sheets with parchment paper or silicone baking mats.
- In a large bowl, whisk the pumpkin puree, brown sugar, spice mix, and egg until smooth. Set aside.
- Roll out the prepared pie crust dough until it is about ⅛” thick.
- Using a biscuit cutter or a small bowl that is between 4” and 5” in diameter, cut circles out of the dough. You should be able to get about 5 from each pie crust, then you can re-roll the scraps to get a few more.
- Place the pie crust circles on the prepared baking sheet and place about 1 ½ tablespoons of filling in the center of each one.
- Using your finger, moisten the edges of each circle with a small amount of water. Don’t drown the pie crust, just get it slightly damp so it helps to make a seal.
- Pick up two opposite edges of the pie crust circle and bring them together at the top. Think of how you would hold a taco! This helps to keep the filling away from the edges while you seal them. Then gently press the edges together, starting at the top and working your way down to the sides.
- Lay the half circle back down on the cookie sheet and use a fork to crimp seal the edges together the rest of the way. Repeat with the other hand pies.
- Brush the top of each with the egg yolk wash and sprinkle with coarse sugar.
- Using a small sharp knife, cut a small lighting bolt into the center of each hand pie to let steam out.
- Bake for 18-22 minutes, or until the crust is golden brown.
- Transfer to a wire rack to cool.
- Enjoy!


These were so fun to make and they came out delicious!!