Sourdough Hamburger Buns
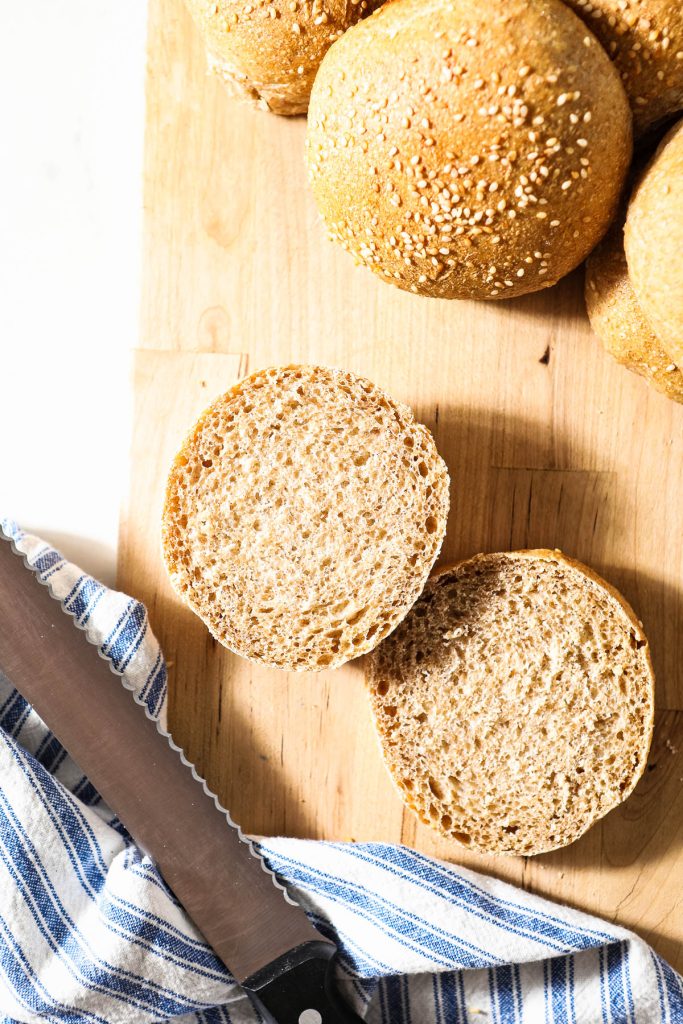
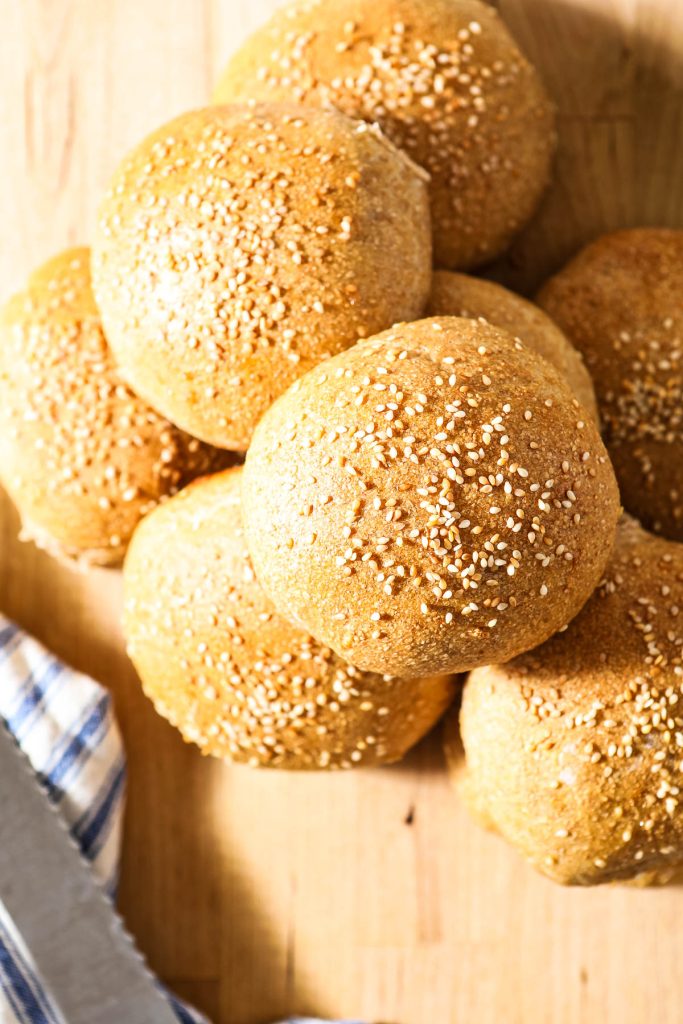
Sourdough hamburger buns are soft and chewy with a slight sourdough kick. These homemade burger buns will be the star of any meal you use them with! Soft buns with great texture that are the perfect bread to go with any sandwich you love!
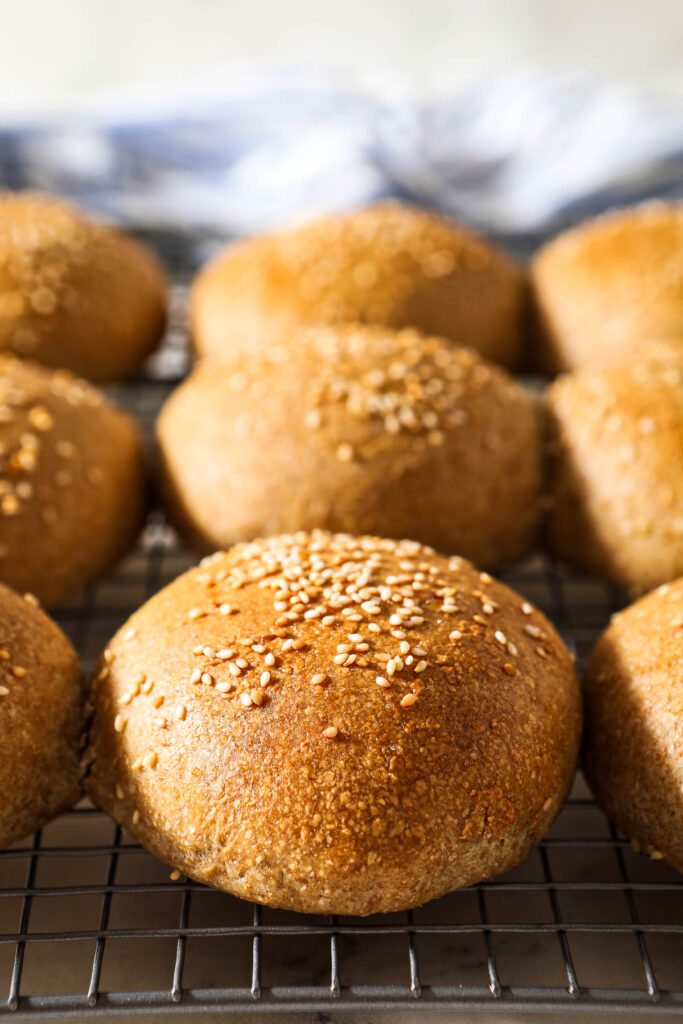
Most of us buy packaged burger buns without even thinking about making our own. But let me tell you, not only is making homemade hamburger buns easy, its also totally worth it! The texture and taste are amazing, and turn a staple we generally don’t think twice about into something crave worthy!
These hamburger buns are a variation of my sourdough hot dog bun recipe, with a slightly different shaping technique. The enriched dough means that they have a soft and flavorful texture, but they are still strong enough to stand up to anything you put in them – they won’t fall apart on you!
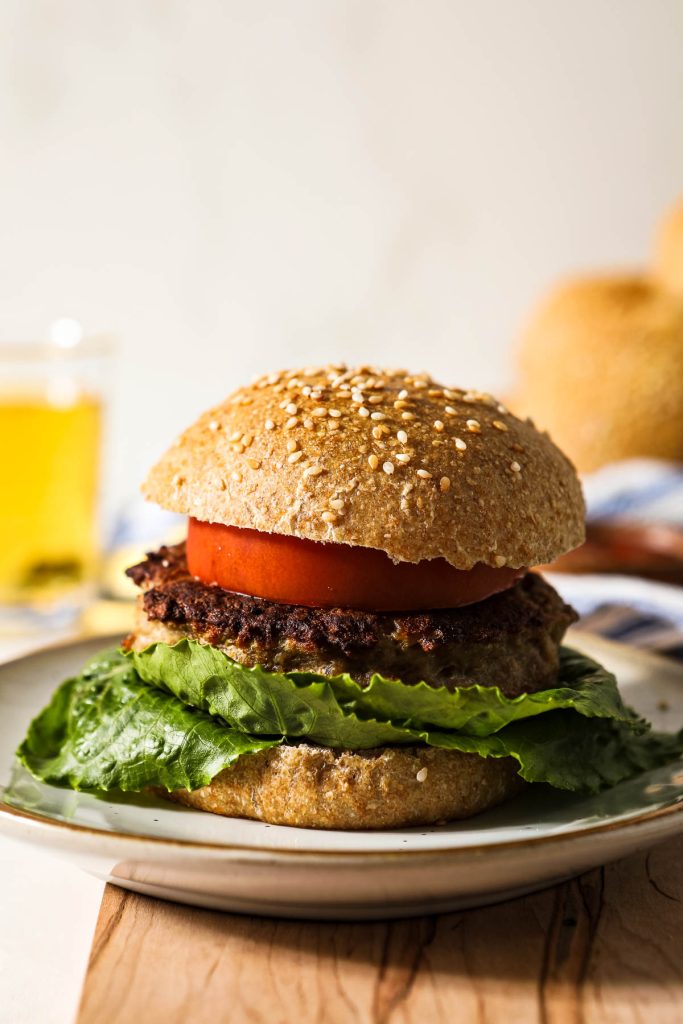
Use these for your favorite burgers, pulled pork sandwiches, breaded pork tenderloins, chicken parmesan sandwiches or more!
Other sourdough bread that is perfect to serve with dinner:
Ingredients Needed
You only need a few pantry staples to make these homemade hamburger buns
- Flour – we are using a mix of whole wheat flour and all purpose flour. You can use bread flour, too.
- Water – tap is fine, as long as it isn’t chlorinated. Do not use distilled water.
- Sourdough starter – We are using a 100% hydration starter that has been fed and is active. Read how to make a sourdough starter if you don’t have one, and brush up on how to feed a sourdough starter to ensure yours is fully active before using.
- Honey – sweetens the dough just a bit
- Unsalted butter – helps to enrich and soften the dough. You want it at room temperature.
- Salt
- Milk and melted butter for brushing on.
- Sesame seeds for topping, optional. You could use sesame seeds, dried onion, or everything bagel seasoning, too!
Equipment Needed
Here are the tools you need to make this recipe:
Jenni Ward/The Gingered Whisk is a participant in the Amazon Services LLC Associates Program, an affiliate advertising program designed to provide a means for sites to earn advertising fees by advertising and linking to Amazon.com.
- Food scale (affiliate link)
- Stand mixer with dough hook
- Kitchen towel
- Plastic wrap
- Baking sheet
- Parchment paper or silpat mat
- Silicone pastry brush
- Wire cooling rack
Baker’s Schedule
Understanding how making these hot dog buns fits into your schedule is a big part of actually MAKING them! I like to work backwards from when I want them to be done to see when I need to start feeding my starter. Here is the timeline for baking these:
- Mixing the dough – 25 minutes
- Bulk Fermentation with stretch and folds- 3 hours
- Shaping – 10 minutes
- Final Proofing – 1 to 3 hours – until doubled
- Baking – 22 minutes
*Remember the timing of this recipe depends on the temperature and humidity of your house. If your house is warm and humid, your dough will proof much faster. If your house is cold, your dough will take much longer to proof. Watch the dough, not the clock!
How to make these buns
Hamburger buns are fun to make, and I think this is a great recipe for newer bakers who are looking to focus on their stretch and fold technique and their shaping without being overly worried about oven spring. For the full set of directions, make sure to scroll down to the recipe card at the bottom of this post.
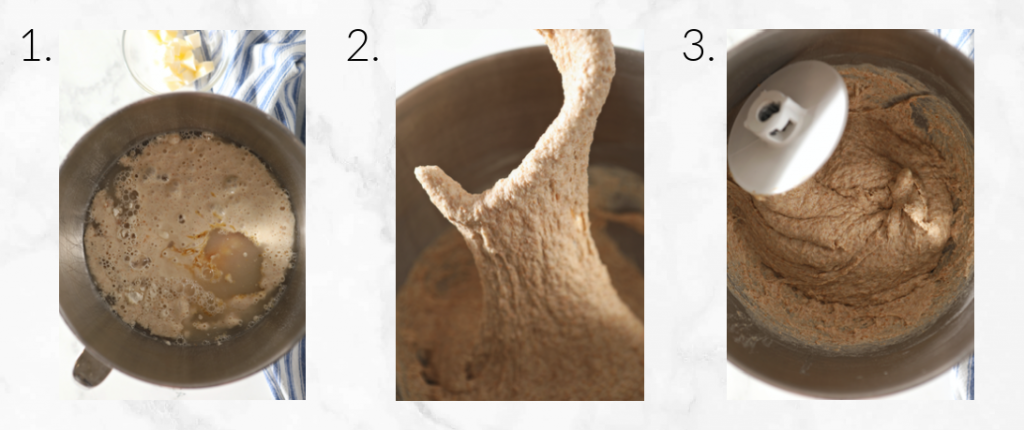
Mixing the dough
- In the bowl of a stand mixer with a dough hook, combine the whole wheat flour, all purpose flour, about 3/4 of the water, active sourdough starter, honey, and salt.
- Mix the dough on low speed until incorporated, about 2 minutes.
- Switch to the dough hook and mix on medium speed for 4-5 minutes, or until the dough starts to strengthen and clump around the dough hook. The dough should be strong, but it won’t completely leave the bottom of the bowl as it mixes, and will still look a little shaggy. But the majority of the dough should be around the dough hook. If the dough is not medium soft, add a little bit of the extra water at a time and mix until it is.
- Cover the dough and allow it to rest for 10 minutes.
- Turn the dough on low, and slowly add the butter, 1 piece at a time, allowing the butter to be fully incorporated into the dough before adding the next piece of butter. It will take about 3-5 minutes. It will be a soft but strong dough.
Bulk Fermentation
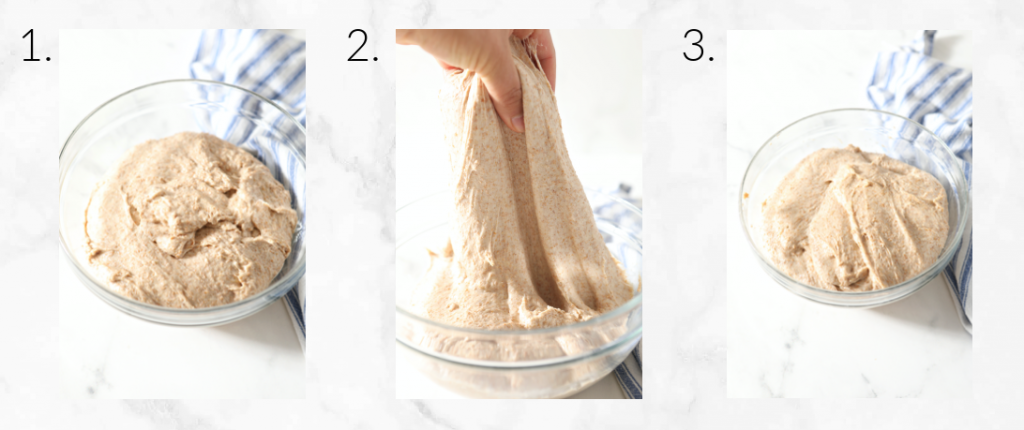
- Place the dough in a bowl and cover with a cloth. Set it in a warm place (about 75 F) and let it sit for 30 minutes.
- Do the first set of stretch and folds.
- Recover the dough, and allow it to sit for an additional 30 minutes.
- Do the second set of stretch and folds.
- Recover the dough, and allow it to sit for 30 minutes.
- Do the third set of stretch and folds.
- Recover the dough and allow it to sit for an hour and a half.
*Recipe Note: You can skip the last rest period and instead place your dough container straight into the fridge (don’t forget to cover it so it doesn’t dry out), for an overnight cold fermentation to really bulk up the sourdough flavor.
Shaping
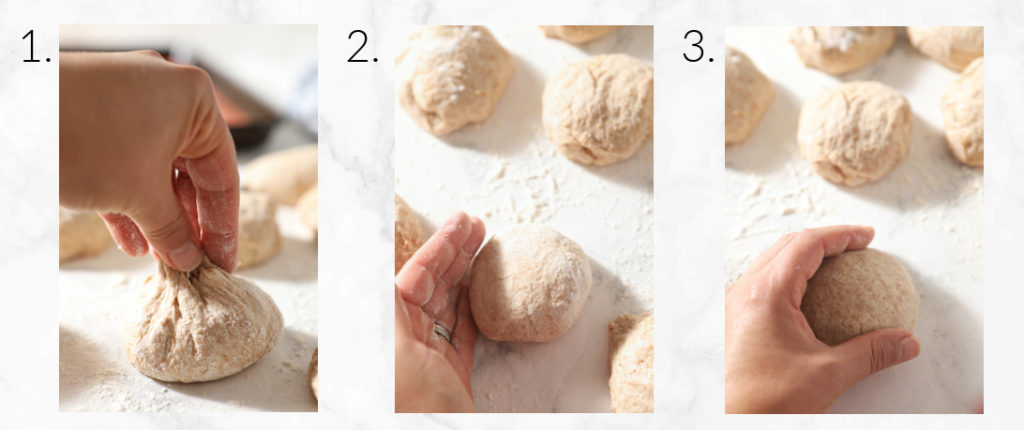
- Divide the dough into 8 equal portions.
- Shape each piece into a bun. Pull the edges into the center to form a rounded top (which will actually be on the bottom), and then flip over and place on the tray seam side down.
- Continue with the remaining pieces of dough, placing the buns on the baking tray about 2” apart.
- Use the palm of your hand to gently flatten each ball a tiny bit.
*Recipe Note: If the dough feels really soft and sticky, oil your hands and counter with a little vegetable oil to help you easily shape them without using flour.
Final Proofing
- Cover the tray with plastic wrap and allow the buns to rise until nearly doubled, plump, and round. This could take 1-3 hours. Remember to watch the dough here, not the clock. The temperature and humidity level of your house could affect this. Gently press a roll with your knuckle. If it springs right back it’s not ready, if the dent slowly fills in the rolls are ready to bake.
*Recipe Note: You can do this step covered in the fridge overnight as well.
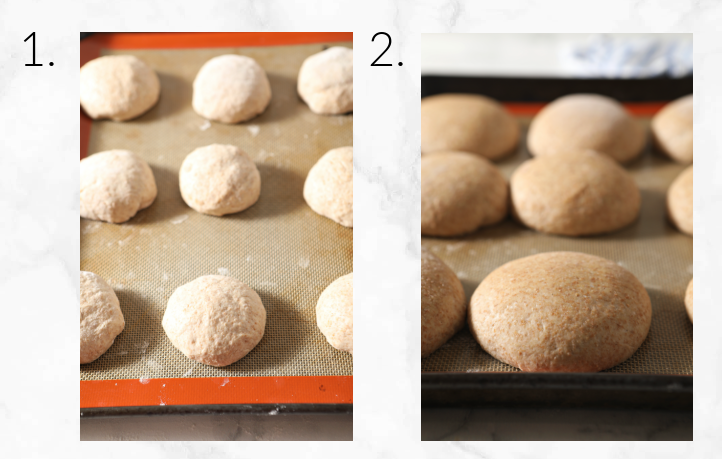
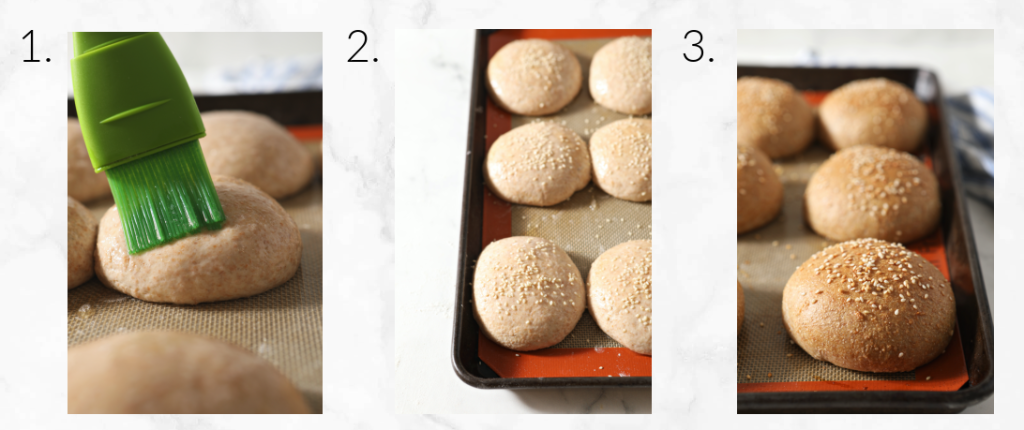
Baking
- Preheat the oven to 350 F.
- Brush each bun with egg white and sprinkle with sesame seeds (optional)
- Bake for around 22 minutes, or until glossy and hollow when you tap the base. Do not overbake.
- Cool on a wire rack.
New to sourdough? Read my Ultimate Guide to Sourdough for Beginners to answer all the questions you have!
Recipe Tips
- Allow the buns to fully proof and double in order to get a super soft texture.
- When you place the buns on the baking tray, allow a little room in between each one, but you want them to be close enough together that they will touch when they are fully proofed and puffed up. This helps them maintain their shape during baking.
- Brush the buns with milk before baking to give them a beautiful color.
- Don’t over bake or the crust will be too dark and crusty.
- Brush with butter as soon as they are removed from the oven to help them stay soft.
How to store sourdough buns:
Store cooled sourdough buns in an airtight bag at room temperature for 2 to 3 days. You can also store them in the fridge for up to 5 days.
Be sure to check out my recipe archives for over 60 easy sourdough recipes!
Food tastes better when its shared! If you try this recipe, let me know! Leave a comment and rate below! Love and links are always appreciated! If you’d like to share this post, please link to this post directly for the recipe, please do not copy and paste or screenshot. Thanks so much for supporting me! xoxo
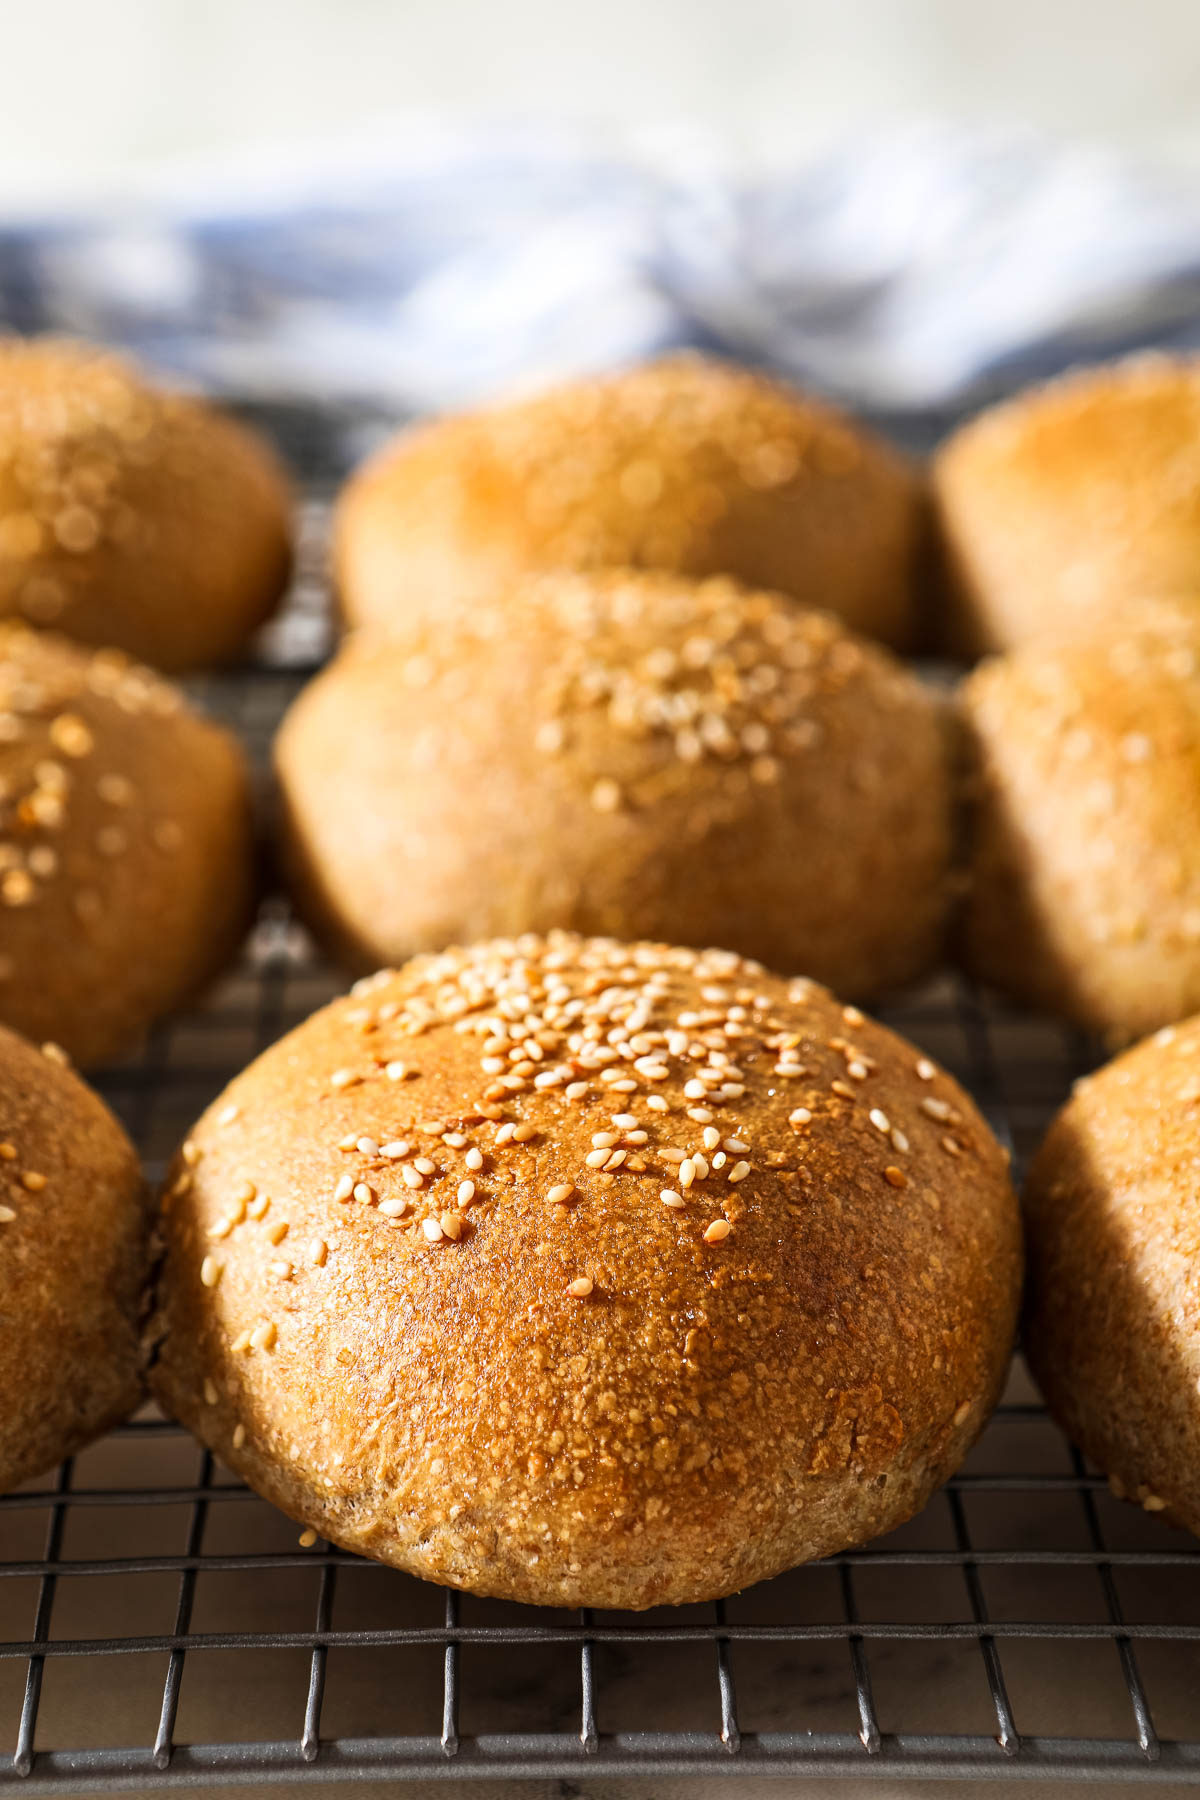
Sourdough Hamburger Buns Recipe
Equipment
Ingredients
- 200 g whole wheat flour
- 233 g all purpose flour
- 300 g water divided
- 170 g sourdough starter 100%, fed and active
- 37 g honey
- 27 g room temperature butter cut into ½” pats
- 10 g salt
- Milk and melted butter for brushing on
Instructions
- Mixing the dough
- In the bowl of a stand mixer with a dough hook, combine the whole wheat flour, all purpose flour, part of the water, active sourdough starter, honey, and salt.
- Mix the dough on low speed until incorporated, about 2 minutes.
- Switch to the dough hook and mix on medium speed for 4-5 minutes, or until the dough starts to strengthen and clump around the dough hook. The dough should be strong, but it won’t completely leave the bottom of the bowl as it mixes, and will still look a little shaggy. If the dough is not medium soft, add a little bit of the extra water at a time and mix until it is.
- Cover the dough and allow it to rest for 10 minutes.
- Turn the mixer on low, and slowly add the butter, 1 piece at a time, allowing the butter to be fully incorporated into the dough before adding the next piece of butter. It will take about 3-5 minutes. It will be a soft but strong dough.
- Bulk Fermentation
- Place the dough in a bowl and cover with a cloth. Set it in a warm place (about 75 F) and let it sit for 30 minutes.
- Do the first set of stretch and folds.
- Recover the dough, and allow it to sit for an additional 30 minutes.
- Do the second set of stretch and folds.
- Recover the dough, and allow it to sit for 30 minutes.
- Do the third set of stretch and folds.
- Recover the dough and allow it to sit for an hour and a half.
- Shaping
- Divide the dough into 8 equal portions.
- Shape each piece into a bun. Pull the edges into the center to form a rounded top (which will actually be on the bottom), and then flip over and place on the tray seam side down.
- Continue with the remaining pieces of dough, placing the buns on the baking tray about 2” apart.
- Use the palm of your hand to gently flatten each ball a tiny bit.
*Recipe Note: If the dough feels really soft and sticky, oil your hands and counter with a little vegetable oil to help you easily shape them without using flour. - Final Proofing
- Cover the tray with plastic wrap and allow the buns to rise until nearly doubled, plump, and round. This could take 1-3 hours. Gently press a roll with your knuckle. If it springs right back it's not ready, if the dent slowly fills in the rolls are ready to bake.
*Recipe Note: You can do this step covered in the fridge overnight as well. - Baking
- Preheat the oven to 350 F.
- Brush each bun with egg white and sprinkle with sesame seeds (optional)
- Bake for around 22 minutes, or until glossy and hollow when you tap the base. Do not overbake.
- Cool on a wire rack completely before slicing.


These sourdough hamburger buns are delicious! The buns come out so soft and soooo good! We love using these sourdough buns for sandwiches!
SO YUMMY! These buns were incredible!
Like how much water should you start with??
Hi Laura! I would start with about 3/4 of the water and go from there.